HRX-OM-W002-A
Chapter 4 Starting the Product
4.2
Starting and Stopping
HRR Series
4.2 Starting and Stopping
4.2.1 Operation
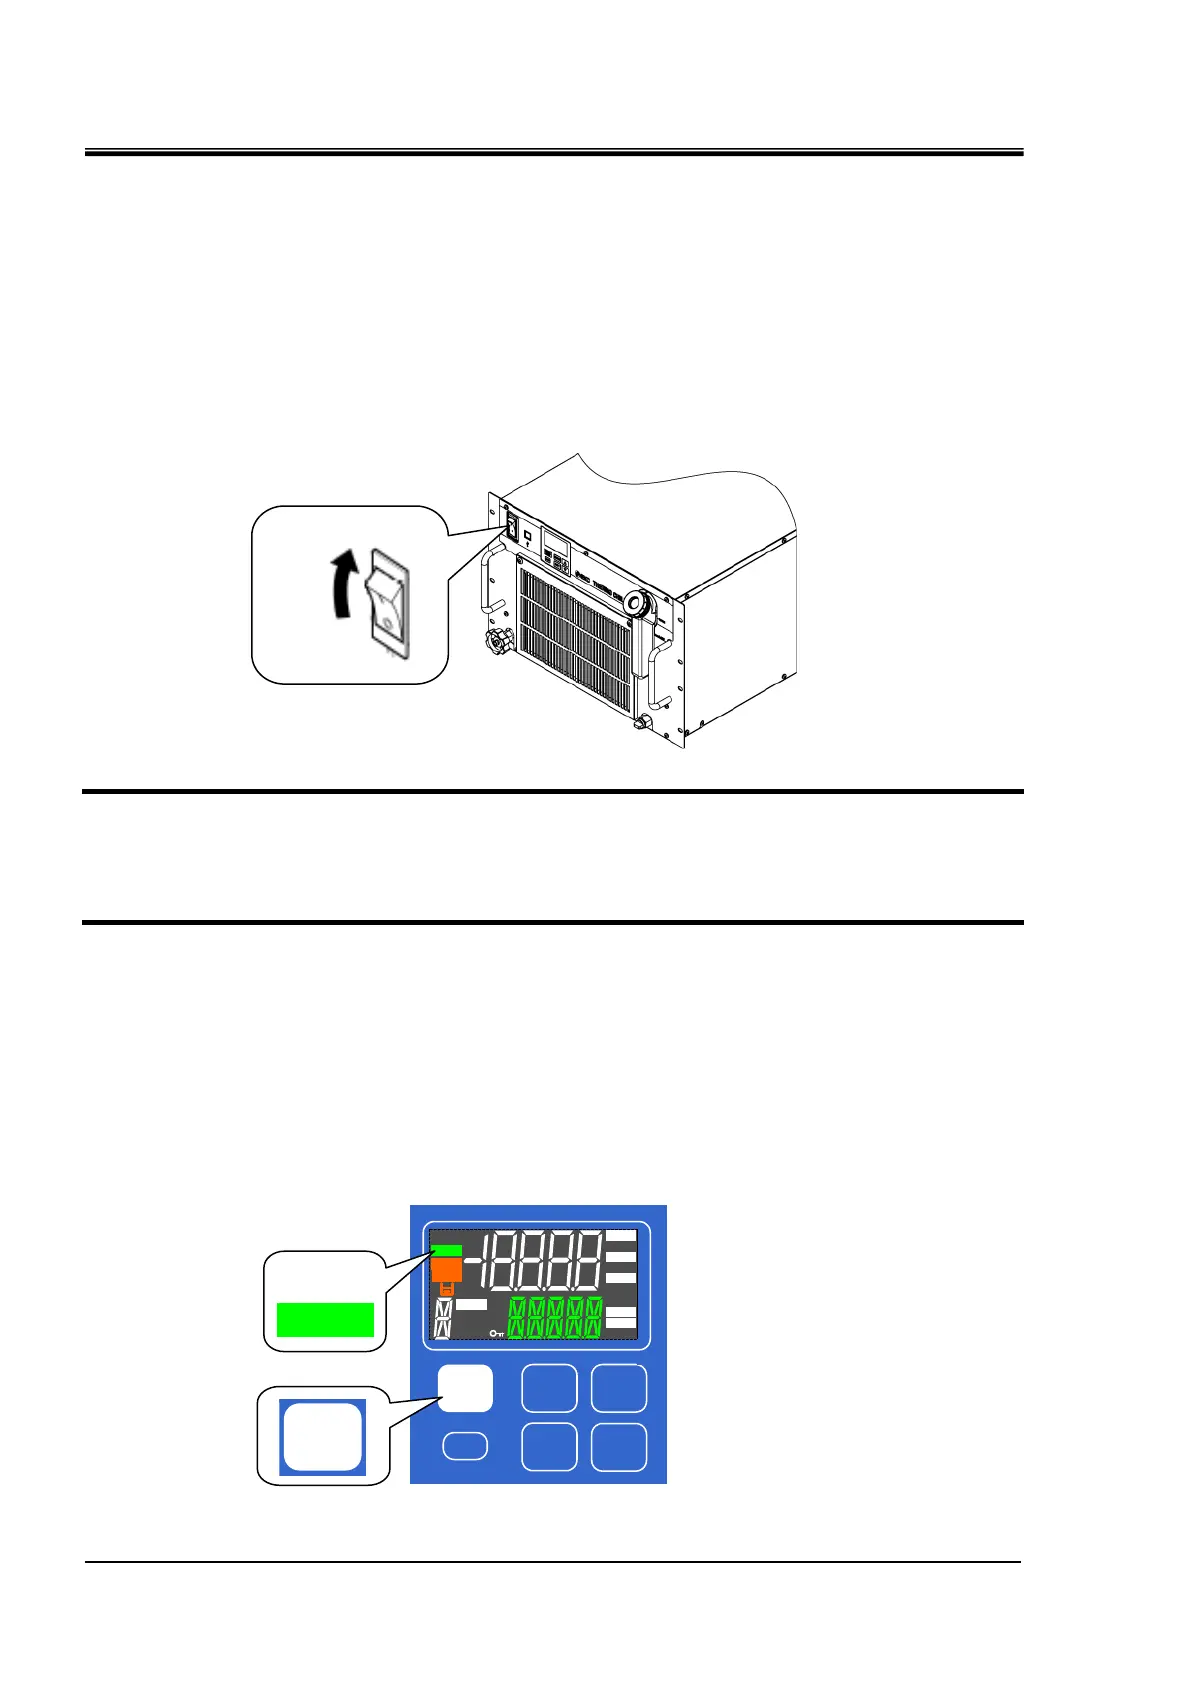
1. Please supply power to this product
Turn on the power switch. The operation display panel lights up. At this point, this
product is in the "Stopped" state (Please note that operation is started after the
power is turned on when the operation signal is sent in the remote setting state.)
Fig. 4-1 Power switch location
2. Set the circulating fluid temperature. When you press the "ENT" key, the set temperature (lower
part of numerical value display: green) flashes. Press the [▲] [▼] key to set the target
temperature, then press the "ENT" key to set.
(Flashing ends when set.) Please refer to various setting / display.
3. Press and hold [RUN / STOP] key for 1 second. The [RUN] lamp lights up and operation starts.
When you operate for the first time after piping, the circulating fluid in the tank decreases until
the circulating fluid is filled in the piping. (An alarm occurs when the liquid level falls below
"LOW".) When the circulating fluid in the tank decreases, repeat "Circulating liquid supply"
procedure so that the liquid level is within the range from LOW to HIGH. 30 seconds after start
of operation, if the circulating fluid flow rate is less than 3 L / min, an alarm occurs and the
product stops. Ensure that the circulating fluid flow rate will be 3 L / min or more.
When using option T (high head pump specification), if the circulating fluid discharge pressure
becomes 0.5 MPa or more, an alarm occurs and this product stops. Refer to "4.3 Adjustment of
bypass valve" and make it to 0.5 MPa or less.
Fig 4-2 Operation
▲
▼
ENT
MENU
RUN/
STOP
RESET
℃
MPa
LPM
SEC
ALM
WRN
RUN
RMT
H
Press and hold for
approximately 1second.
▲
▼
SEL
MENU
RUN/
STOP
RESET
℃
MPa
PSI
LPM
GPM
MΩ
SEC
ALM
WRN
RUN
RMT
AT
°F
EXT
H
%
ECO
 Loading...