Page 22 Nucleus
2
User Guide
DANTE SOUNDCARD CONFIGURATION
Setup
Go to www.audinate.com, click Register in the top right hand corner, and create an account. Under My Account go to My
Products, and enter the Dante Virtual Soundcard token code – included with Nucleus
2
– in this box.
Click submit, and this will provide you your license listed in the account. Take note of this license code.
Below the license code you will see a link appear. This will take you to the latest installer for Dante Virtual Soundcard.
Download and run the installer.
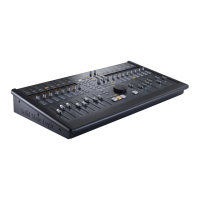
Once installed, open Dante Virtual Soundcard, enter the license code and click Activate.
• Set the Audio Channels to 2 x 2*, latency to 4ms, and
Network interface to en0. Click Start, and your computer
will now be available as a device on your Dante network.
*Or 4x4 if using the SPDIF alongside the analogue connections.
It is important to configure your computer IP address before proceeding. See pages 15 and 16 for details.
Now you need to connect the audio routes from the Nucleus
2
to the computer. This is achieved using the Dante Controller
software.
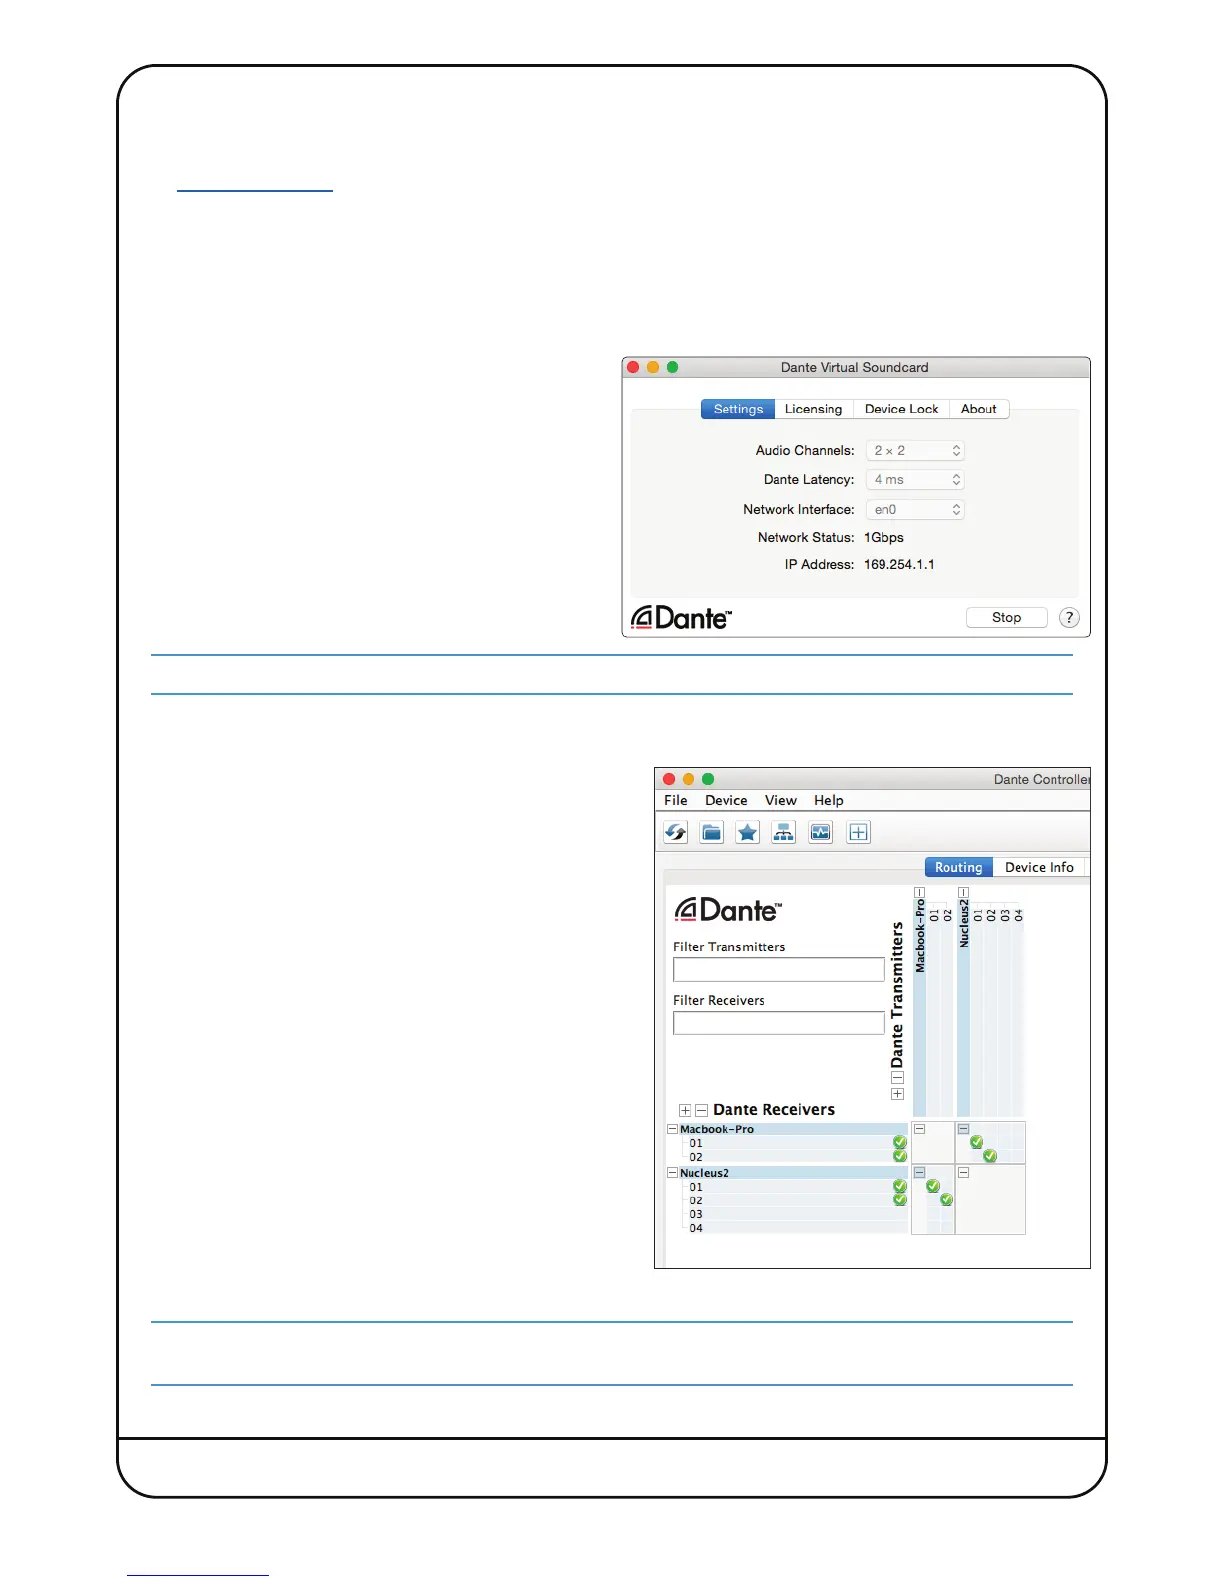
• Open Dante Controller (after installation), expand the
routing matrix by clicking the ‘+’ button
• Click the two audio cross-points between the Nucleus
2
and
your computer for the inputs, and then the two audio cross-
points for your outputs. You make a connection by clicking on the
cross-point
• For a standalone system with the mic pre’s routed into the
DAW, and the DAW ‘Mix’ output routed to the monitor
outputs, you should connect channels 1&2 (on the
Nucleus
2
) to channels 1&2 (on the computer) for both the
inputs and outputs. See image to the right
• Inputs and outputs 3&4 of Nucleus
2
are the SPDIF Left and
Right input and SPDIF Left and Right output respectively.
The SPDIF I/O on channels 3&4 is only available on the Dante Network at low sample rates (44.1/48kHz). At higher
sample rates (88.2/96kHz) only the analogue I/O on channels 1&2 will be available.