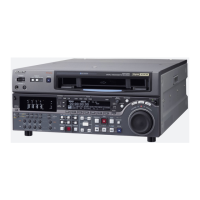
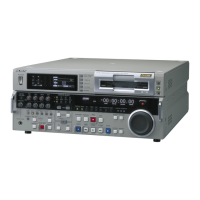
Chapter 4 Recording and Playback
4-2 Chapter 4 Recording and Playback
4-1 Recording
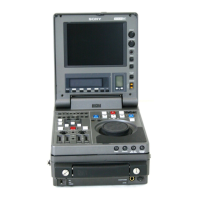
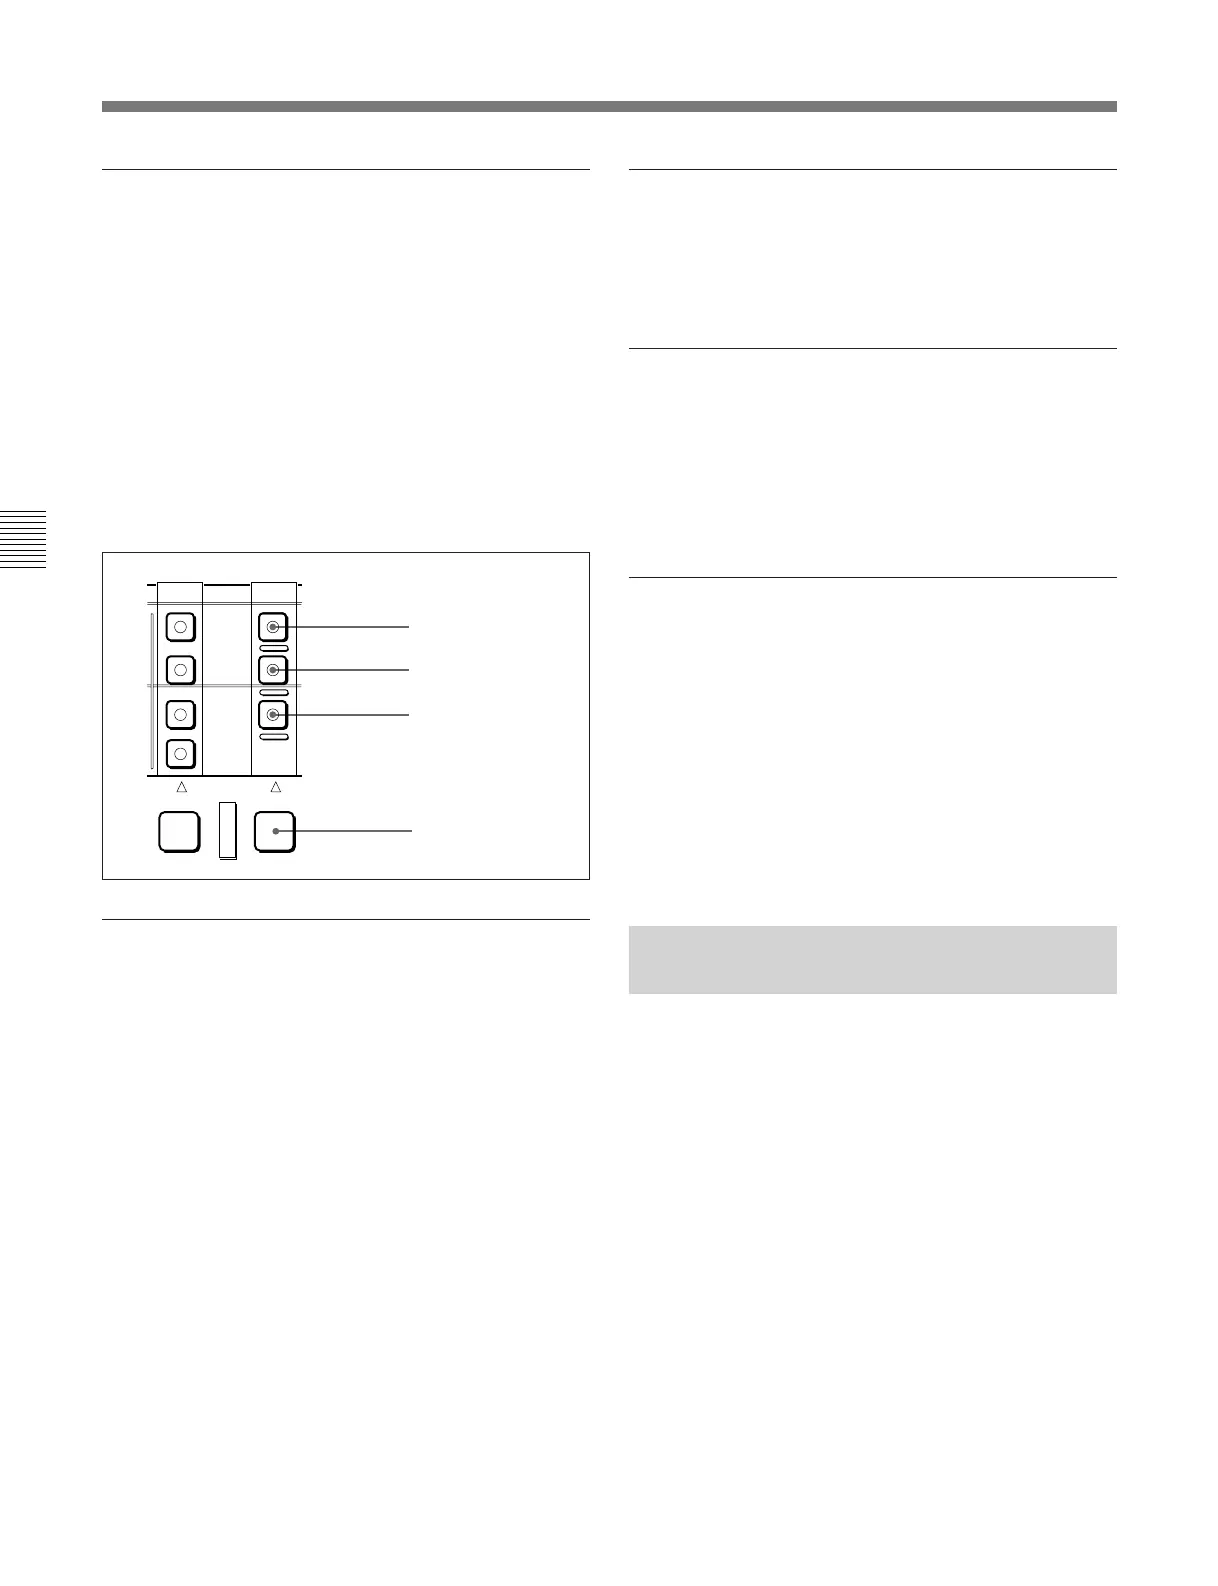
Selecting the device on which operations
are to be carried out
Carry out one of the following operations depending
on which of the built-in VTR or hard disk is subject to
operations.
•To carry out operations on the built-in VTR
Hold down the RECORDER button, and press the
TAPE button in the RECORDER row, turning it on.
• To carry out operations on the hard disk
Hold down the RECORDER button, and press the
DISK PROGRAM or DISK MASTER button in the
RECORDER row, turning it on.
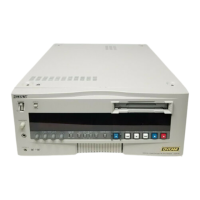
Adjusting the audio recording levels
When carrying out audio recording at a
reference level
Leave the REC controls pressed in. The audio signals
will be recorded at a preset reference level (a reference
0 dB indication for an input of +4 dBm).
Manually adjusting the recording levels
For each channel, pull out the REC control in the
upper control panel, and adjust so that the audio level
indication is 0 dB for an average volume. Carry out
the adjustment in E-E mode.
For details of selecting the E-E mode, see the description of
the REC button in the tape/disk transport control section
(page 2-16) and the PB.EE button in the monitor/menu/
display setting section (page 2-9).
EXT
DISK
MASTER
DISK
PRORRAM
TAPE
PLAYER RECORDER
RECORDER button
TAPE button
DISK
PROGRAM button
DISK
MASTER button
To change the display range of the audio
level indications
Press the DISPLAY FULL/FINE switch (see page 2-
5).
To monitor the simultaneous playback of
the recorded video and audio signals
Make a setting with extended menu item 316 to enable
the CONFI playback function.
For details, see section 7-3, “Extended Menu” (page 7-9).
To use the emphasis function
To add emphasis to the analog input audio signal or
analog playback audio signal, set the EMPHASIS
switch on the subsidiary control panel to the ON
position.
When the signal to which emphasis has been applied is
played back, it is automatically subjected to
deemphasis processing.
Using the emphasis-deemphasis processing enables the
dynamic range to be improved by reducing high-
frequency noise.
4-1-2 Recording Time Code and
User Bit Values
There are three ways of recording time code, as
follows:
•Setting an initial value, then recording the output of
the internal time code generator
•Recording the output of the internal time code
generator synchronized to an external time code
generator
•Recording an external time code without
modification
 Loading...