47
GB
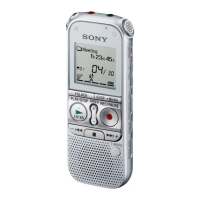
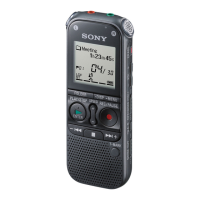
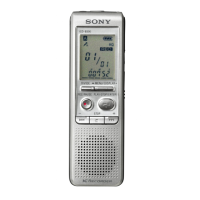
Other Recording Operations
You can make MP3 files without using the
computer by recording sound from other
equipment connected to the IC recorder.
When you select “Audio IN” in the “Scene
Select” menu, the settings suitable for
recording from other equipment are already
selected. For details on setting, see page 33.
z Tips
• Before you start recording, we recommend
you make a trial recording first, or monitor
the recording (page 49).
• If the input level is not strong enough,
connect the headphone jack (minijack,
stereo) of other equipment to the
m (microphone) jack of the IC recorder and
adjust the volume level on the piece of
equipment connected to the IC recorder.
1 Connect other equipment to the IC
recorder when the IC recorder is in the
stop mode.
Connect the audio output connector
(stereo mini-plug) of other equipment to
the m (microphone) jack of the IC
recorder using the supplied audio
connecting cable.
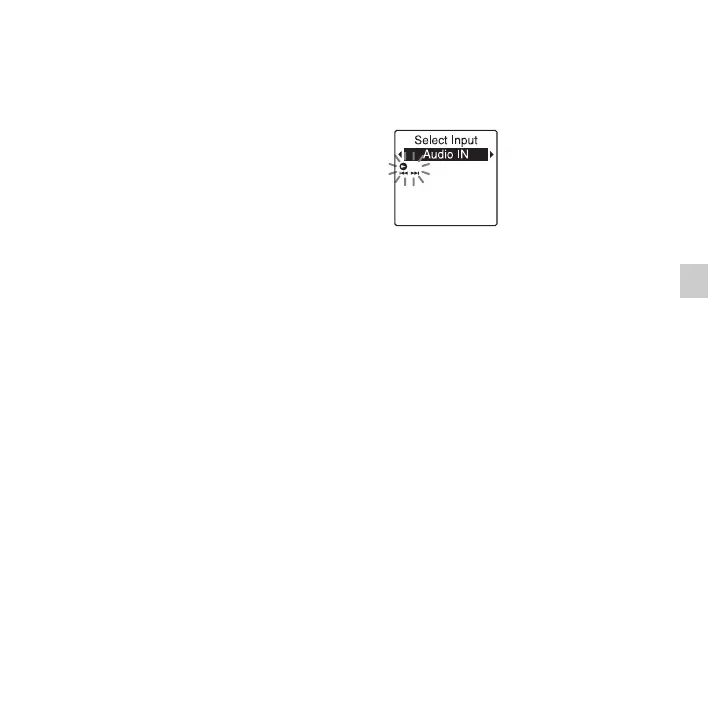
“Select Input” appears in the display
window.
If “Select Input” is not displayed, set it in
the menu (page 90).
2 Press –. or >+ to select “Audio
IN,” and then press
N PLAY/
STOP•ENTER.
“Select Input” is set to “MIC IN” when
you purchase the IC recorder.
3 Press x (stop) to exit the menu mode.
4 Press z REC/PAUSE to start recording.
The built-in microphones are
automatically cut off and the IC recorder
starts recording sounds from the
connected equipment.
5 Start playback on the piece of equipment
connected to the IC recorder.
6 Press x (stop) to stop recording.
P Note
When audio output of an external device is
monaural and the recording mode is set to
“128kbps” (STSP) or “192kbps” (ST), sounds
are recorded only in one channel.
 Loading...