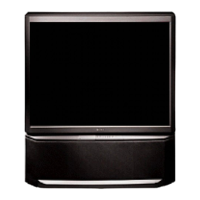
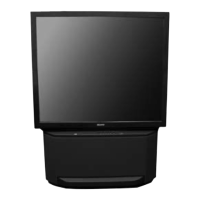
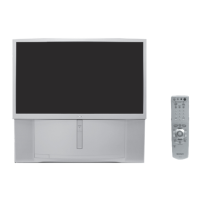
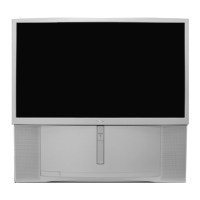
– 44 –
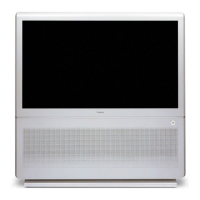
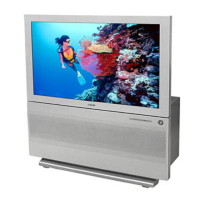
KP-44PS2/44PS2U/51PS2
RM-903
<Copy of Smart Mode Registration Data>
1. Make sure that the adjustment for DRC100 (PAL-Smart)
mode finished and the data have already been written.
2. Set the screen format to “Smart”.
3. Select the Projector Engine mode.
4. Select COPY and set the data to “01”, and press “
(MUTE)”+“-” buttons on the commander.
5. The data of DRC100 (PAL-Smart) mode are copied to all
other Smart modes.
Adjust picture center to
the position of this OSD mark.
6-4. PICTURE CENTER ADJUSTMENT
1. Enter the SPCB signal.
2. Select the TT mode, and press “3”+“2” buttons on the
commander.
TT32 : Horizontal center adjustment for MID-X input
3. Pressing b or B key on the joystick, move the picture in
horizontal direction to center the picture on the OSD mark.
4. Press “
(TV MODE)” or “ (OK)” button on the com-
mander to return to normal TV mode.
DRC50
(PAL)
Smart
DRC50
(NTSC)
Smart
Copy Registration Data.
DRC100
(PAL)
Smart
DRC100
(NTSC)
Smart
6-3. AUTO CONVERGENCE OFFSET
This adjustment must be performed after the registration adjust-
ment was made or after readjustment was made by any reason.
1. Darken the periphery of this set.
2. Enter the PAL SPCB signal to set the DRC100 (PAL) mode.
3. Set the screen format to “Wide”.
4. Select the Projector Engine mode.
5. Press “
(AUTO CONVERGENCE)” button on the front
panel of the set.
(The offset value is now automatically stored)
6. Select “62 ERR” of Projector Engine mode.
Confirm ERR is “00”. If ERR is not “00”, recheck. (Refer to
6-8.)
7. Exit the TT mode.
8. Enter the NTSC monoscope signal, and perform the same
steps in the DRC50 (NTSC-Wide) mode respectively.
6-5. WHITE BALANCE ADJUSTMENT
1. Enter the monoscope signal.
2. Press “MENU” button on the commander to enter the Picture
Adjustment menu.
3. Set the Picture Mode to “Personal”, and the Digital Mode to
“DRC100”, and the screen format to “Wide”.
4. Enter the Service menu, and select “Device Register Set-
ting” b “Backend”.
5. Adjust “13 Sub Bright” so that 10 IRE section barely grows.
6. Enter all-white pattern signal.
7. Fix “17 G-Cutoff” to “31”, and adjust “15 R-Cutoff” and “19
B-Cutoff” so as to attain the optimum white balance.
Condition: All-White Pattern 20 IRE
8. Adjust “13 Sub Bright” so that 100 IRE section barely
grows.
9. Adjust “10 R-Drive” and “12 B-Drive” so as to attain the
optimum white balance.
10. Repeatedly adjust the white balance for the minimum and
maximum picture setting.