– 41 –
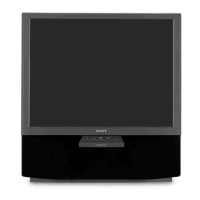
KP-44PS2/44PS2U/51PS2
RM-903
3. Operation Method for Fine Adjustment
(in GRN, BLU, or RED Mode)
1) Select the Projector Engine mode.
2) Select FDIS so that the data at each position can be displayed
in the fine adjustment mode, and set the data to “01”.
3) Press “9” button on the commander, and the fine adjust-
ment mode will be active where a green marker appears in
the center of screen (in the case of GRN mode).
4) Press “
(OK)” button, and the marker color will be
switched between green (GRN mode) and white alternately.
5) Use “1” or “4” button on the commander, or the joystick
to move the marker to the position to be adjusted, where fine
adjustment can be made.
• When marker color is white.
(in this case, fine adjustment is disabled)
Operating the joystick can move the marker
up, down, or to the left or right freely.
• When marker color is green. (GRN mode)
1 : moves the marker clockwise from center to outside.
4 : moves the marker counterclockwise from outside to center.
• Fine adjustment can be made on the basis of marker
position using v, V, b, B keys on the joystick.
6) Press “9” button on the commander to return to the rough
adjustment mode.
CROSSHATCH
Movement when v key
on joystick is pressed.
Movement when B key
on joystick is pressed.
CROSSHATCH
6-2-4. Projector Engine Adjustment
(Sub Deflection Adjustment)
Push the joystick
to v
Push the joystick
to V
Push the joystick
to B
Push the joystick
to b
• GRN CENT (horizontally/vertically)
<Adjustment for DRC100 (PAL-Wide) Mode>
1. Green Adjustment
1) Place the caps on the red and blue lenses so that only the
green color is displayed.
2) Enter the PAL SPCB signal to set the DRC100 (PAL) mode.
3) Set the screen format to “Wide”.
4) Select the Projector Engine mode.
5) Press “6” button on the commander to display internal test
signal (crosshatch).
6) Select “GRN CENT”, and adjust so that the picture coincide
in the center of screen.
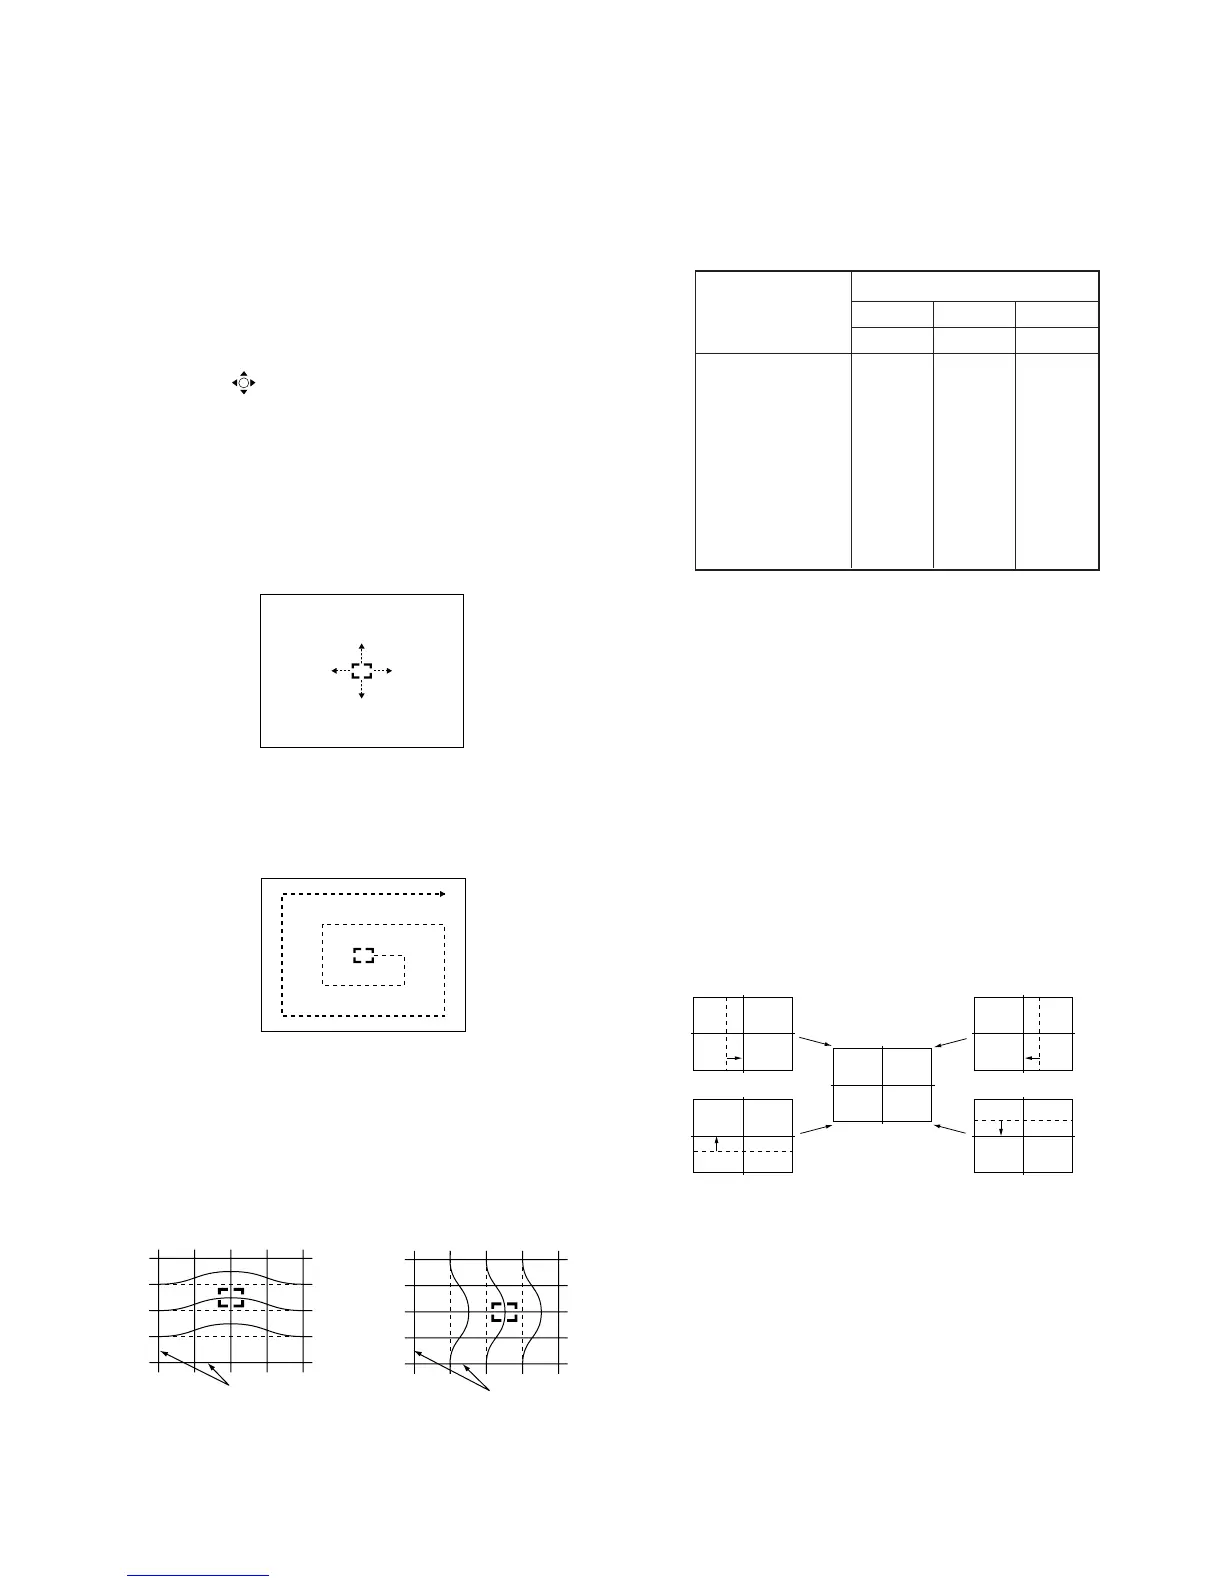
Adjustment Type
Adjustment Item GRN RED BLU
H / V H / V H / V
CENT a / aa / aa / a
SKEW a / aa / aa / a
SIZE a / aa / aa / a
LIN a / aa / aa / a
KEY – / a – / a – / a
PIN a / aa / aa / a
MLIN a / – a / – a / –
MSIZ a / – a / – a / –
Adjustment a : Yes – : No