33
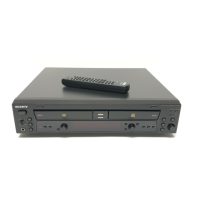
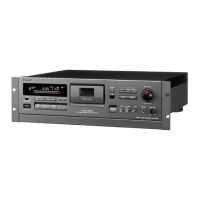
RCD-W10
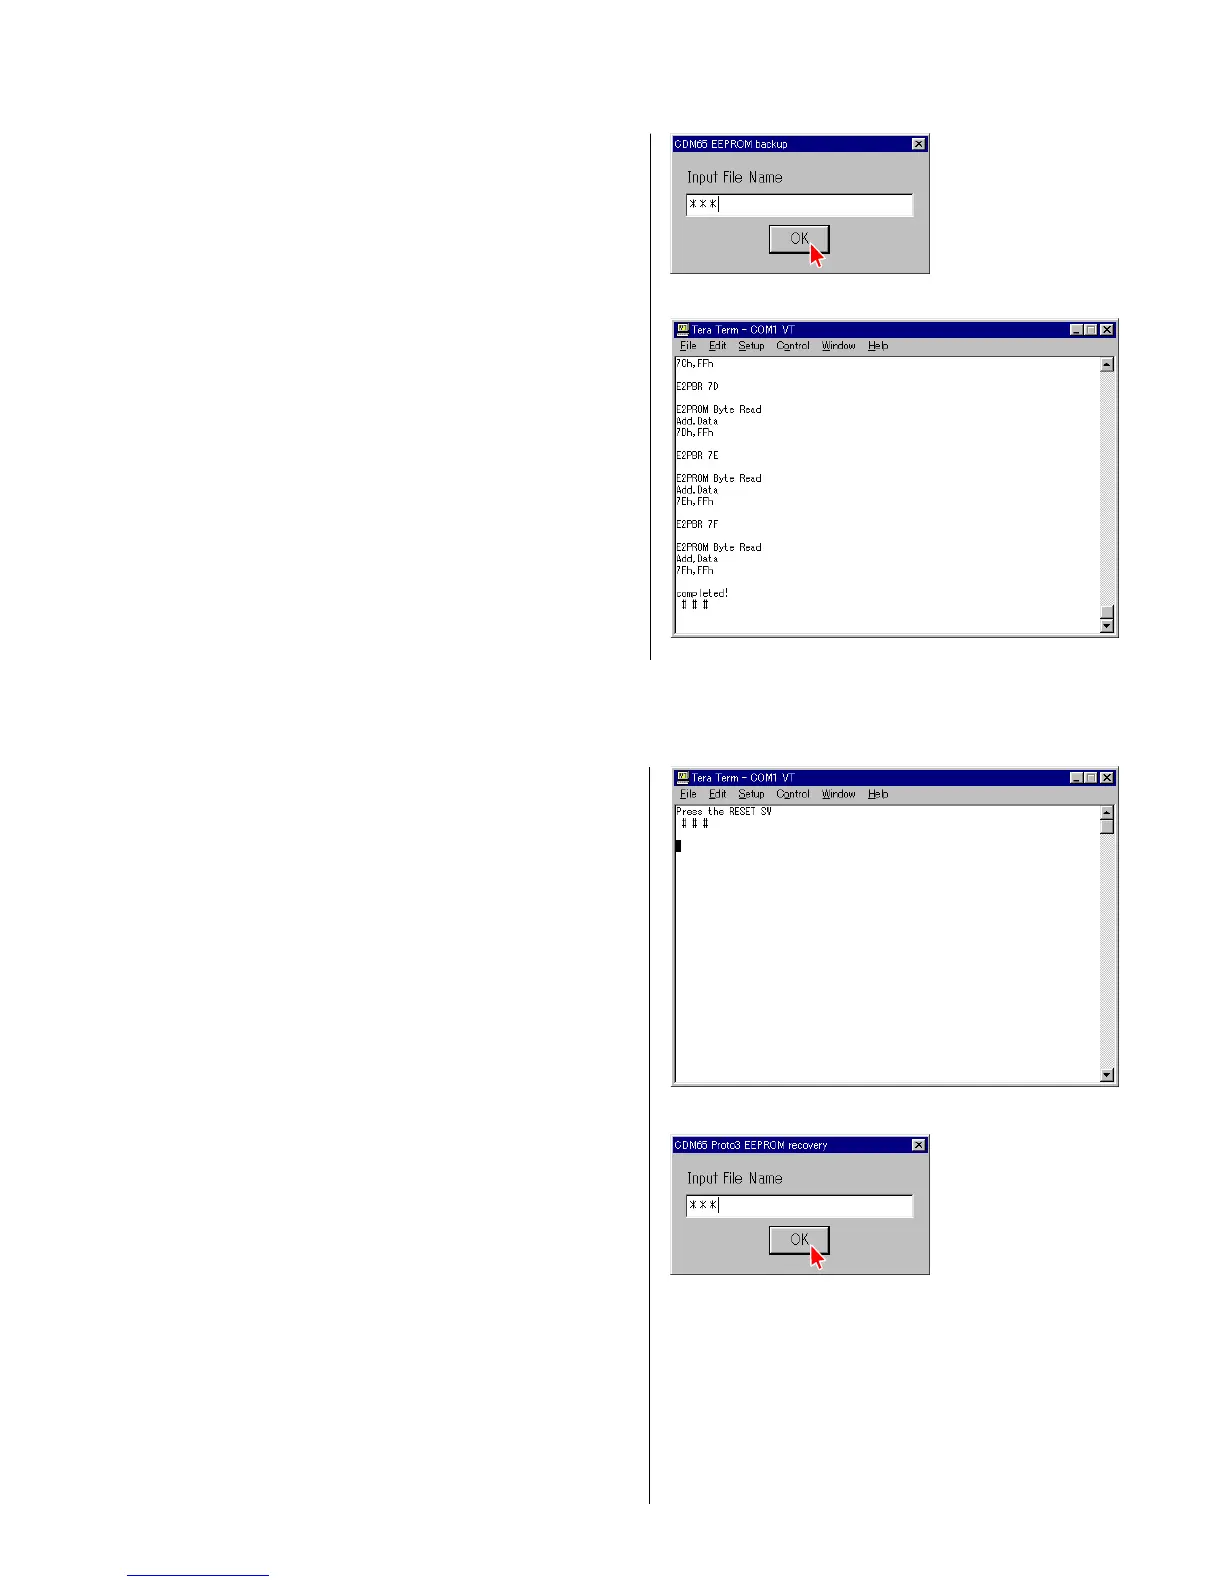
2) Type the filename in which result of electrical adjustment is
going to be saved. Press “OK”. (Fig. 3-19)
3) Confirm that the message “completed!” appears.
The EEPROM data is backed up. (Fig. 3-20)
4 Fig. 3-19
4 Fig. 3-20
4) Perform step 1) through step 6) of section “3-3. Use of Self Diagnosis Function-1”.
5) Select the menu as follows. Control → Macro, and select E2recvF.ttl.
Press “Open”.
6) Press the “RESET” button (SW101) of the jig as prompted by
the display. (Fig. 3-21)
7) Type the filename in which result of electrical adjustment is
saved. Press “OK”. (Fig. 3-22)
4 Fig. 3-21
4 Fig. 3-22
 Loading...