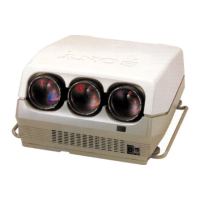
Adjustments 67 (GB)
Adjustments
Preparation
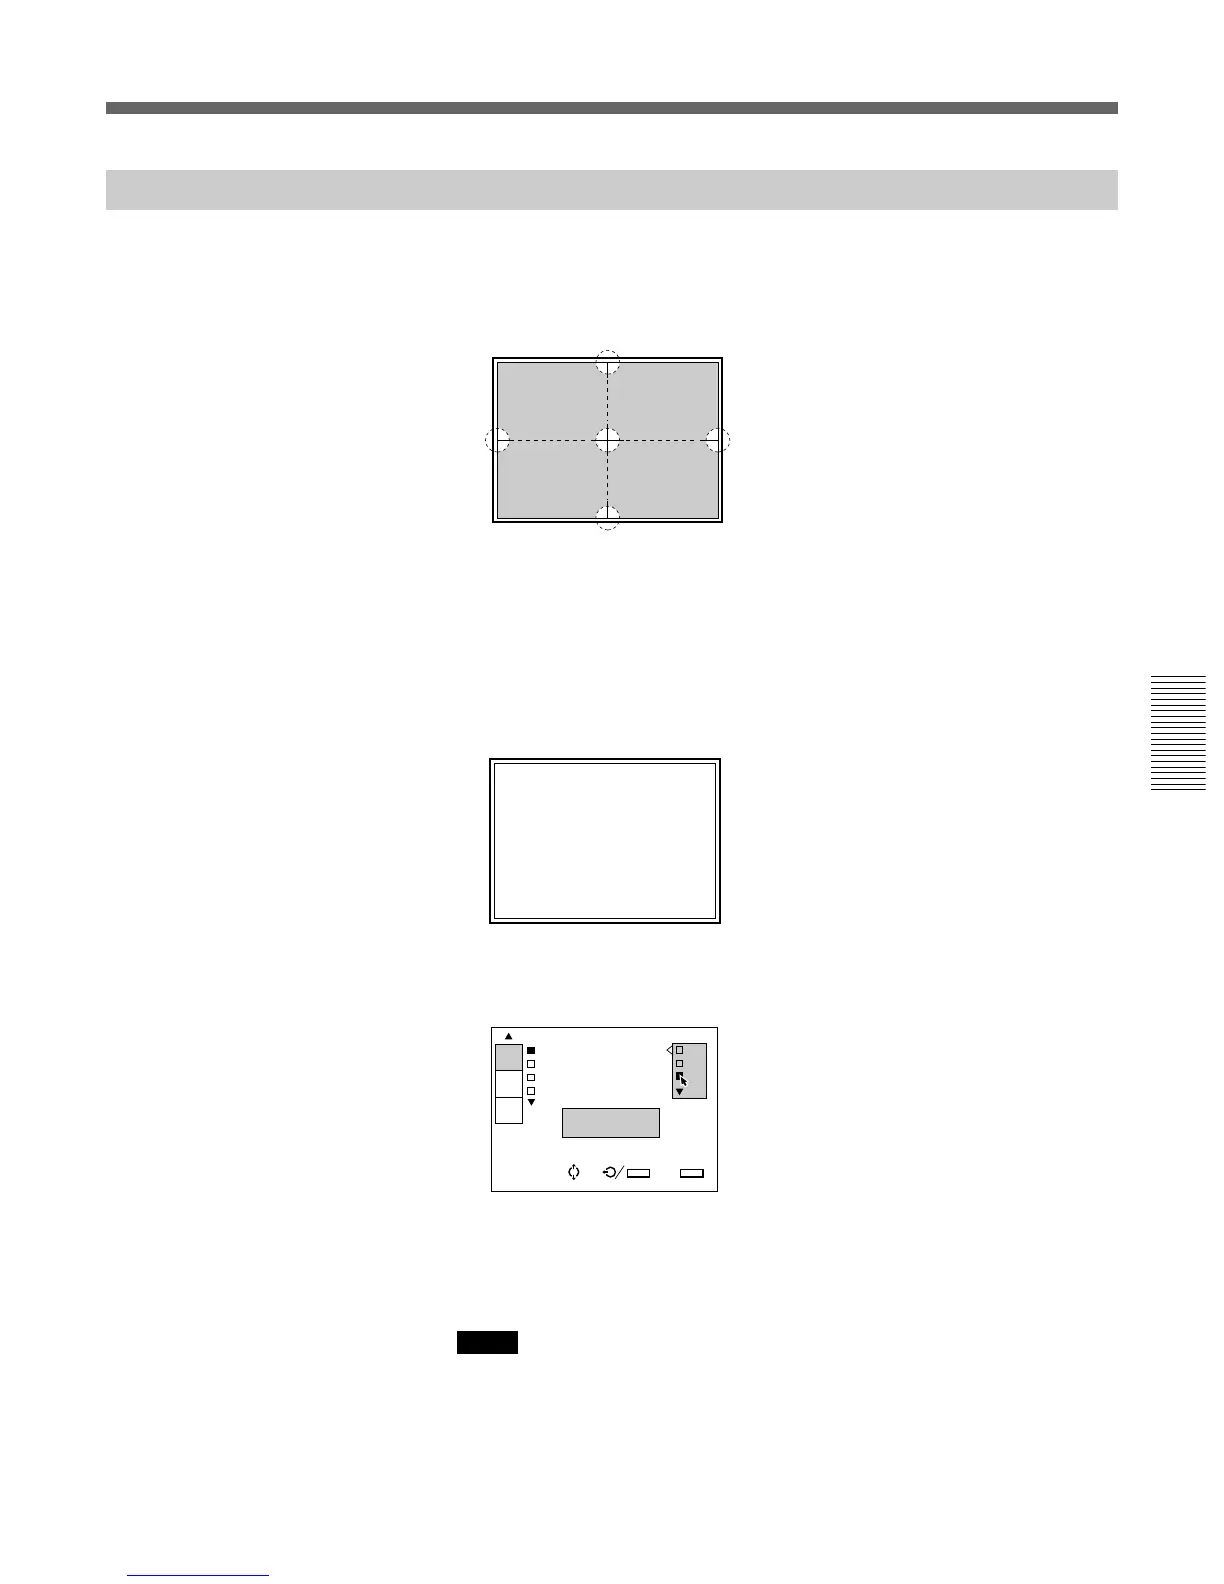
1 Mark the center of the screen.
Measure the height and width of the screen to determine the center.
Marking five points with white tape, as illustrated below, will help you
adjust registration.
2 Set the remote control to the service adjustment mode.
For details, see “For Remote Control” on page 35 (GB).
3 Press one of the INPUT SELECT keys corresponding to a line that is
not connected to a signal so that “NO INPUT” appears.
Or, set the SWITCHER/INDEX select switch to SWITCHER and then
press the number key from
1 to 8, corresponding to a line that is not
connected to a signal.
4 Display the SERVICE SETTING menu, select INT. OSC PATTERN,
then select the frequency to be used for the adjustment.
For details, see “The SERVICE SETTING Menu” on page 52 (GB).
5 Reset the standard data to the factory preset level.
(Only when you have adjusted the registration and have saved the
adjustment data.)
For details, see “Resetting the Data” on page 99 (GB).
Notes
• The center of the screen and the center of the CROSS HAIR pattern can be
aligned by performing the centering adjustment.
For details, see “Green CENT (centering) adjustment” on page 69 (GB).
• When the optical axis angle is smaller, the HATCH pattern becomes trapezoidal.
Perform the KEY (keystone) adjustment to correct the distortion.
For details, see “Green KEY and PIN adjustments” on page 74 (GB).
IN
INT.OSC PATTER P0
INT.OSC MODE:O P1
DIRECT POWER O P2
RS-422A:38.4K
fH=31.5KHz
fV=60Hz
SERVICE
SETTING
SET
INFO.
ABL
LINK
SEL: SET:
ENTER
EXIT: MENU
S
123
5
4
INPUT-A NO INPUT