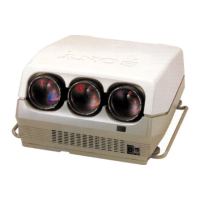
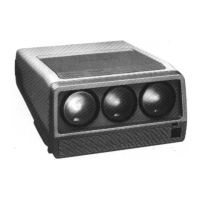
86 (GB) Adjustments
Adjusting the Registration
Adjustments
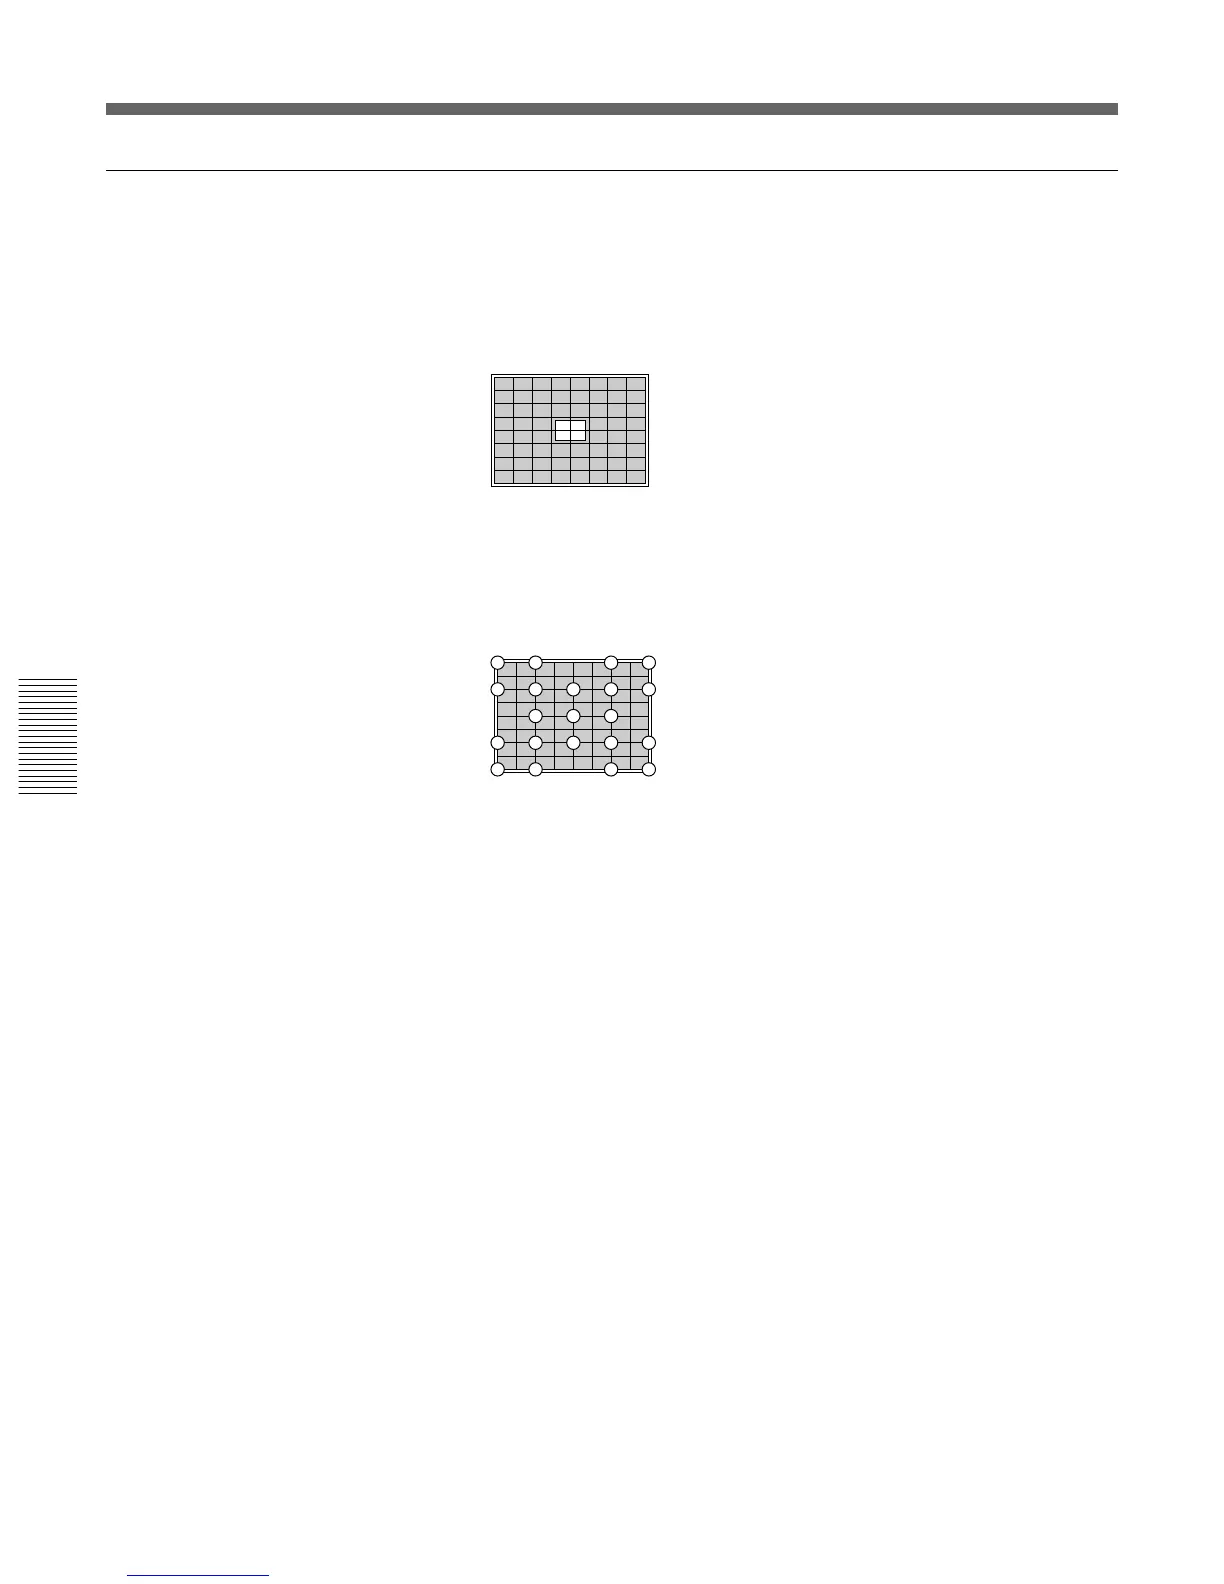
!¡ Red ZONE adjustment
Adjust red ZONE after the red lines have converged with the green lines
by performing the adjustments 6 to !º.
1 Press the ZONE key.
The 9 × 9 HATCH pattern and the cursor appear.
2 Press the POSITION +/– keys to select the part to be adjusted.
When you press the + key, the cursor moves in the numerical order as
illustrated.
When you press the – key, the cursor moves in the reverse order.
The selected position number appears at the upper right corner.
If you press the ZONE key again in ZONE adjustment mode, you can
move the cursor to the desired position with the V, v, B, b keys. When
you press the ZONE key again after selecting the position, the
projector enters the adjustment mode of that postion.
3 Adjust the red line distortion in the cursor positioning area with the
arrow keys.
4 After the adjustment is complete, press the MEMORY key to save the
adjustment data.
The red registration adjustment is complete.
Proceed to the registration adjustment of the blue signal.
20
19
18
17
16
15
14
13
12
11
10
9
8
7
6
54
3
2
1
21