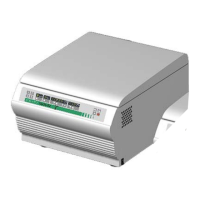
Operation
30
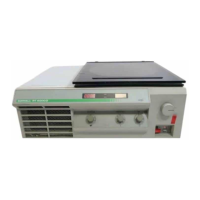
Installing the rotor
Improper or improperly combined
accessories may cause severe dam-
age to the centrifuge!
The rotors approved for the Legend™ are detailed in
the chapter "Accessories". Use only rotors listed for
this instrument.
To install the rotor
, you need the socket wrench sup-
plied* (see chapter "Accessories").
* The swinging buckets rotor 7500 6434 comes com-
plete with a locking mechanism.
Proceed as follows:
1. Open the lid and make sure that the rotor cham-
ber is clean. Clean any dust, foreign material or
sample residues out of chamber before use.
2. Check whether the collet chuck is loose (collet
chuck moves freely on the spindle). If not, loosen
the rotor seat using the socket wrench supplied.
3. Place the rotor on top of the collet chuck so that
the rotor is located precisely above the center.
4. The rotor must glide freely down the collet chuck
until it hits the lower stop.
5. If you have positioned the rotor correctly, you can
tighten the collet chuck easily using the socket
wrench supplied.
6. Place the rotor cover on the rotor and tighten
securely.
Regularly check the proper posi-
tioning of the rotor and re-tighten
the collet chuck as needed.