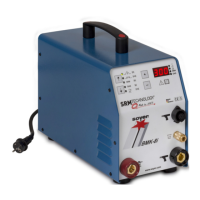
Settings
48 Operating Instructions Soyer Bolzenschweißtechnik
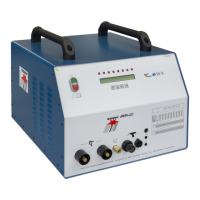
13.1.1 Switching the display
13.1.2 Adjusting the charging voltage
Switching the display of the charging voltage and the stud diameter
Step 1: Switch off the device at the mains switch.
Step 2: Press and hold both arrow
keys.
Step 3: Switch on the device and hold the arrow keys for about 3 sec-
onds.
When the display changes, release the arrow keys. The device
is ready.
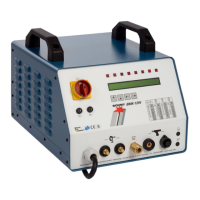
Adjusting the charging voltage
Step 1: Connect the device as described in chapter “12.2 Connection of
the stud welding device and the stud welding guns” on page 44.
Step 2: Either select the required stud diameter or the required charging
voltage (for switching the display see chapter “13.1.1 Switching
the display” on page 48).
Step 3: When displaying the
charging voltage, it
can be increased or
decreased by press-
ing the arrow keys
↑↓.
The charging voltage cannot be adjusted when displaying the
stud diameter. A fix charging voltage is assigned to every stud
diameter (see table on the front panel).
The charging voltage is adjusted.
The adjusted value is saved and remains unchanged even after
switching the device off and back on again.