Description of the stud chuck
Operating Instructions Soyer Bolzenschweißtechnik 39
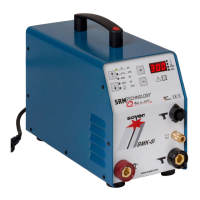
11.2 Installing the stud chuck (gun without support)
The installation of the stud chuck is shown using the example of the PS-1K gun.
The installation of the stud chuck into other gun types is carried out in the same
way.
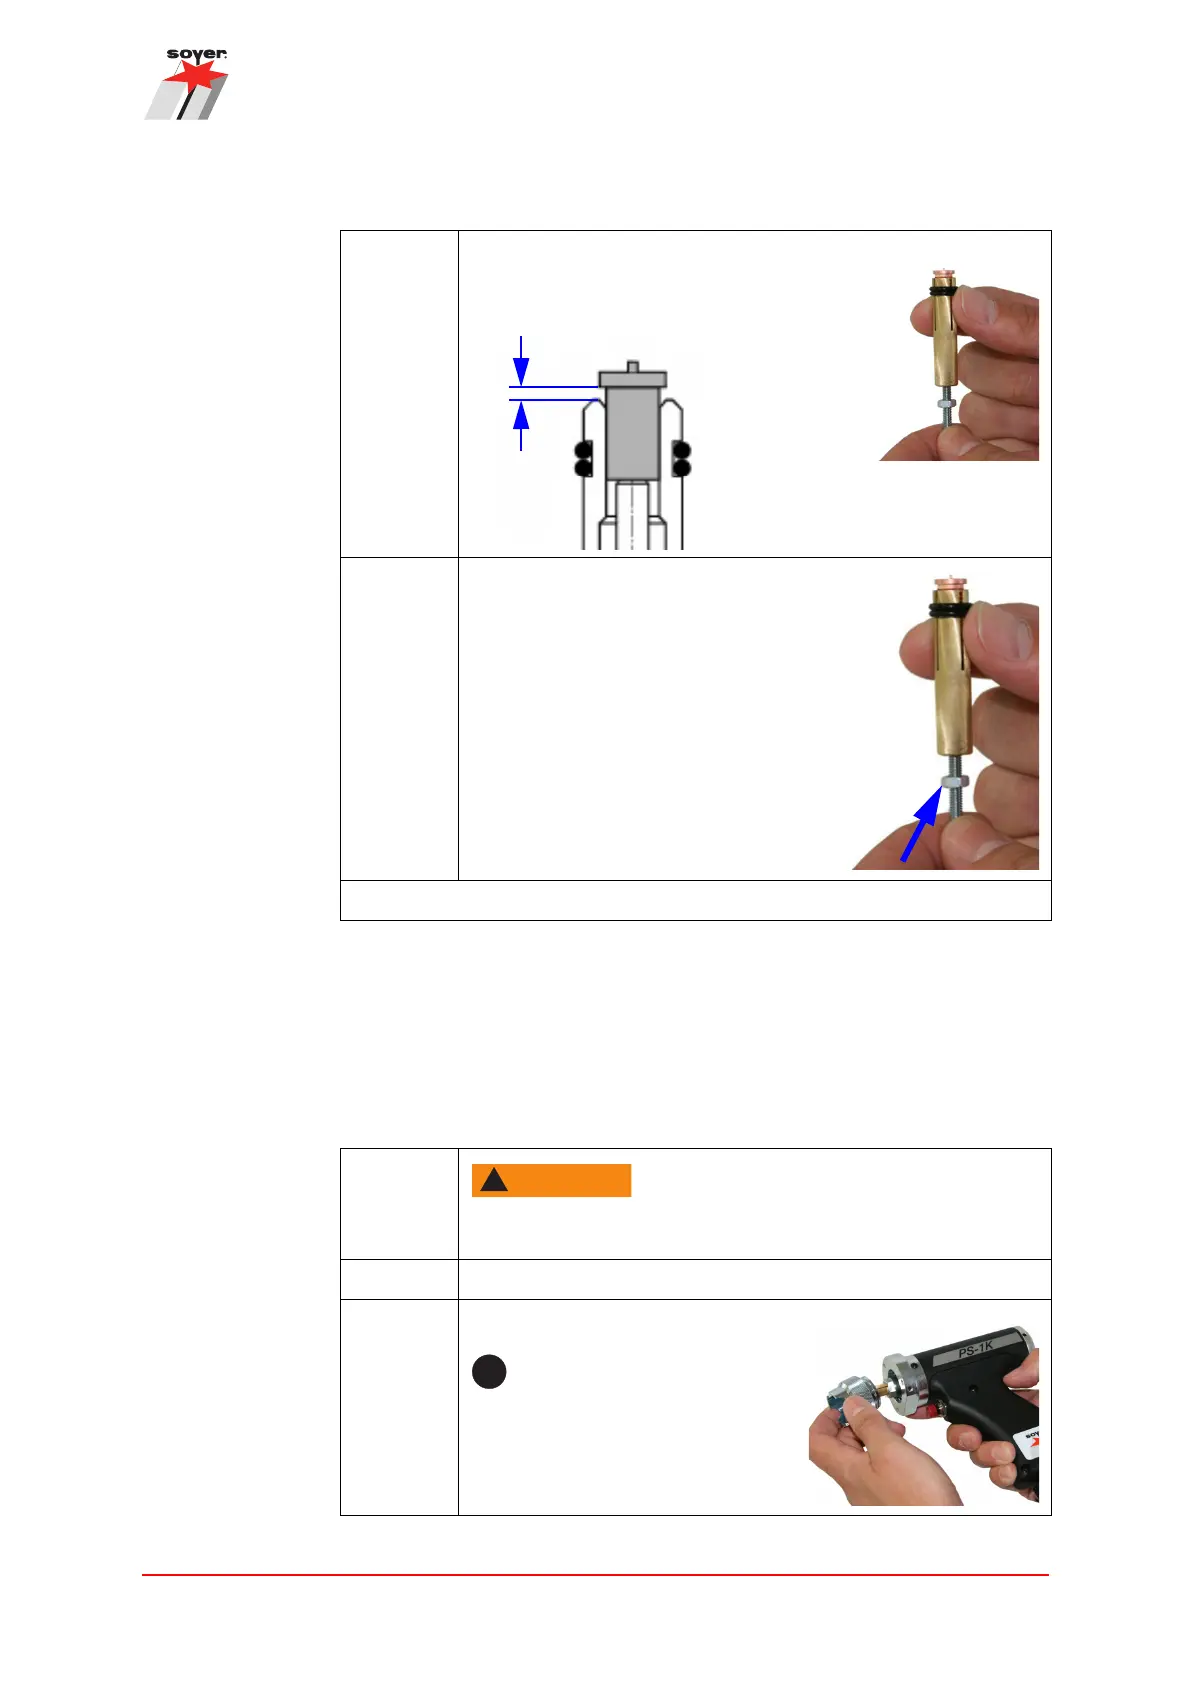
Step 3: Adjust the stop screw so that the top
of the flange of the stud sits between
1.5 mm and 3 mm above the stud
chuck when it touches the screw.
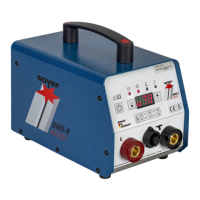
Step 4: Fix the stop screw with the lock nut.
The adjustment is complete.
Adjusting an adjustable stud chuck
Installing the stud chuck (gun without support).
Step 1:
WARNING
Switch off the stud welding device when the gun is con-
nected to it.
Step 2: Set the stud chuck to the required stud.
Step 3: Remove the gun support tube.
It is not mandatory to remove
the support tube, however this
makes use easier.