| Specim IQ User Manual | 36
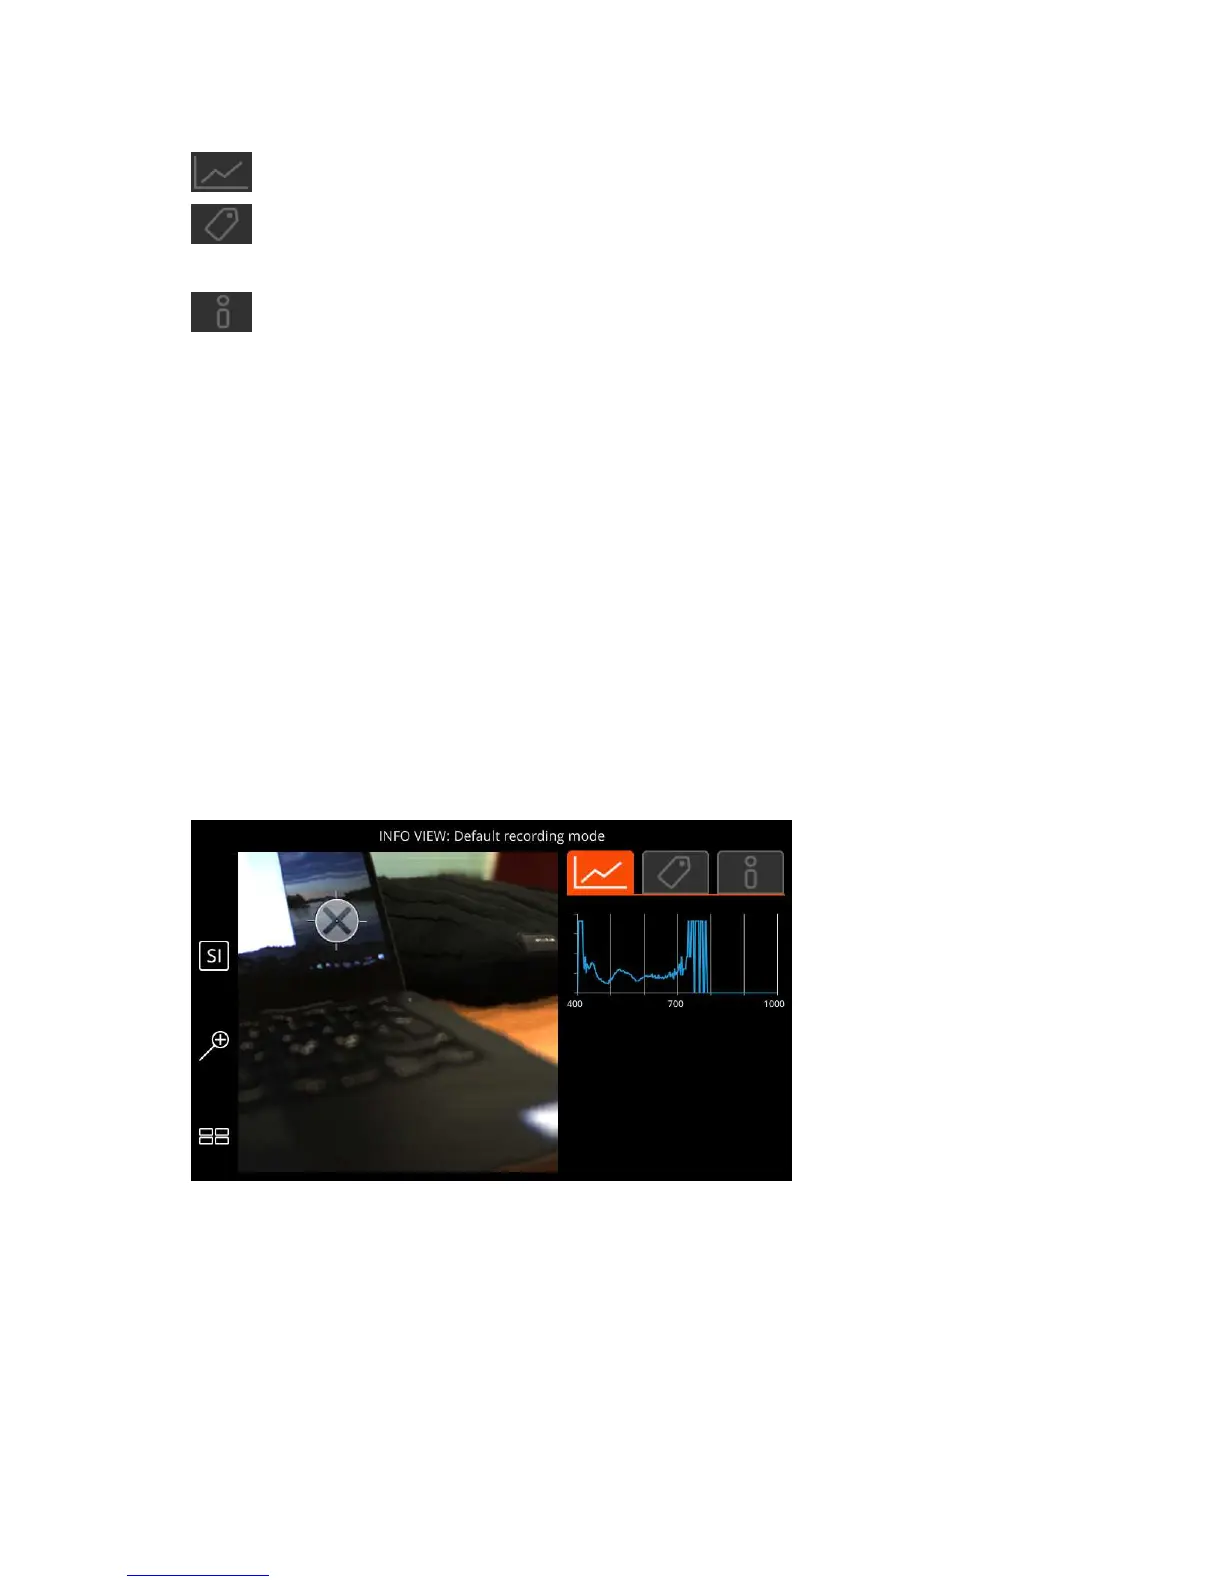
There are three tabs on the screen:
•
— Select a spot on the image, view its spectrum, and compare it with a reference spectrum.
•
— Add tags to the image.
For more information, see
Tagging Images on page 36.
•
— View image info.
In this view, you have three options:
•
Dataset info — Select this option to view more information on the dataset. See
Viewing Dataset Info on page
38.
•
Edit description — Select this option to edit the image description. See
Editing the Dataset Description on
page 39.
•
Delete — Select this option to delete the image. See
Deleting a Dataset on page 40.
Tagging Images
This section describes how to tag images on Specim IQ.
You can add two types of tags:
• A material tag refers to a specific point on the image.
• A global tag refers to the entire image.
Proceed as follows:
1.
Open the image in the INFO VIEW.
Adding a Material Tag
2.
Use the touch screen to select the desired area of interest on the image.
Figure 51: Selecting an Area of Interest
3.
Open the tags tab.
The screen below is opened: