17SPEKTRUM NX20 • TRANSMITTER INSTRUCTION MANUAL
EN
Trim Setup
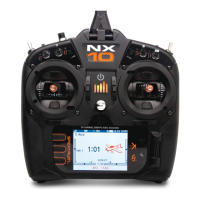
Channel Input Configuration
The Channel Input Configuration screen enables you to assign a
transmitter channel to a different control stick or switch.
1. Select NEXT on the RX Port Assignments screen to access the
Channel Input Configuration screen.
2. Scroll to the transmitter channel you wish to re-assign and
press the scroll wheel. The box around the current input
selection flashes.
3. Scroll left or right to select the desired control stick or switch.
4. Press the scroll wheel to save the selection.
Channel Assign
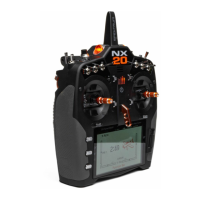
Rx Port Assignments
The RX Port Assignment screen is a sub menu past Channel Input
Configuration. Select Next in the lower right corner of the Channel
Input Configuration screen to open RX port Assignments. This
function allows you to re-assign almost any receiver channel to a
different transmitter channel.
1. Scroll to the receiver channel you wish to change.
2. Press the scroll wheel once and scroll left or right to change
the receiver input selection.
3. Press the scroll wheel a second time to save the selection.
IMPORTANT: You cannot assign a mix to a channel that has
been moved. Create the mix first, then move the channel. This
includes wing and tail type settings which feature integrated
mixing. Select the type first, then re-assign if neccesary.
NOTICE: Assignment changes made on the transmitter do not
change AS3X or SAFE settings in the receiver.
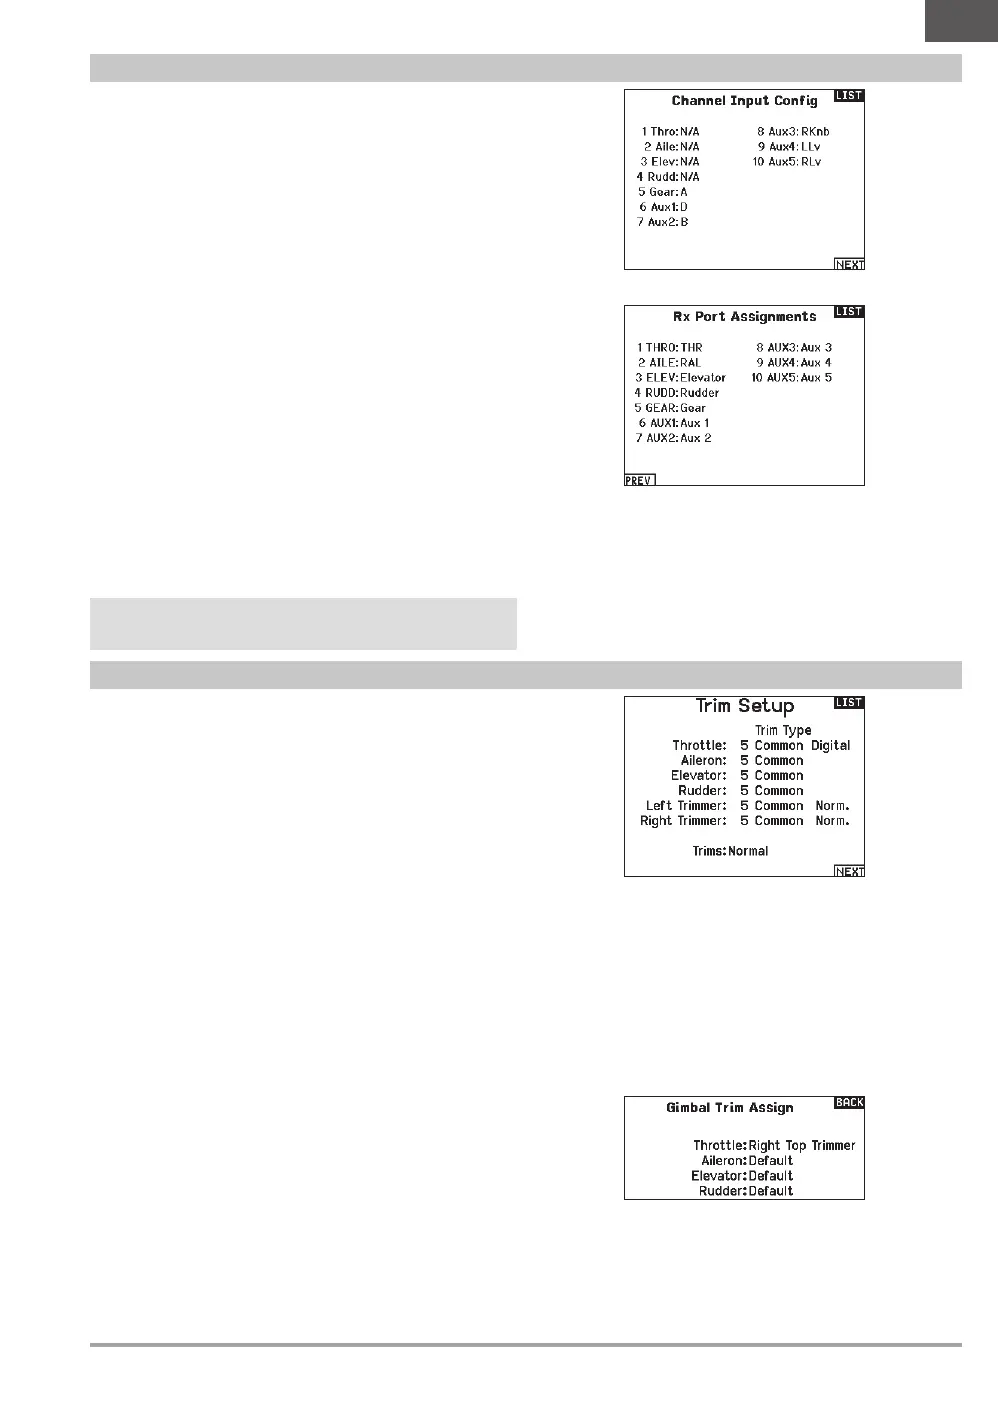
Use the Trim Setup screen to change the size of the trim step and
the trim type.
Trim Step
Adjusting the trim step value determines how many “clicks” of trim
you input each time you press the trim button. Changing the trim
step value to 0 disables the trim for the channel.
To change the trim step value:
1. Scroll to the trim step channel you wish to change.
2. Select the trim step value and scroll left or right to change
the value.
3. Press the scroll wheel to save the selection.
Trim Type
The two Trim Type options are Common and F Mode.
Common trim type maintains the same trim values for all
flight modes.
F Mode trim type enables you to save trim values for individual
flight modes if you find, for example, the aircraft requires aileron
trim in Flight Mode 1 but not in Flight Mode 2.
Trim Assignment
In a few instances, you can reassign a trim to a different
location.
Aircraft Model Type
Throttle
• Throttle Digital trim button (default)
Left Lever
Right Lever
Throttle Trim Type
• Common
• Flight Mode
Trim Location
Normal and Cross trim types are available. Normal trims align with
the control stick; for example, the throttle trim is next to the throttle
stick.
Cross trims reverse the position of the trims; for example, the
throttle trim is next to the elevator stick and vice versa.
To change the Trim Position from Normal to Crossed, select Normal
at the bottom of the Trim Setup screen and press the scroll wheel.
IMPORTANT: Crossed trims will cross both sets of trims for
both gimbals.
Gimbal Trim Assign
Select Next to view open trim mapping of the primary four flight
controls. Options for these include left or right trimmer or top
trimmer.
 Loading...