42
Now press the right rotary knob. The “Replace Filter” message
appears on the display.
Empty the water container (Fig 2) and carefully screw out the old
lter from its holder using the tool on the end of the measuring
spoon (Fig 4).
The old lter may be disposed of in your ordinary household
waste.
Carefully screw the new lter into its holder inside the water
container using the tool on the end of the measuring spoon
(Fig 4).
WARNING! Do not bend or over-tighten the filter.
Fill the container with fresh water to the “maximum” level marker
and put it back into the machine.
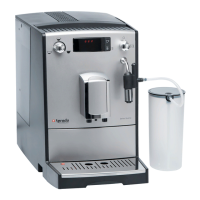
Place a suciently large vessel (with a capacity of at least 0.5
litres) under the spout (Fig 1/E) and then press the right rotary
knob.
The machine will now rinse the system. The “Filter is rinsed” message
now appears on the display.
Wait a few moments until water is no longer dispensing from
the nozzle.
The system will then go through its heating cycle. The machine is now
ready for use.
WARNING! The lter must be changed at least every two months,
even if the machine’s water consumption is low. However, no
message to that eect will appear on the display. Set the date
of your next lter change using the month indicator on the top
of the lter.
5.CARE AND MAINTENANCE
!
!