ST500 Tach-Timer Installation
© Stack Limited
11
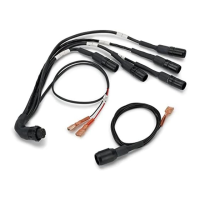
into the incorrect port. Tighten the locking collar by hand. The sec-
ond, 6-way, port allows you to connect the optional additional shift
light.
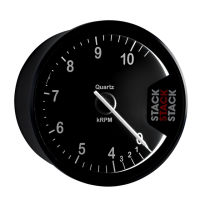
2 Fit the Tach–Timer into the instrument panel using the supplied O-
ring. Reach behind the instrument panel and position the securing
bracket as shown in Figure 4. Tighten the lock nuts to fix the Tach–
Timer into position.
Controls
The Tach–Timer includes two controls:
••
••
• Driver button
••
••
• Rotary control
The Driver button is a normally-open spring-loaded switch. The switch
closes when you press it and opens when you release it.
The rotary control is a combined push button and rotary selector switch.
For convenience, you should install both controls where the driver can
operate them easily. An ideal installation for the Driver button is on the
steering wheel within easy reach of a thumb.
Install the rotary control where you can operate it conveniently while
viewing the Tach–Timer.