Quick Start
Install the Tach-Timer and connect it to the switched
battery circuit, e.g. Ignition (B+) and battery negative (B-).
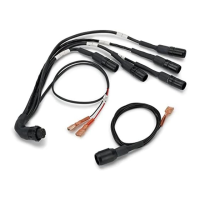
Install and connect the controls (follow the instructions
starting on page 11).
Connect the Tach-Timer ‘ES’ wire to the ignition low
tension circuit.
Connect any additional sensors supplied.
Turn on the ignition.
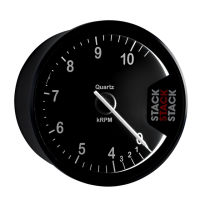
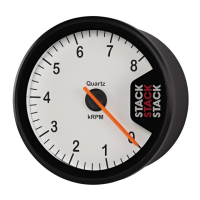
Use the Demonstration Mode to check that the Tach-
Timer is functioning normally.
Take the Tach-Timer out of its Demonstration mode:
Press the rotary selector for longer than one second,
then turn it clockwise to select ‘CYLINDERS’. Press and
turn the control to set the correct number of cylinders.
Turn the control clockwise to EXIT and then press the
control.
Use the Driver button to select LCD layers.
Use the rotary selector to select the Memory review and
Setup modes on the LCD.
Use the rotary selector to setup the Tach-Timer.
1
2
3
4
5
6
7
8
9
10