K: turn on and turn off output.
SU/SD: torch up/down.
Highlight means turn on.
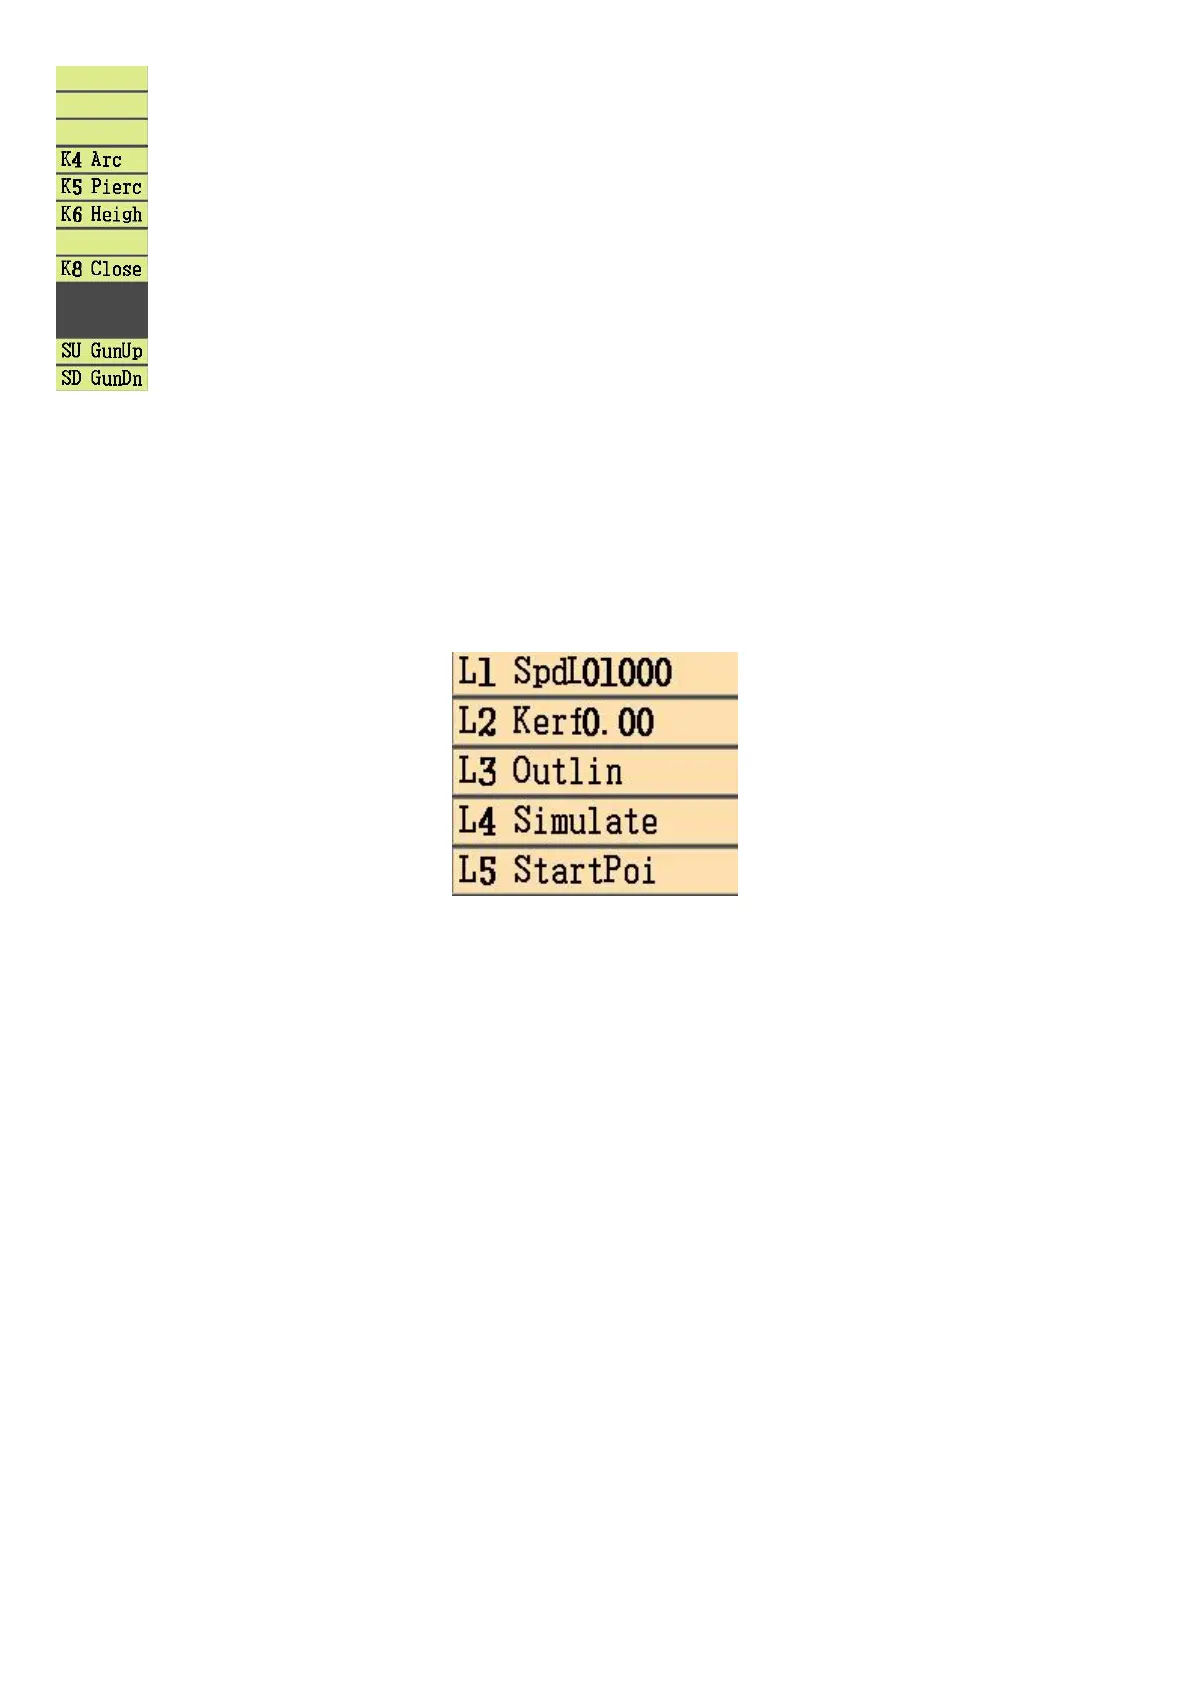
L1: set cutting speed limitation
L2: set kerf compensation
L3: outline mode, press Start, torch will move along the outline to check whether the plate is big enough.
L4: simulation run mode, press Start, torch will move along the cutting path till program ends without output.
L5: change start point, choose torch start point (initial position), change 5 different positions.
4-2 manual interface
K: turn on and turn off output.
SU/SD: torch up/down.
Highlight means turn on.
L1: set manual speed, also idle-run speed in auto mode.
L2: fast change manual speed rate, 80%-10%.
L3: continuously move, in manual mode, press direction buttons, torch moves all the time and stop when
press again.
L4: clear reference coordinate.
Note:
1. If don’t choose “continue”, then press the button to move, release the button to stop.
2. During continuously movement, press the buttons of the same or reverse directions to pause, press other
direction buttons to slantly move, press direction buttons again, stop to move in one direction.
4-3 preparation before cut
1. Cutting situation is safe, gas and plasma power source are ready, intermediate relay and solenoid valve
DC24V power on.
2. Cutting machine precision is set (CNC parameters), motor and drivers are ready.
After load the part program, check cutting mode, speed and kerf, then press Start button.