59
EN
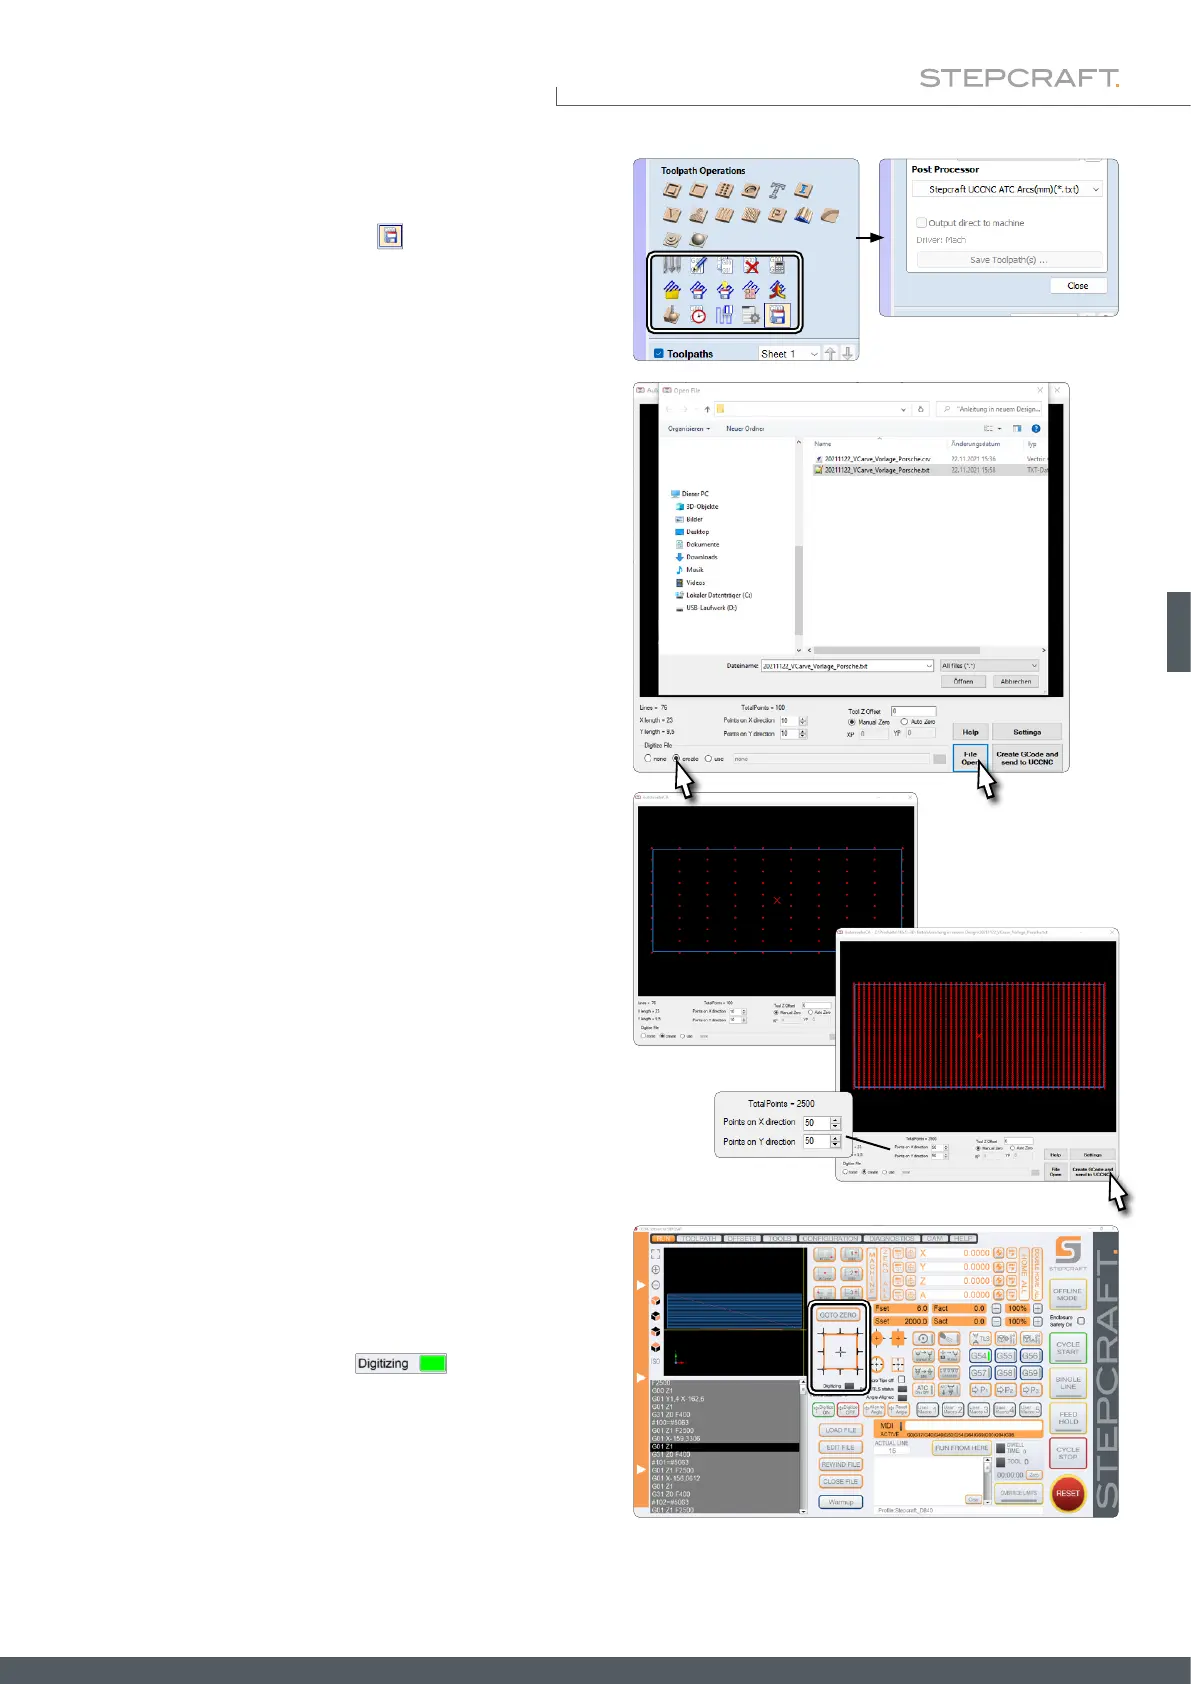
Then the Toolpath Operations menu is displayed. In this menu,
click on the Save toolpath button . Select the appropriate
postprocessor and save the le with the Save toolpath(s) ...
button. Your dummy milling program is now created.
Open UCCNC with Autoleveler CA enabled. In the plugin, se-
lect the create option. Click File Open to open a window in
which you can select and open the dummy milling program you
have just created.
Setup the plugin as you desire („6.5.1 Explanation of the Au-
toleveler CA-Plugin“).
• Number of scanning points in X- and Y-direction
• Manual or Auto Zero
• Settings
Click Create GCode and send to UCCNC to move the created code from
the plugin to the actual UCCNC main surface.
Use the macros for probing contours to determine the X-, Y-
and Z-zero points or do it manually and then click Goto Zero.
Start the milling program with Cycle Start. The surface will be
scanned. The Digitizing display switches to green.
The further procedure from here on is described in chapter
„6.5.6 3D Cloud of Points – After Scanning“.