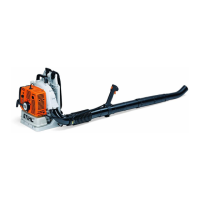
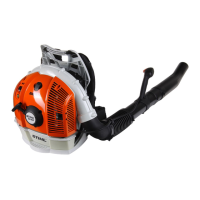
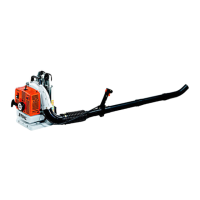
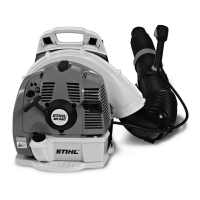
BR 80030
N Push ring (20) of pump 0000 850 1300 (31) in
direction of pump’s hose connector (vacuum).
N Operate the pump 0000 850 1300 (21).
If no vacuum is created, the tank vent (13) is operating
properly.
If a vacuum is produced, the tank vent valve (13) is
damaged and must be replaced.
Pressure Test
N Push ring (20) of pump 0000 850 1300 (21) in
direction of pump’s handle (over-pressure).
N Operate the pump 0000 850 1300 (21) until pressure
of 0.5 bar (7.25 psi) is indicated.
If the indicated pressure remains constant, the tank
housing (7) and tank vent (13) are airtight,
If the pressure drops, either the tank housing (7) or the
tank vent (13) is leaking.
N To find a leak, coat the suspect area with soapy water
and repeat the pressure test.
Bubbles will appear if there is a leak in the suspect area.
After the test
N Push the ring (20) of pump 0000 850 1300 (21) in the
other direction.
Pressure is equalized.
N Disconnect hose (19) from pump 0000 850 1300 (21)
from nipple 0000 855 9201 (18).
N Pull nipple 0000 855 9201 (18) out of fuel hose (15).
N Pull screw (17) out of the fuel hose (16).
N Install the filter housing and carburetor, @ 8.3.
N Install the shroud, @ 7.5.
N Fit the filter cover, @ 7.3.
10.5 Removing the Fuel Tank
N Preparations, @ 3.1.
N Remove pickup body (8) from fuel tank, @ 10.2.
N Take out the screws (6).
N Push powerhead/blower unit toward the backplate
and remove the fuel tank (7).
Do not remove the two hoses from the connector (12).
N Apply screwdriver 0000 890 2300 to tab (arrow) and
pry out the connector (12).
N Pull connector (12) with hose (11) out of the fuel tank
(7).
N Pull out the grommet (10).
10.6 Installing the Fuel Tank
N Fit the grommet (10) in the fuel tank (7) so that the
housing wall Is firmly seated in the grommet’s groove.
N Push connector (12) with hose (11) into the fuel tank
(7).
N Push the connector (12) into the grommet (10) as far
as stop so that the tab engages the recess in the fuel
tank (7).
N Push the powerhead/blower unit toward the
backplate and then fit the fuel tank (7) on the
backplate (4) so that the fuel tank’s pins locate in their
seats in the backplate (4).
N Insert and tighten down the screws (7).
N Install pickup body in fuel tank, @ 10.3.
10.7 Removing the Tank Vent
N Preparations, @ 3.1.
N Remove the fuel tank, @ 10.5.
N Apply screwdriver 0000 890 2300 to recess and pry
out the tank vent (13).
10.8 Installing the Tank Vent
N Coat tank vent (13) sealing ring with press fluid.
N Press the tank vent (13) into the fuel tank (7) as far as
stop.
N Install the fuel tank, @ 10.6.
10.9 Removing the Backplate
N Preparations, @ 3.1.
N Remove the fuel tank, @ 10.5.
N Take out the screws (3).
N Take out the screw (5).
N Remove the backplate (4) together with backplate (2)
and the protective screen (14).
N Take out the screws (2).
N Remove the backplate (1).
10.10 Removing the Protective Screen
N Preparations, @ 3.1.
N Remove the backplate, @ 10.9.
N Unlock retaining lugs of protective screen (14) and
remove the protective screen (14).
7
10
12
0000-GXX-6642-A0

 Loading...