0458-725-8621-B
43
English
17 During Operation
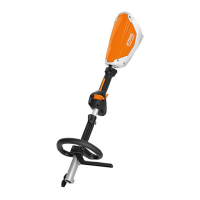
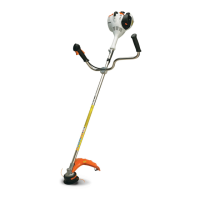
Retaining Latch (1), Trigger Switch Lockout (2) and Trigger
Switch (3)
WARNING
To reduce the risk of serious or fatal injuries, keep hands,
feet and other parts of the body away from the cutting
attachment. Do not touch the cutting attachment while the
connecting cord is inserted. Never touch the moving cutting
attachment with your hand or any part of your body,
@ 5.7.2. Keep bystanders at least 50 ft.(15m) away while
testing the controls.
To test the controls:
► Remove the connecting cord.
► Unlock the retaining latch by pushing it forward with your
thumb.
► Hold the retaining latch in the unlocked position.
► Depress the trigger switch lockout and the trigger switch.
► Release the retaining latch, trigger switch lockout and
trigger switch.
The retaining latch, trigger switch lockout and trigger
switch should return to their respective locked positions. If
they do not, take the unit to an authorized STIHL servicing
dealer to be repaired before use.
If you can depress the trigger switch without first unlocking
the retaining latch and depressing the trigger switch
lockout, take the trimmer to an authorized STIHL servicing
dealer to be repaired before use.
To further test the controls:
► Insert the connecting cord into the trimmer socket.
► Hold the power tool firmly with both hands, your fingers
wrapped tightly around the handles.
► Unlock the retaining latch and depress the trigger switch
lockout and trigger switch momentarily.
The unit should switch on. If it does not, take the it to an
authorized STIHL servicing dealer to be repaired before
use.
► Release the trigger switch.
The unit should switch off. If the cutting attachment does
not stop after you release the trigger switch, remove the
connecting cord and take the unit to an authorized STIHL
servicing dealer to be repaired before use.
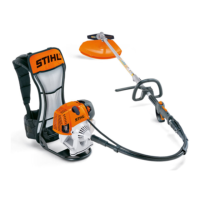
17.1 Selecting the Power Level
The unit can be operated at three different power settings,
indicated by LEDs on the control handle. The higher the
power level, the faster the cutting attachment will rotate.
To set the power level:
► Push the retaining latch (1) forward with your thumb.
The LEDs indicate the power level.
► Push the retaining latch forward, hold it for approximately
1second to activate the next power level.
Performing this operation at the highest power level will
cause the unit to return to the first power level.
Generally, battery life will be shorter when operating
continuously at the higher power levels.
17 During Operation

 Loading...