107MS 240, MS 260, MS 260 C
– Remove the backing from the
new element.
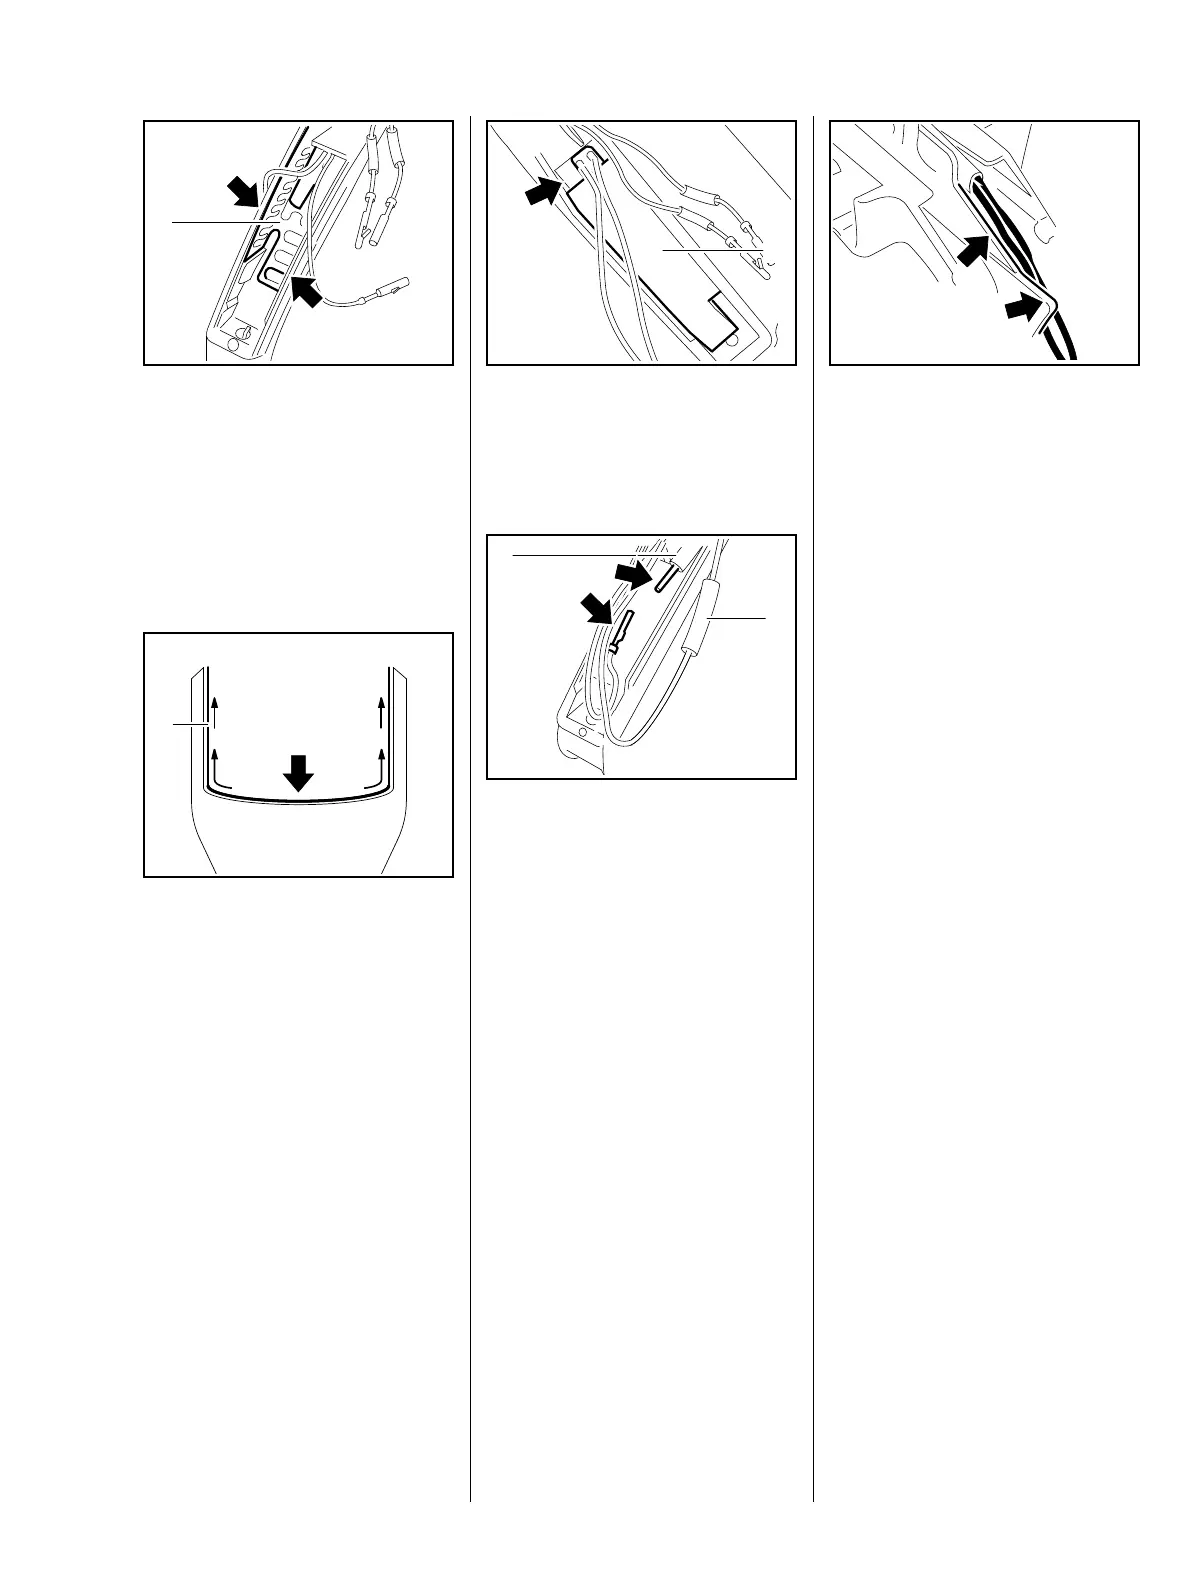
: The new heating element (1)
must be bonded in position so
that its wings are in line with the
edges (arrows) of the handle and
it lies perfectly flat.
: Place the heating element (1) in
the center of the handle (arrow)
and press firmly and uniformly
into position, from the center
outwards.
If the heating element is not fitted
perfectly flat, heat transfer to the
handle will be interrupted and the
element may fail as a result of
overheating.
165RA433 TG
1
165RA462 TG
1
: Fit the pressure pad (1) in the
handle so that the heating
element is completely covered
and only the tab (arrow) projects.
: Reconnect the pin and socket
connectors (arrows).
– Push the insulating tubes (1) over
the connectors.
– To reduce the risk of a short
circuit, make sure the insulating
tubes completely cover the
connections.
165RA434 TG
1
165RA491 TG
1
1
The wires must be in the guide
(arrow).
– When fitting the handle molding,
check that the wires are not
pinched, b 15.5
– Reassemble all other parts in the
reverse sequence.
165RA295 TG

 Loading...