29MS 240, MS 260, MS 260 C
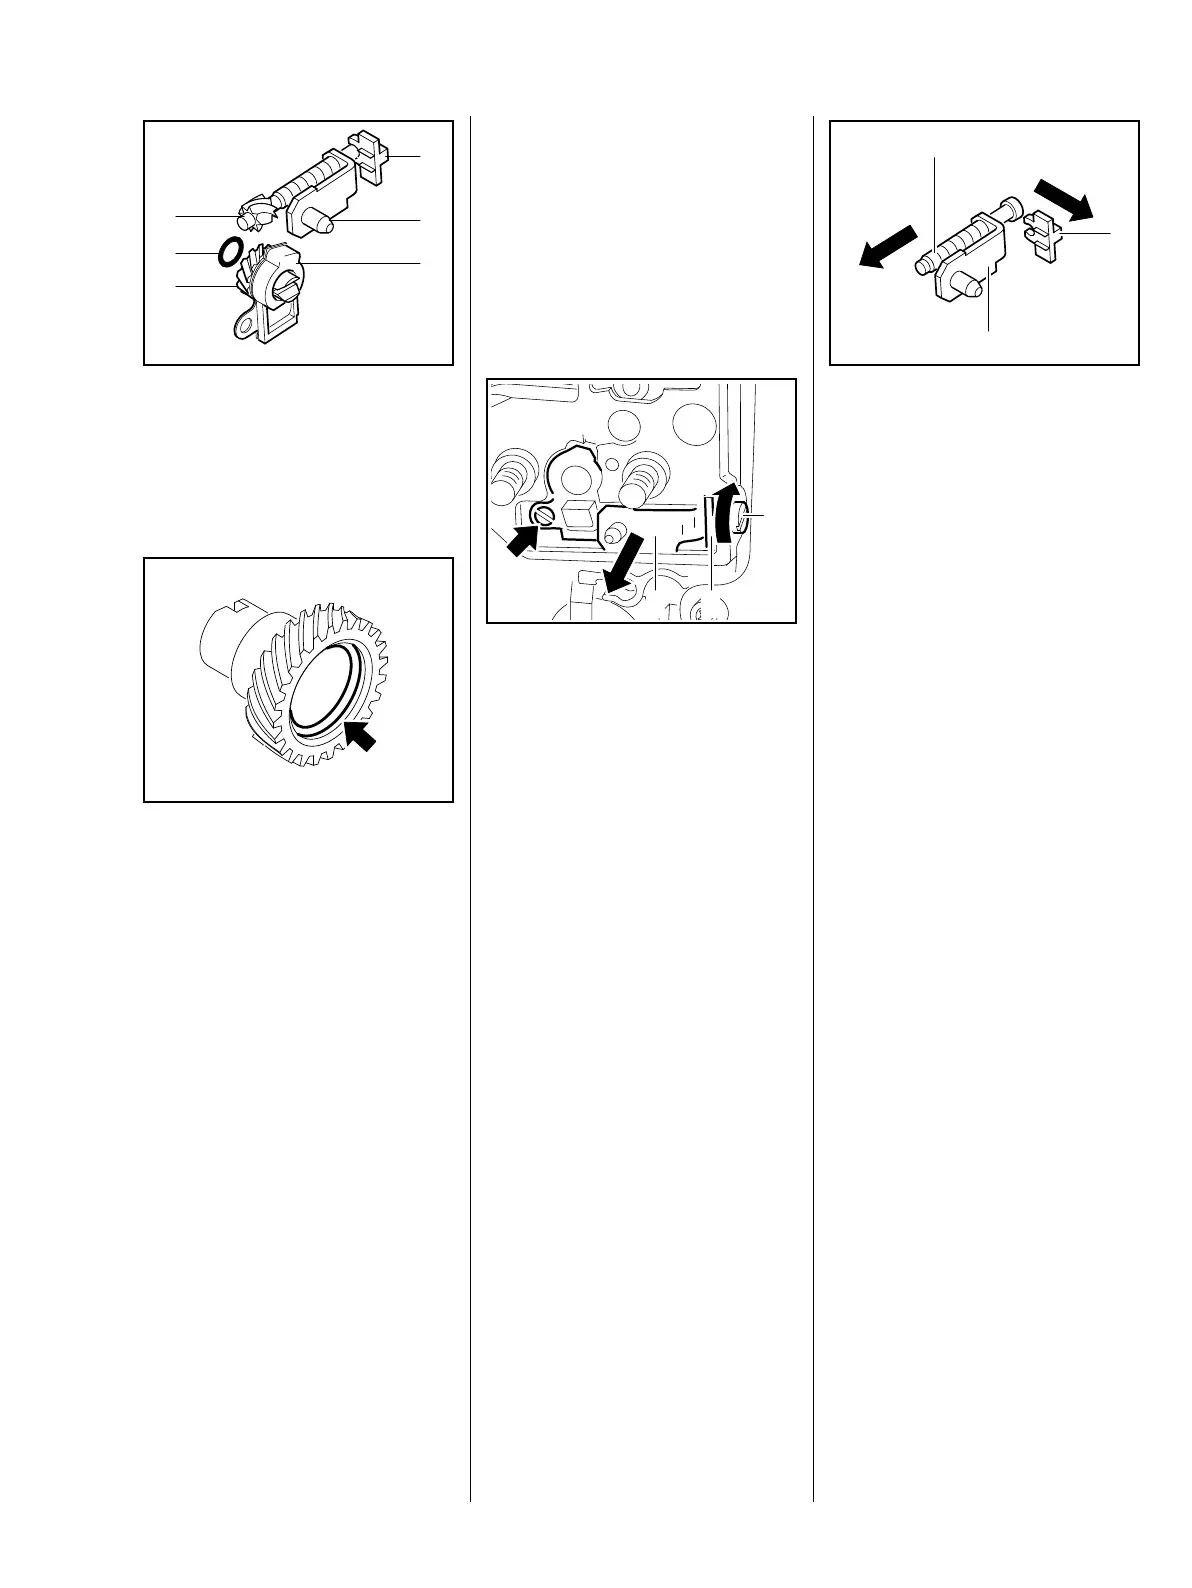
: Inspect the thrust pad (1),
adjusting screw (2), tensioner
slide (3), cover plate (4), spur
gear (5) and O-ring (6) and
replace as necessary.
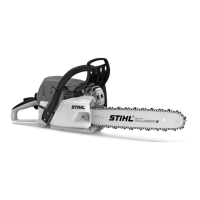
: Fit the O-ring in the spur gear
recess (arrow).
– Clean all disassembled parts with
a little standard commercial
solvent-based degreasant
containing no chlorinated or
halogenated hydrocarbons.
Always replace the adjusting screw
and spur gear as a matching pair.
– Lubricate the threads, gears and
O-ring with STIHL multipurpose
grease, b 17
– Reassemble in the reverse
sequence.
3
1
4
2
5
6
165RA461 TG
165RA458 TG
7.6.1 Front Chain Tensioner
– Remove the sprocket cover and
cutting attachment, b 5
– Troubleshooting, b 4.2
– Remove the side plate, b 7.2
: Turn the adjusting screw (1)
clockwise until the tensioner slide
(2) butts against the right-hand
end and the screw (arrow) is
visible.
: Pull out the tensioner slide (2)
with thrust pad (3).
165RA465 TG
1
2
3
: Pull off the thrust pad (1) and
unscrew the adjusting screw (2)
from the tensioner slide (3).
– Check the individual parts and
replace if necessary.
– Reassemble in the reverse
sequence.
– Clean all disassembled parts with
a little standard commercial
solvent-based degreasant
containing no chlorinated or
halogenated hydrocarbons.
– Lubricate thread with STIHL
multipurpose grease, b 17
– Reassemble all other parts in the
reverse sequence.
7.6.2 Quick Chain Tensioner
The quick chain tensioner is
installed in the chain sprocket cover.
See chapter on cutting attachment,
b 5
1
3
2
165RA463 TG