19MS 240, MS 260, MS 260 C
5. Cutting Attachment
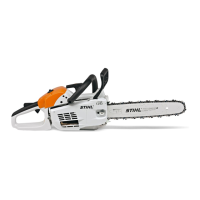
Wear gloves to protect your hands
from injury.
: Unscrew the hex nuts (1).
: Remove the chain sprocket
cover (2).
: Remove the guide bar (3) with
chain.
– Reassemble in the reverse
sequence.
Versions with Quick Chain
Tensioner
Wear gloves to protect your hands
from injury.
: Swing the wing nut (1) upright
and loosen it counterclockwise.
: Remove the sprocket cover (2)
and tensioning gear (3) with
guide bar (4).
– Reassemble in the reverse
sequence.
1
2
3
165RA002 TG
2
1
4
165RA464 TG
3
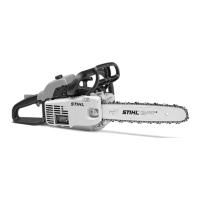
: Carefully pry the wing nut (1) out
of the sprocket cover (arrow).
– Check the wing nut (1) and
replace if necessary
– Swing the wing nut (1) upright.
: Push the wing nut (1), thin side
first (see arrow), into the opening
and press it down until it snaps
into positon.
: Take out the screw (arrow).
– Remove the cover plate (1) and
adjusting wheel (2).
1
165RA469 TG
1
165RA007 TG
1
165RA455 TG
2
When installing the adjusting wheel,
make sure its teeth point
inboard.
– Reassemble in the reverse
sequence.
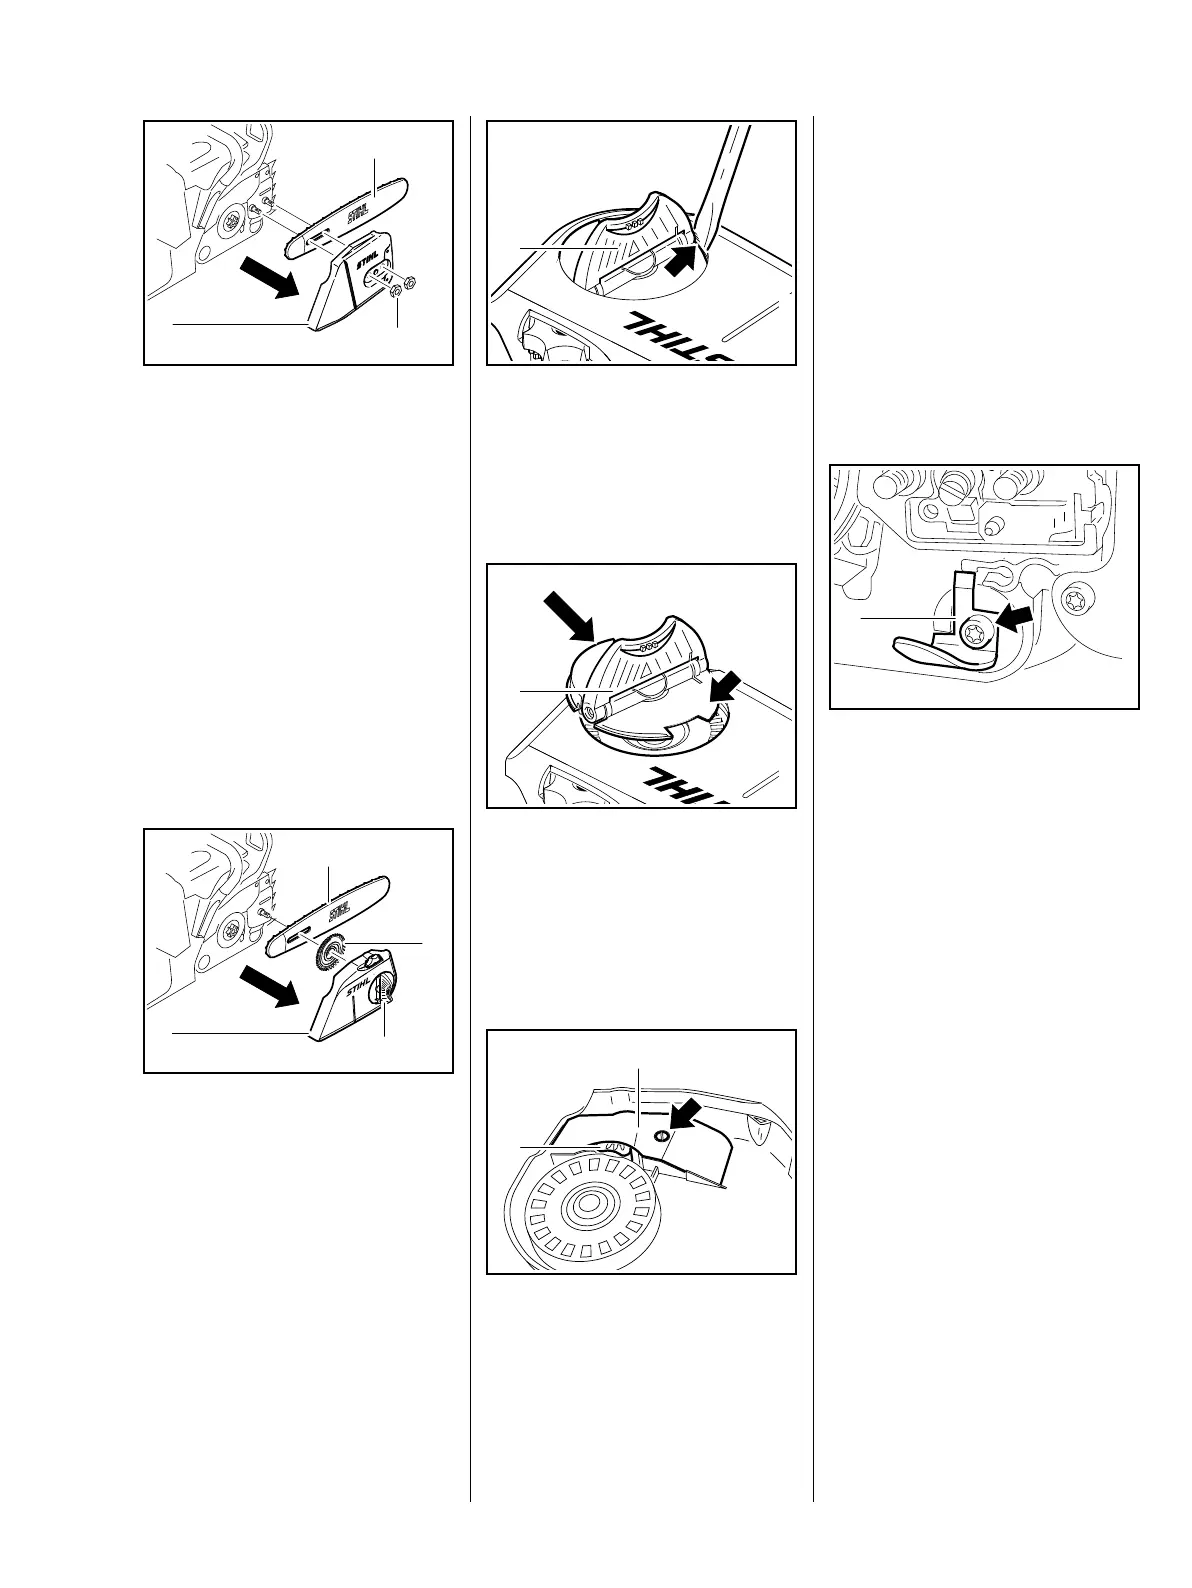
5.1 Chain Catcher
– Remove the sprocket cover and
cutting attachment, b 5
: Take out the screw (arrow) and
remove the chain catcher (1).
– Reassemble in the reverse
sequence.
– Tightening torques, b 3.5
165RA247 TG
1

 Loading...