49MS 240, MS 260, MS 260 C
: Remove the sleeve and slip it
onto the other end of the shank –
the inner pin must point towards
the flat face.
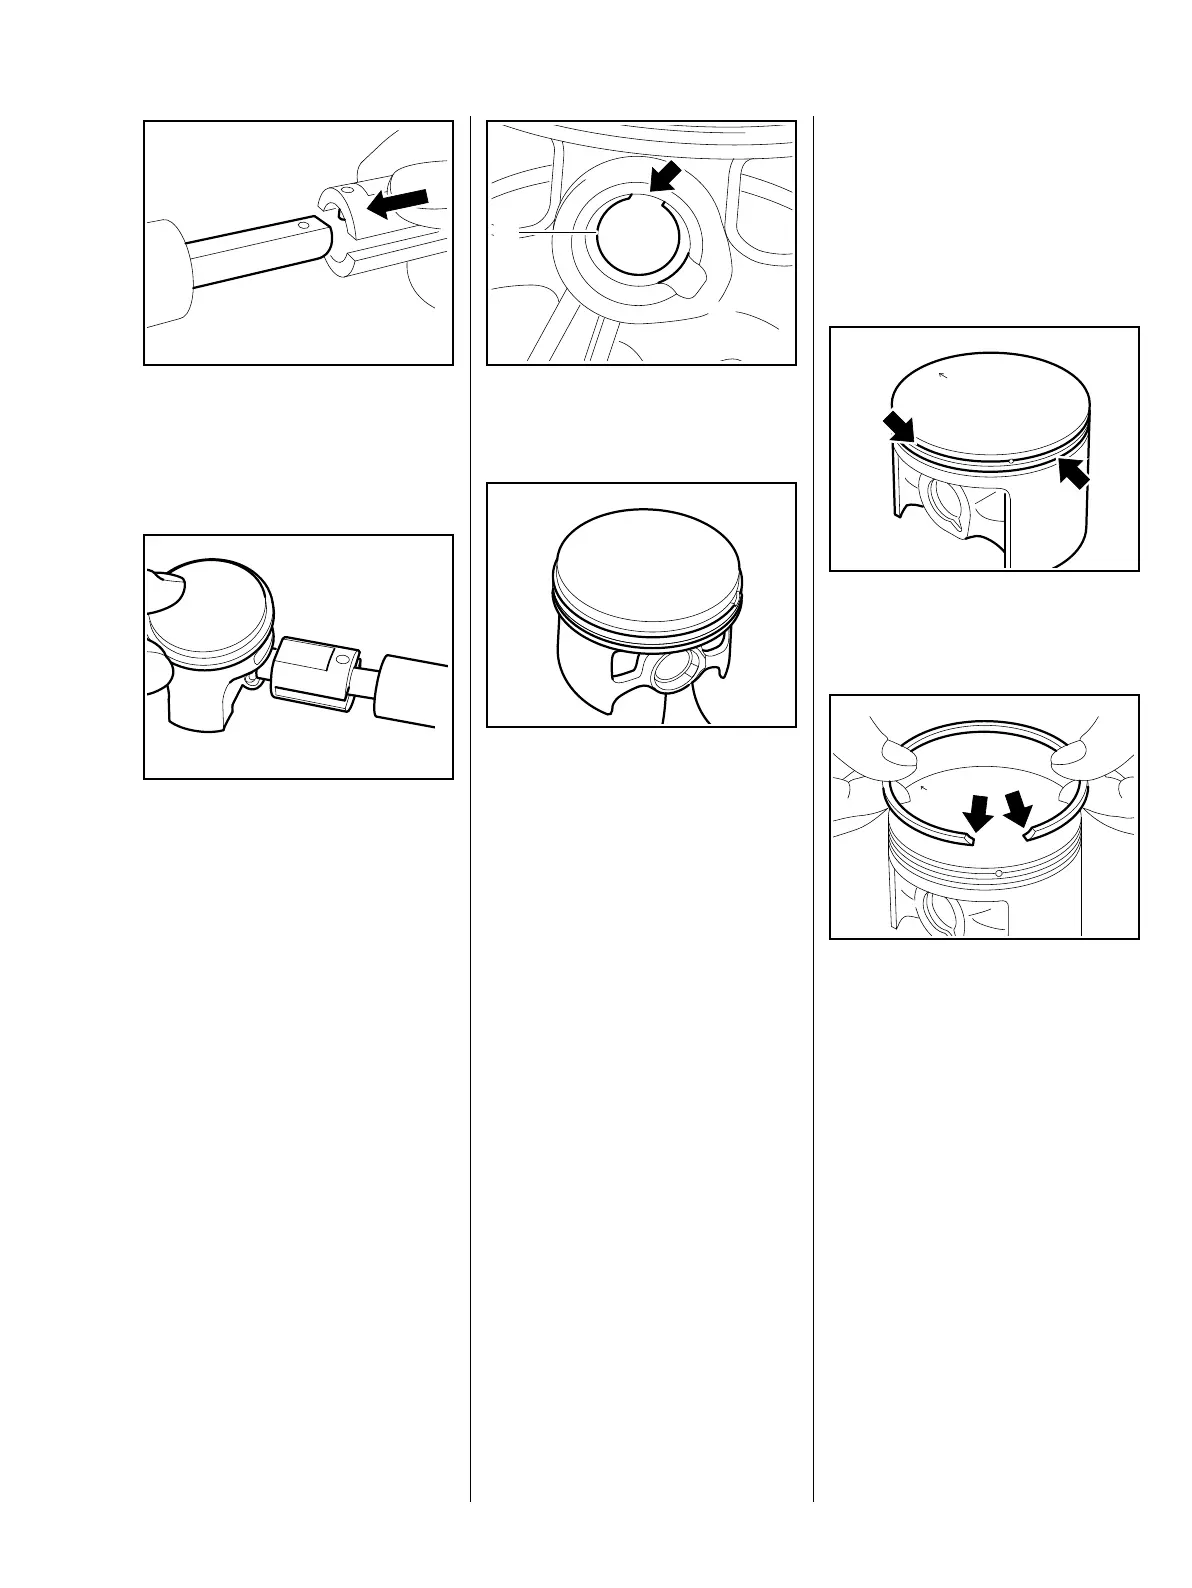
: Apply the installing tool
5910 890 2210 with the sleeve’s
taper against the piston boss,
hold the piston steady, center the
tool shank exactly and press
home until the snap ring slips into
the groove.
Make sure the tool shank is held
square on the piston pin axis.
165RA156 TG
165RA157 TG
Fit the snap ring (1) so that its gap
(arrow) points either up or down.
– Inspect the piston rings and
replace if necessary, b 8.8
– Install the cylinder, b 8.5
– Reassemble all other parts in the
reverse sequence.
– Tightening torques, b 3.5
165RA158 TG
1
165RA159 TG
8.8 Piston Rings
– Remove the piston, b 8.7.1
– Remove the piston rings from the
piston.
: Use a piece of old piston ring to
scrape the grooves clean.
: Install the new piston rings in the
grooves so that the radii face
upward (arrows).
165RA160 TG165RA161 TG