11
BASIC SETUP
Follow the Site Preparation Guide to ensure that your facility is effectively and safely prepared for printer
installation. Do not proceed with the following sections until the “Unpacking the Printer” section of the Site
Preparation Guide has been completed. When installation is complete, perform the following setup tasks.
• Verify that the startup materials have been removed from the oven chamber. If not, remove these
items. See “Additional Components - Startup Materials” on page 10 for details on the startup
materials.
• Open the top cover and ensure that the orange clip has been removed from the X belt, and the
orange tie wrap has been removed from the X motor. If not, remove the orange clip and/or orange tie
wrap securing these components.
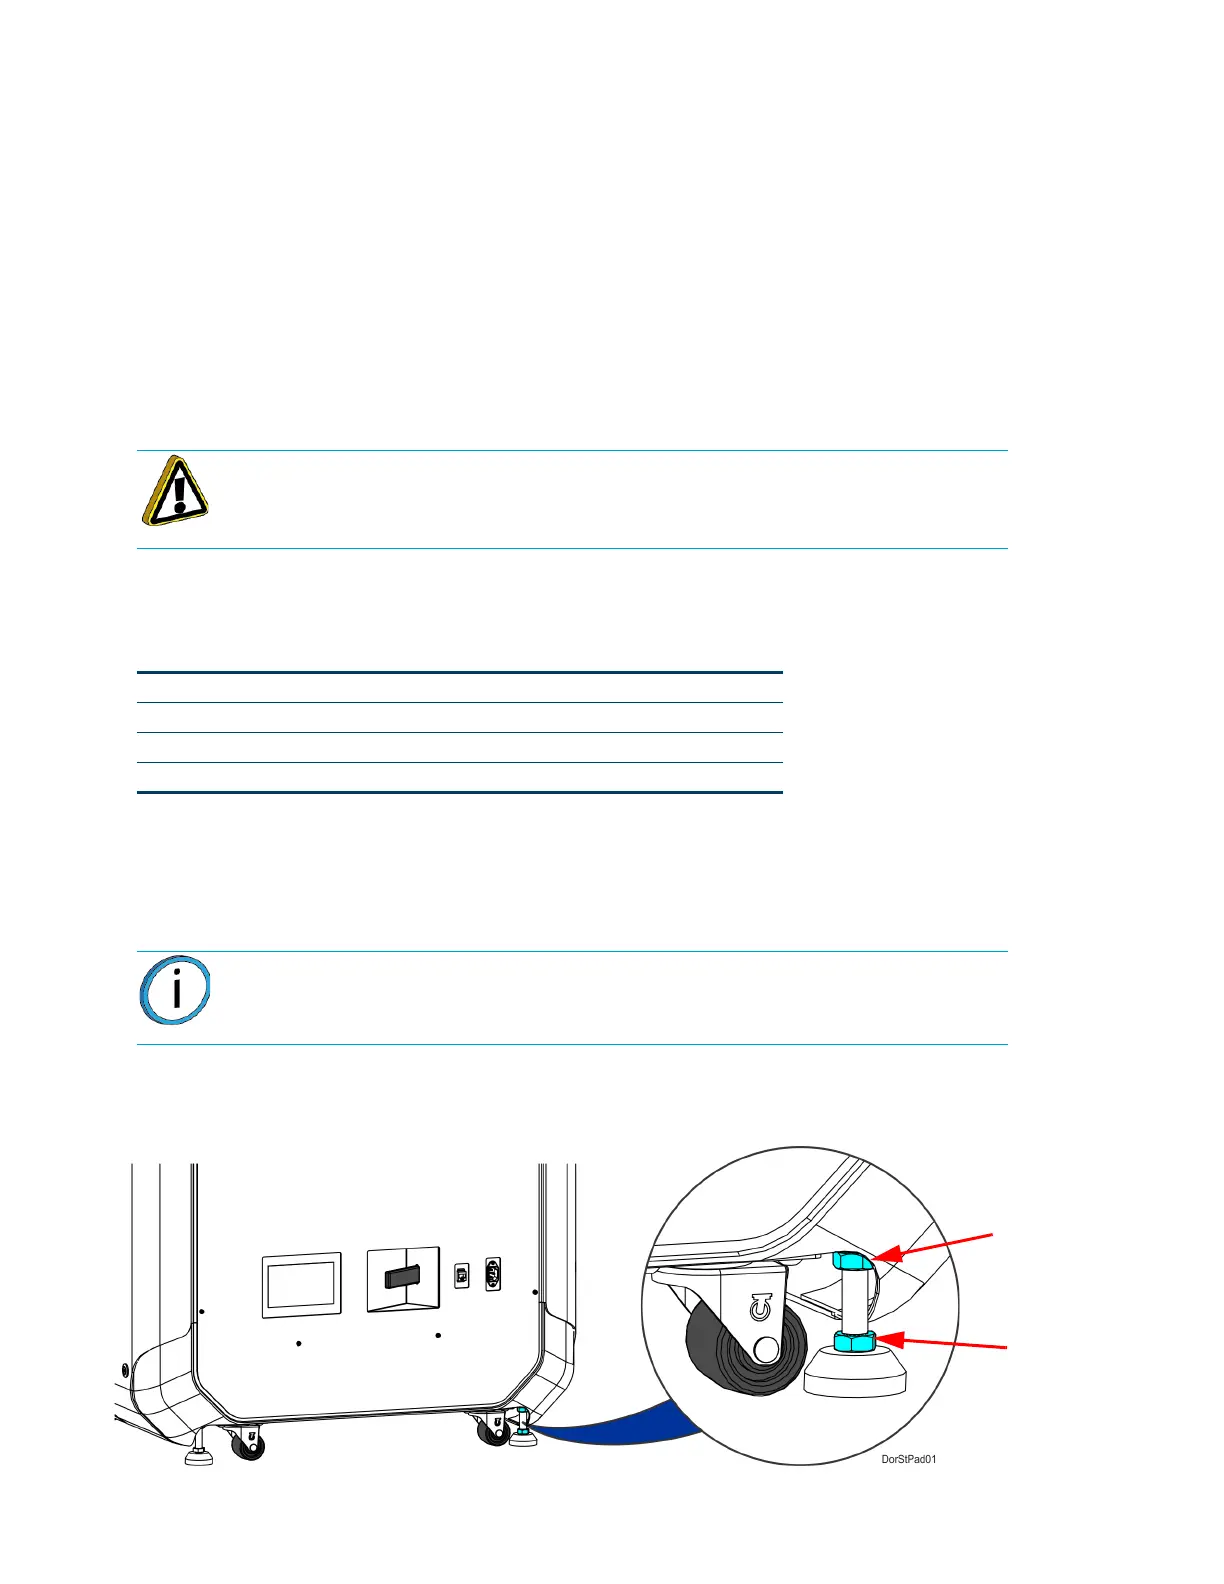
STABILIZING THE PRINTER
To stabilize the printer:
1. Roll the printer to its desired operating location and verify that minimum space requirements
have been met.
2. Thread the stability pad jackscrew downward until the stability pad makes contact with the floor
(see Figure 2-5).
3. Turn the jackscrew an additional 1-2 turns downward and set the locknut firmly against the lower
frame member (see Figure 2-5).
4. Repeat step 2 and step 3 to set all remaining stability pads.
Figure 2-5: Stability Pad Jackscrew Adjustment
Caution: The stability pads are used to stabilize the printer after it has been
moved to its desired operating location. The stability pads must be set prior to
printer operation.
Side Clearance Minimum 4 inches (10.16 cm) on each side
Rear Clearance Minimum 6 inches (15.24 cm)
Front Clearance Minimum 20 inches (50.80 cm)
Overhead Clearance Minimum 20 inches (50.80 cm)
Note: Ideally, each caster wheel will remain in slight contact with the floor and
using minimal force, be able to be rotated.