Chapter 2 Installing the Server Into a 19-Inch Cabinet 15
4. Repeat Steps 2 and 3 for the right lower side panel.
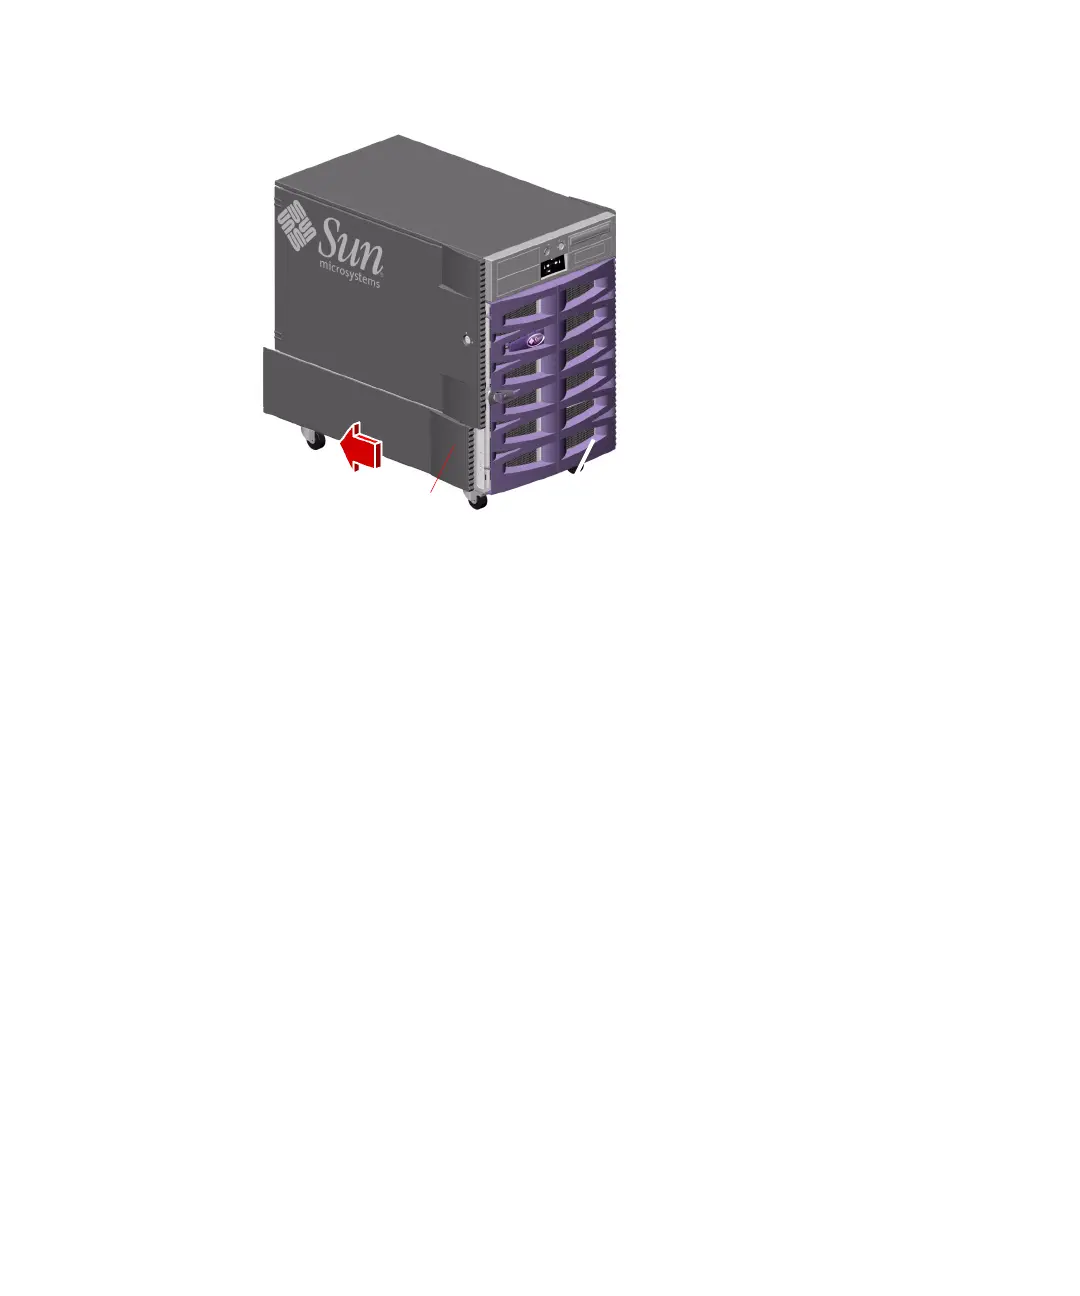
5. Place the fenders, lower side panels, and screws into the kit carton for
safekeeping.
You will need to reinstall these parts if you reconfigure the server as a deskside unit.
Install the Lifting Handles
1. Locate the four lifting handles provided with the rackmounting kit.
2. Install two lifting handles on one side of the server using two M4 screws to attach
each handle to the lower side of the server.
a. With the THIS SIDE UP label facing upward, insert the screwdriver through
one of the access holes on the outside of the handle.
Using the access hole makes it easier to reach the screw hole on the inside of the
handle.
b. Position the screw on the inside of the handle in the hole that is opposite the
access hole.
c. Attach the handle to the server using the appropriate screw hole just below the
server side door. See the following figure.
d. Finish installing the handle by repeating the procedure using the second access
hole on the outside of the handle.
Trim strip