Drive Axle
Page 40
E-451 & E-457
ME-45X-01
DIFFERENTIAL ASSEMBLY (3RD
MEMBER)
Disassemble
Note: Bearings and races must be replaced
as a set. If any one bearing or race is
worn, its mate must also be replaced. It is
recommended to replace all bearings and
races in the 3rd member as a set.
1: Drain the oil from the differential housing and
chain case. Refer to section Change Oil for
information regarding draining the oil.
2: Remove the transmission assembly from the
vehicle.
3: Remove both rear axle assemblies. Refer to
section Axle Shaft for information regarding
removing the axles.
4: Remove the chain case and backing plate
from the 3rd member. Refer to section Primary
Reduction Case information regarding removing
the chain case.
5: Remove the nuts holding the 3rd member to the
axle housing and remove the 3rd member from
the housing.
6: Install a spacer on the pinion shaft so that the
pinion nut can be installed and tightened.
7: While rotating the pinion shaft, tighten the pinion
nut to 100 foot pounds (140 Nm).
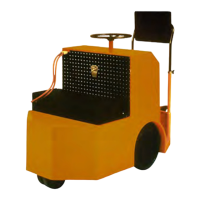
8: Measure and
record the ring
and pinion gear
backlash. This
setting will be
used during
reassembly.
This section is one section of a complete service
manual. Before starting any procedure, read all
warnings and instructions that are located in the
Service Guidelines chapter.
WARNING
9: Remove the pinion housing and pinion gear from
the 3rd member.
Note: Do not lose the spacers and shims in the
pinion housing or the pinion housing shim(s).
10: If required, remove the rear tapered bearing from
the pinion shaft and discard.
Note: Do not remove the bearing unless it requires
replacement. Removing the rear bearing will
damage the bearing. Replacing this bearing
will require re-shimming of the pinion shaft.
11: If required, remove the bearing races from the
pinion housing.
12: Mark the differential bearing caps and
3rd member housing so that they can be
reassembled in their
original location.
Note: The caps cannot
be interchanged
or replaced.
If the caps are
lost or damaged
then the entire
3rd member
assembly must
be replaced.
13: Remove the differential bearing caps, bearing
adjusting nuts and races.
14: Remove the differential assembly from the 3rd
member.
15: Mark the ring gear and differential housing so
that the ring gear can be reinstalled in the same
orientation.
16: Remove the bearings from the differential
housing and discard.
Note: Removing the bearings will damage the
bearings. Do not remove the bearings unless
they require replacement.
17: Remove the ring gear from the differential
housing.
18: Remove the
differential shaft
locking roll pin.
19: Split the 2-piece
differential
housing.
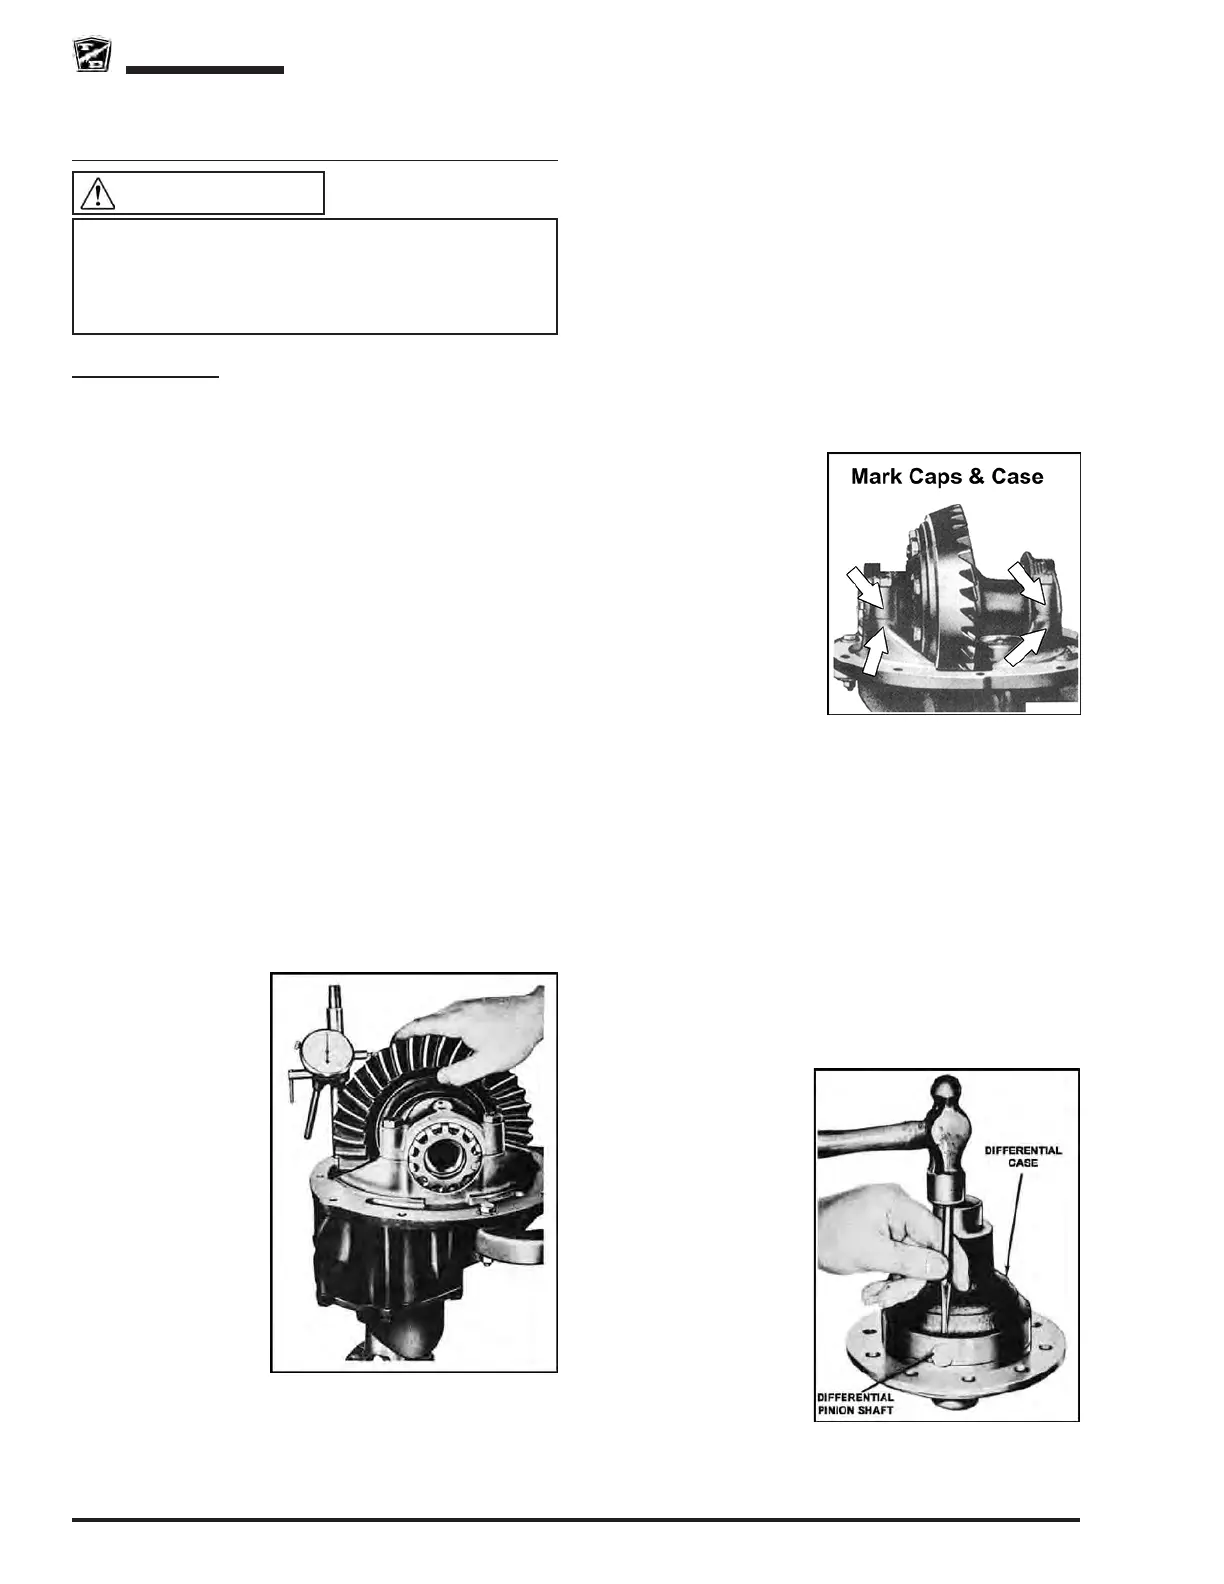
20: Drive the
differential pinion
shaft out of the
housing with a
brass drift punch.
21: Remove the
differential gears,
axle gears, and
thrust washers.