Setting the IP address DHCP network- Ethernet
A Dynamic Host Configuration Protocol (DHCP) network automatically
allocates network IP addresses and settings to DHCP-enabled instruments like the
TBS2000B Series oscilloscope. Use this procedure to turn DHCP-capability on
and enable the oscilloscope to obtain an IP address from the network DHCP
server.
NOTE. DHCP-generated IP addresses can change each time the oscilloscope is
powered on and requests an IP address from the DHCP server. If the
oscilloscope needs a permanent unchanging IP address, contact your system
administrator to obtain a permanent IP address and then add it manually to the
oscilloscope.
Prerequisite: The oscilloscope must be connected to a DHCP-enabled network.
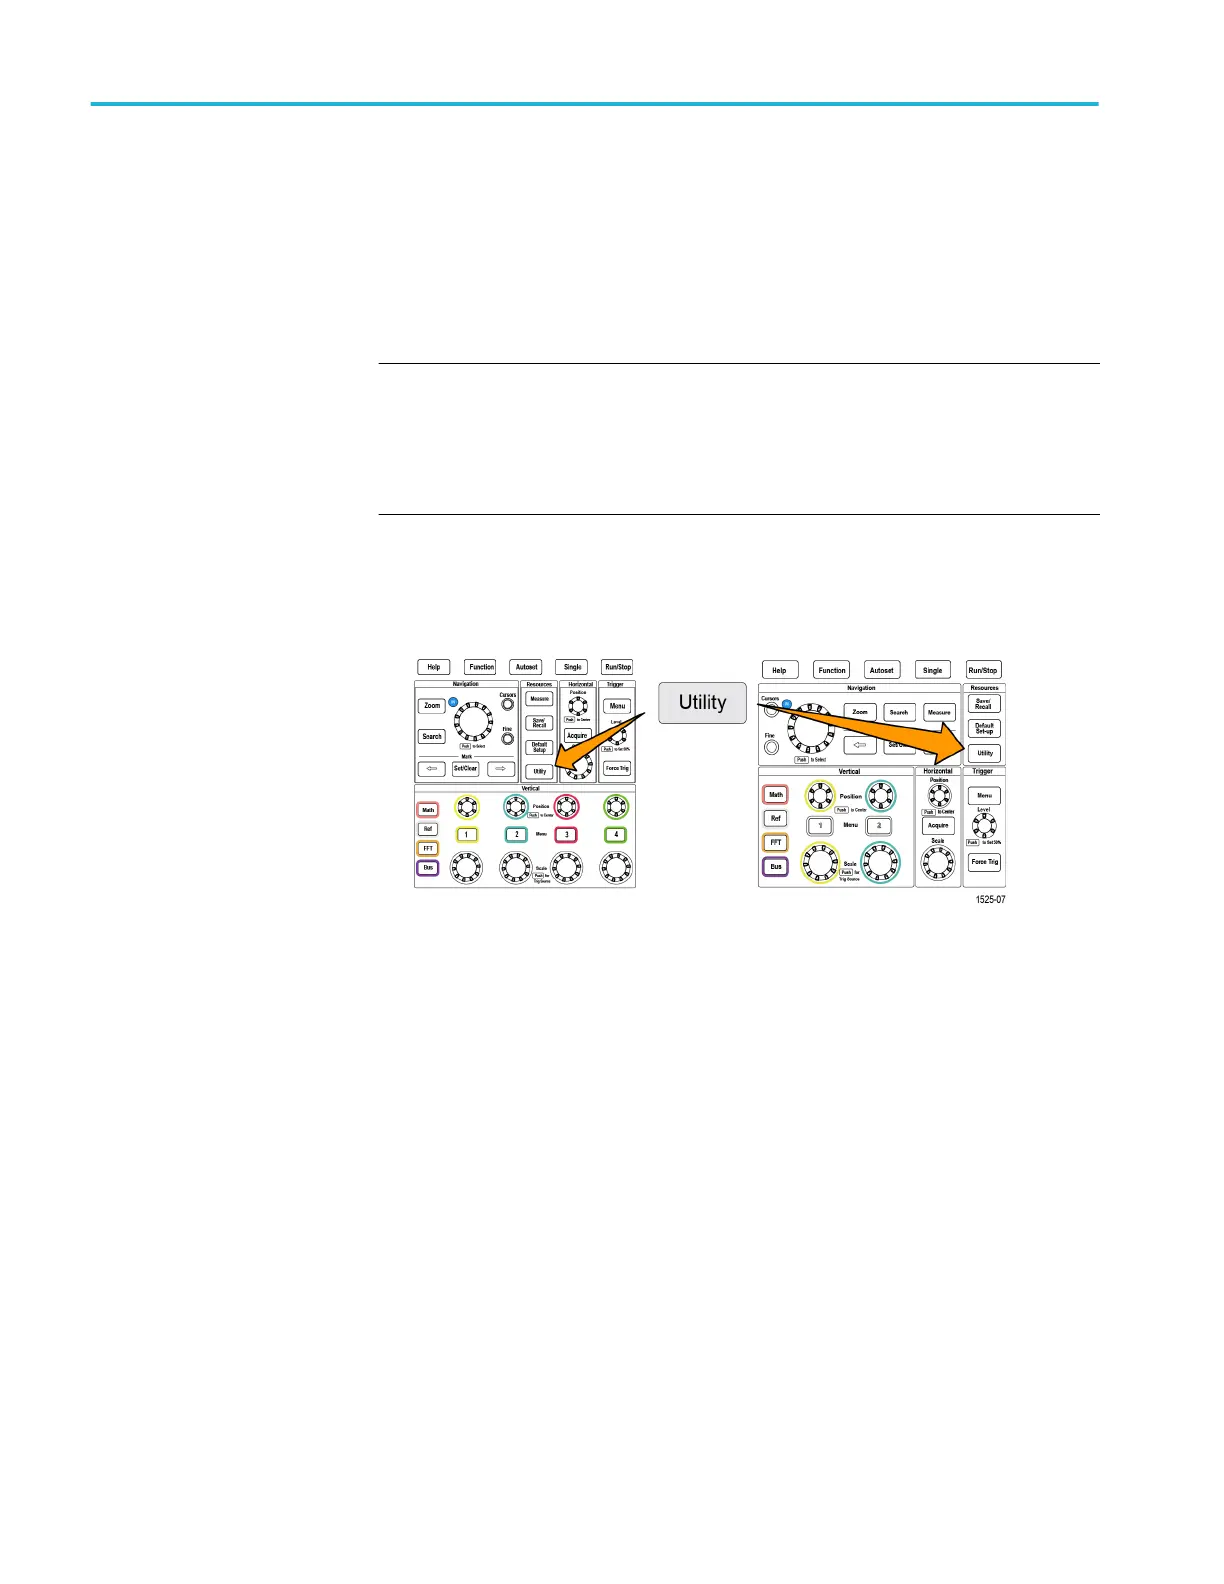
1. Push Utility front-panel button.
2. Push the Config side-menu button.
3. Use the Multipurpose knob to select and click Ethernet Config.
4. Highlight DHCP.
5. Push the Multipurpose knob to select ON. The oscilloscope takes a few
moments to request and load the IP address from the DHCP server. The LAN
Test menu items should now show OK, and the network connection icon
(upper right edge of screen) should be on (white).
6. You can find out the IP address that was loaded into the oscilloscope. See
Viewing the IP address - Ethernet on page 153.
Setting up the LAN network
154 TBS2000B Series Oscilloscopes User Manual
 Loading...