Software Installation
www.ti.com
6. Wake up the part by momentarily connecting the 15k resistor to the bench supply positive.
7. Monitor the CHG and DSG test points using a meter or oscilloscope as desired.
8. Enable the load with a nominal 0.2A or other current within the capability of the supply.
9. Increase the bench supply voltage to ~43V and observe the CHG test point goes low.
10. Reduce the voltage to ~36V and observe the CHG test point returns high.
11. Decrease the voltage to ~25V and observe the DSG test point goes low and the load current drops.
The device will shut down after 9 seconds at low voltage.
12. Remove the load and connect the CHGCTL resistor to the supply to simulate a charger.
13. Increase the supply voltage to ~36V and observe the DSG test point goes high, and if the load is re-
connected that current flows again.
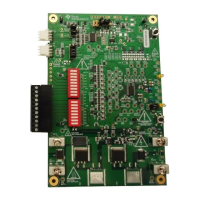
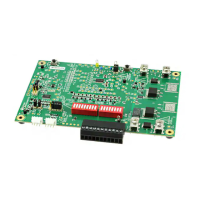
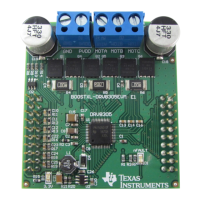
3.6 Cell Connections
For initial evaluation, it is suggested power supplies be used for cell simulation to observe the behavior of
the device. An isolated power supply with a resistor connected across its terminals may be connected to
test points on the resistor simulator to vary the voltage above or below the voltage of the other cells, or a
similar configuration may be used. The smaller the resistor value, the more current is required from the
battery simulator power supply and the smaller the influence on the voltages if cell balancing is operated.
Whether power supplies or cells are used, inductance in the high current path should be minimized.
Inductance in this path can cause inductive transients at the board when the load current is stopped or the
bq77910A opens the discharge FET with current flow. Use heavy gauge wires for the high current
connections; minimize inductances by keeping leads close together.
When connecting cells to the EVM, the user should use care not to exceed the absolute maximum ratings
of the device. The bq77910A is designed with open cell (wire) detection, however fixturing should not pull
un-connected signals up or down. Signal reference (VSS) for the part is from the BATT– terminal of the
EVM, and this lowest potential should be connected first. Cells should be connected in sequence from
lowest to highest voltage as described in the data sheet. When terminating the cells to the removable
terminal blocks prior to connection to the EVM, the following steps are recommended:
1. Be sure the charger and any load is disconnected (CHGCTL is open).
2. Connect the cell stack negative high current terminal to the EVM BATT– terminal.
3. Connect the lower cell group to the J5 connector.
4. Connect the upper cell group to the J4 connector.
5. Connect the cell stack positive high current terminal to the EVM PACK+ terminal.
6. When removing cells, remove any charger and CHGCTL connection, then disconnect in the reverse
order.
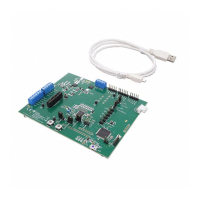
4 Software Installation
This section describes how to install the software for the bq77910AEVM-001.
The bq77908-10-GUI-SW supports the bq77910A and is described in this document as bq77910A
evaluation software.
4.1 System Requirements
The bq77910A evaluation software requires a 32-bit version of Windows XP, Windows Vista
®
or
Windows 7. The computer must also have Microsoft .NET framework version 2.0 or higher installed.
Examples in this document are from Windows XP.
4.2 Interface Adapter
The bq77910A evaluation software supports either the TI USB-TO-GPIO adapter (TI USB Interface
Adapter) or the Total Phase Aardvark™ to provide communication with the EVM board from the computer.
The , the Aardvark must be selected if desired. The EVM connector supports the TI USB Interface
Adapter, a special cable must be constructed if you wish to use the Aardvark.
8
bq77910AEVM SLUU855–February 2012
Submit Documentation Feedback
Copyright © 2012, Texas Instruments Incorporated