Portable Connector Chapter 9: Control Tabs
Page 45 TTN169162-D02
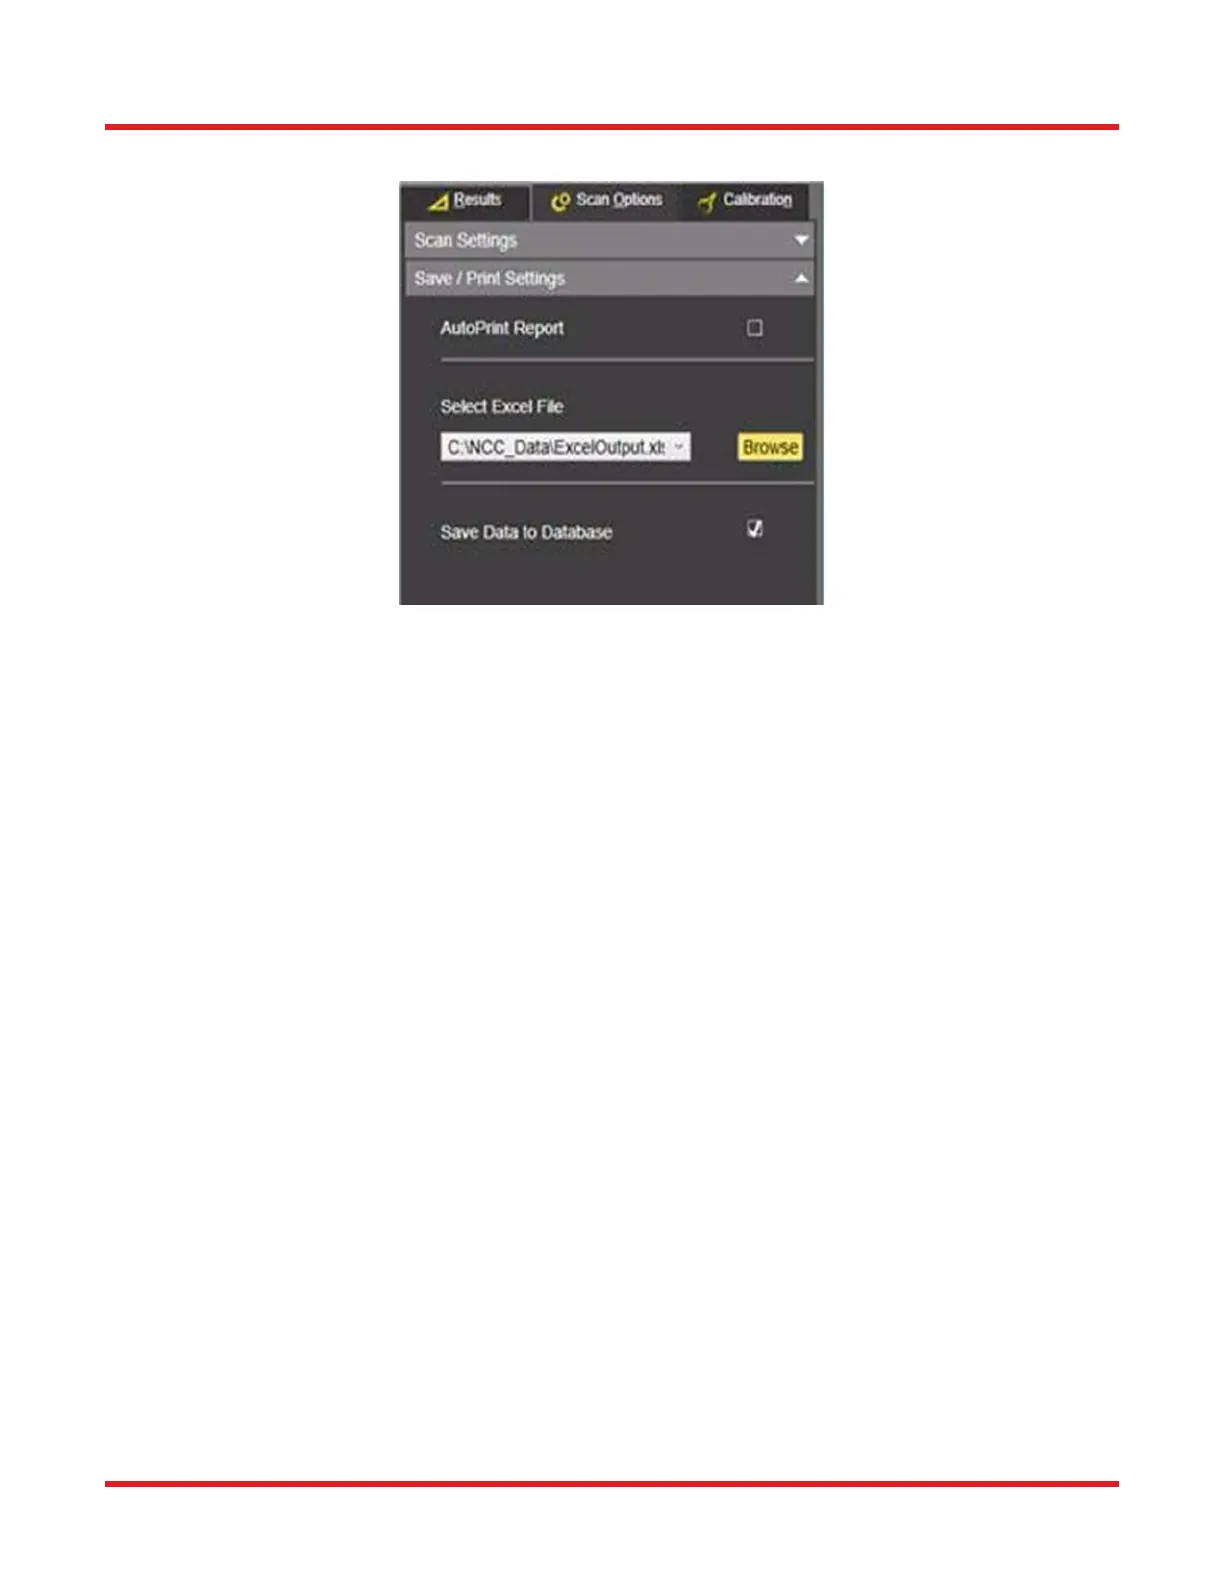
9.2.2. Save/Print Settings Subtab
• Auto Print Report: If selected, this feature allows the user to enable automatic printing of a Report to occur
after each successful scan, in a report format determined in the Report dialog (see page 33.) The
report will be sent to the Default printer of the computer.
• Save Data to Database:
o When this option is unchecked: no measurement information (quantitative results and images) will
be saved to the database or Excel file and no reports of scans done during the time it was
unselected can be generated.
o When this option is checked: all measurement information (quantitative results and images) will be
saved to the database as well as exported to the current Excel file. This feature must be selected
if it is desired for Reports to be generated and printed (see page 33.).
▪ Program Default Database: The default databases used by CC6000 Software are of
Microsoft SQL Server type. One is named ‘Thorlabs.mdf’ and holds measurement
information. The other is named ‘ncc.mdf’ and holds User Login information. Both are
created locally at time of CC6000 Software installation (typically in the “C:\Program
Files\Microsoft SQL Server\MSSQL11.TLSQLEXPRESS\MSSQL\DATA” directory.
▪ Establishing a Remote Database: These databases can be created at a remote location, if
desired, by running the CC6000 Software installation on the computer where the remote
database is to be located. These databases can also be set up for access (authentication)
via a user- specified UserID and Password. The following file edit is required to enable use
of a remote databases with user-customized authentication:
• Open the file named NorlandGlobal.xml, located by default in the “C:\Program Files
(x86)\Thorlabs\CC6000 directory, for editing using an XML or text file editor.
• Insert the following three lines before the line in the file that reads “</
GlobalSettings>”.
o <SQLHost></SQLHost>