Portable Connector End Face Geometry Interferometer Chapter 9: Control Tabs
Rev B, April 16, 2019 Page 46
o <SQLLogin></SQLLogin>
o <SQLPassword></SQLPassword>
• Between the center “>” and “<“ in each inserted line, add the computer name of
remote Host (but appended with “\TLSQLEXPRESS”, without quotes), new remote
database Login (if set by user to be different than program default of NCC6000),
and new remote Password (if set by user to be different than program default of
Thorlabs2019).
o Example:
▪ <SQLHost>RemotePCName\TLSQLEXPRESS</SQLHost>
▪ <SQLLogin>CustomerID1</SQLLogin>
▪ <SQLPassword>Test123</SQLPassword>
Select Excel File:
Displays the current text file that measurement information is being stored to. A new file can be created by
clicking the Browse button, selecting a location to store the Excel file, and typing a new name into the filename
field. Alternatively, an existing file can be chosen to append new information into.
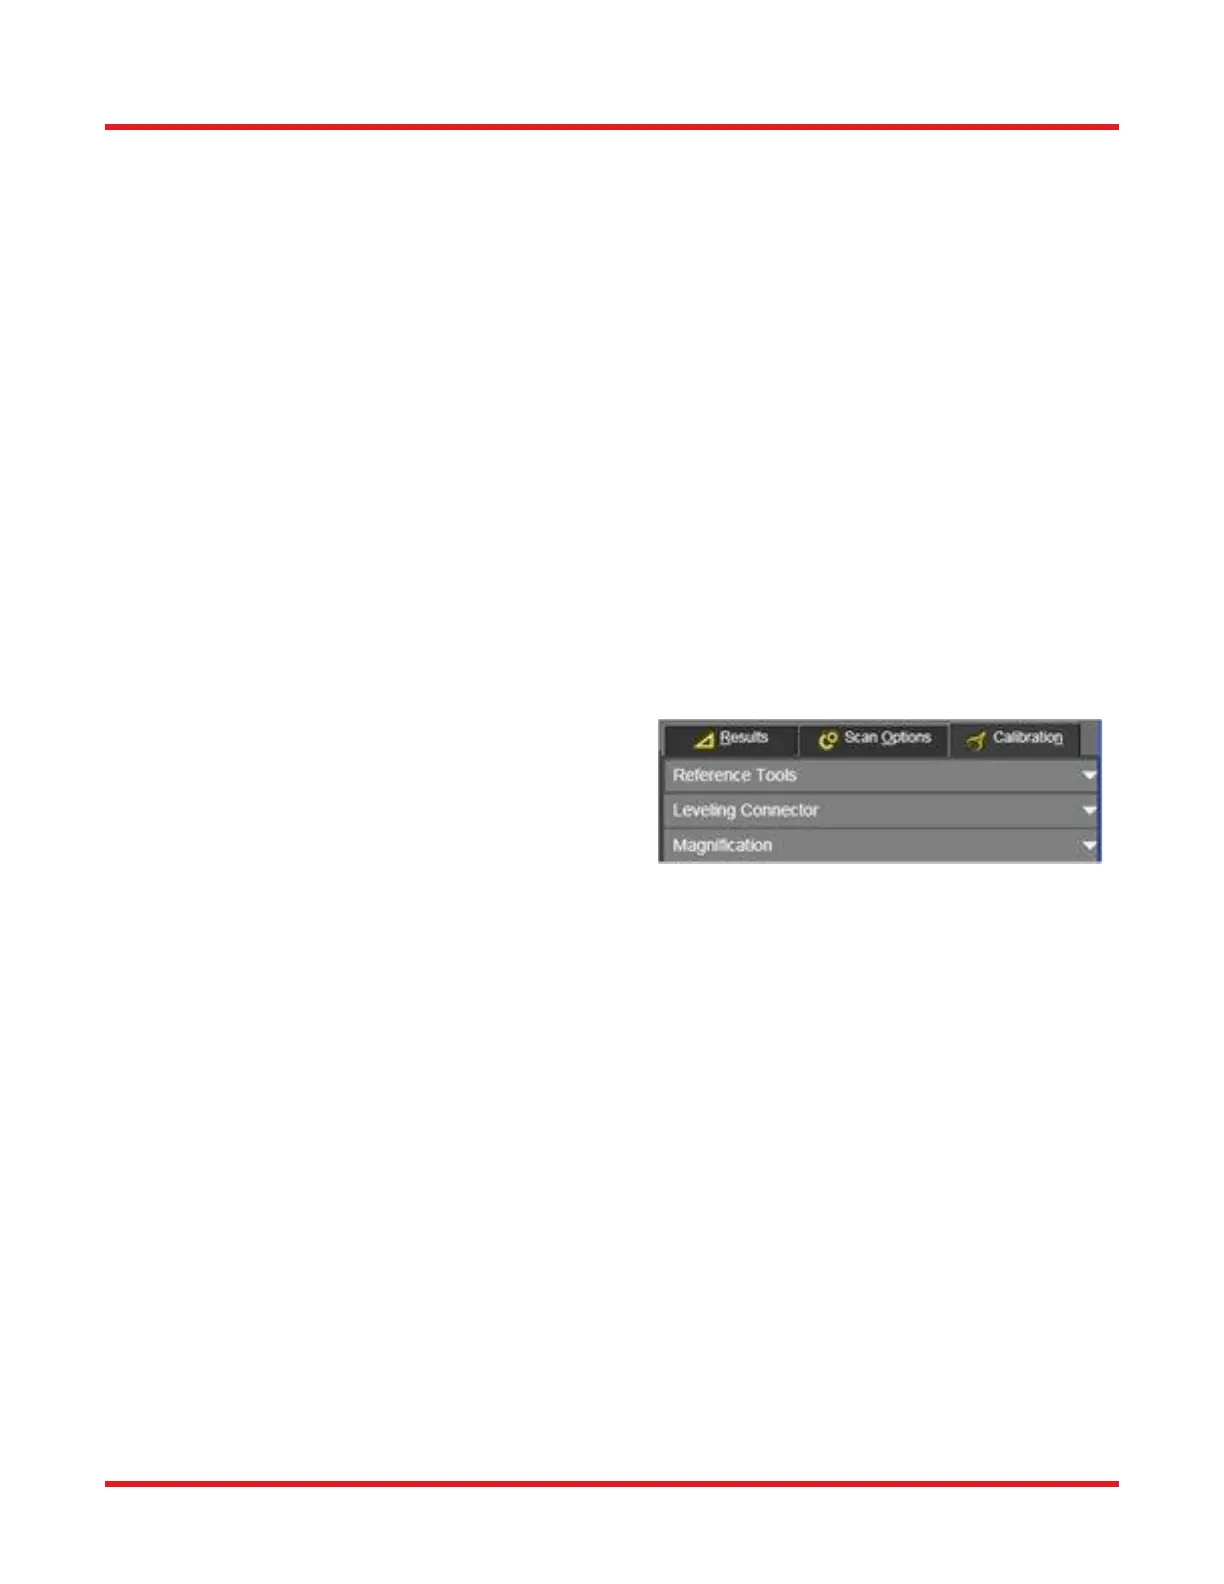
9.3. Calibration Tab
The Calibration Tab contains all needed calibration features
to assure the microscope measures accurately. Some
features are hidden and can only be used by administrator
level users. All calibrations should be done with the
microscope’s Mode switch (on its back panel) set to position
1 (see page 53.).
9.3.1. Offset Calibration Procedure:
Offset Calibration procedure should be conducted after every mount change. There are two types available --
“Reference Tools” and a custom “Leveling Connector”. Which of these types to perform depends on the calibration
artifact owned as well as the desired accuracy of calibration needed.
A Reference Tool, with known endface geometry parameters, is supplied with the microscope and assures that the
interferometer measures accurately. The known X and Y angular offset angles are compared to an actual
measurement taken during the Calibration procedure. The software calculates the calibration factors so the known
values are equal to the actual measurement values.
There are PC and APC reference tools. The PC reference tool is used in unison with a PC Locking V Groove Mount.
The APC reference tool is used in unison with an APC Locking V Groove Mount.
 Loading...