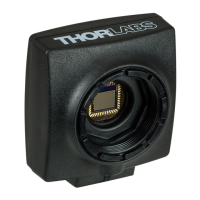
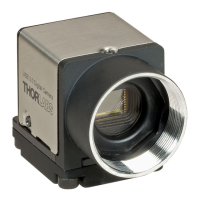
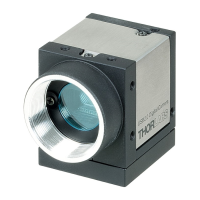
18 DCx camera
© 2010 Thorlabs
3
Getting Started
This section is provided for those interested in getting the DCx camera up and running quickly. The
more detailed description and advanced features are described in the following sections.
3.1
Unpacking
Inspect the packaging for damage. If the shipping container seems to be damaged, keep it until you
have inspected the contents and you have inspected the DCx camera mechanically and electrically.
Verify that you have received the following items:
DCx camera for USB 2.0
Compact disc (CD) containing drivers for Windows 2000/XP(32bit), Windows Vista/7 (32 and 64
bit) as well as the SDK and the Camera viewer (uc480Viewer)
Quick reference guide “Getting Started”
Standard USB 2.0 cable
1x CS to C-mount Adapter Ring (DCC1x45x only)
2x SM1 Adapter Ring (internal / external, external / external thread)
3.2
Preparation
To get your camera up and running the following points are necessary:
1.
Install the USB camera driver from the supplied Support CD
2.
Remove the dust/lens cover to attach an objective or other optical system, if present
3.
Connect your camera via the USB cable to a USB2.0 port
4.
Start the included and automatically installed "uc480 Viewer" program
5.
Connect to the camera by clicking the top left "Initialize" button
You can use the Automatic option (auto contrast /auto white balance) for an
uncomplicated setting of you camera parameters
 Loading...