Maintenance Procedures - VR Quantium 310 Maintenance Manual
Page 6-4 Document Ref 941113-001 Rev 2
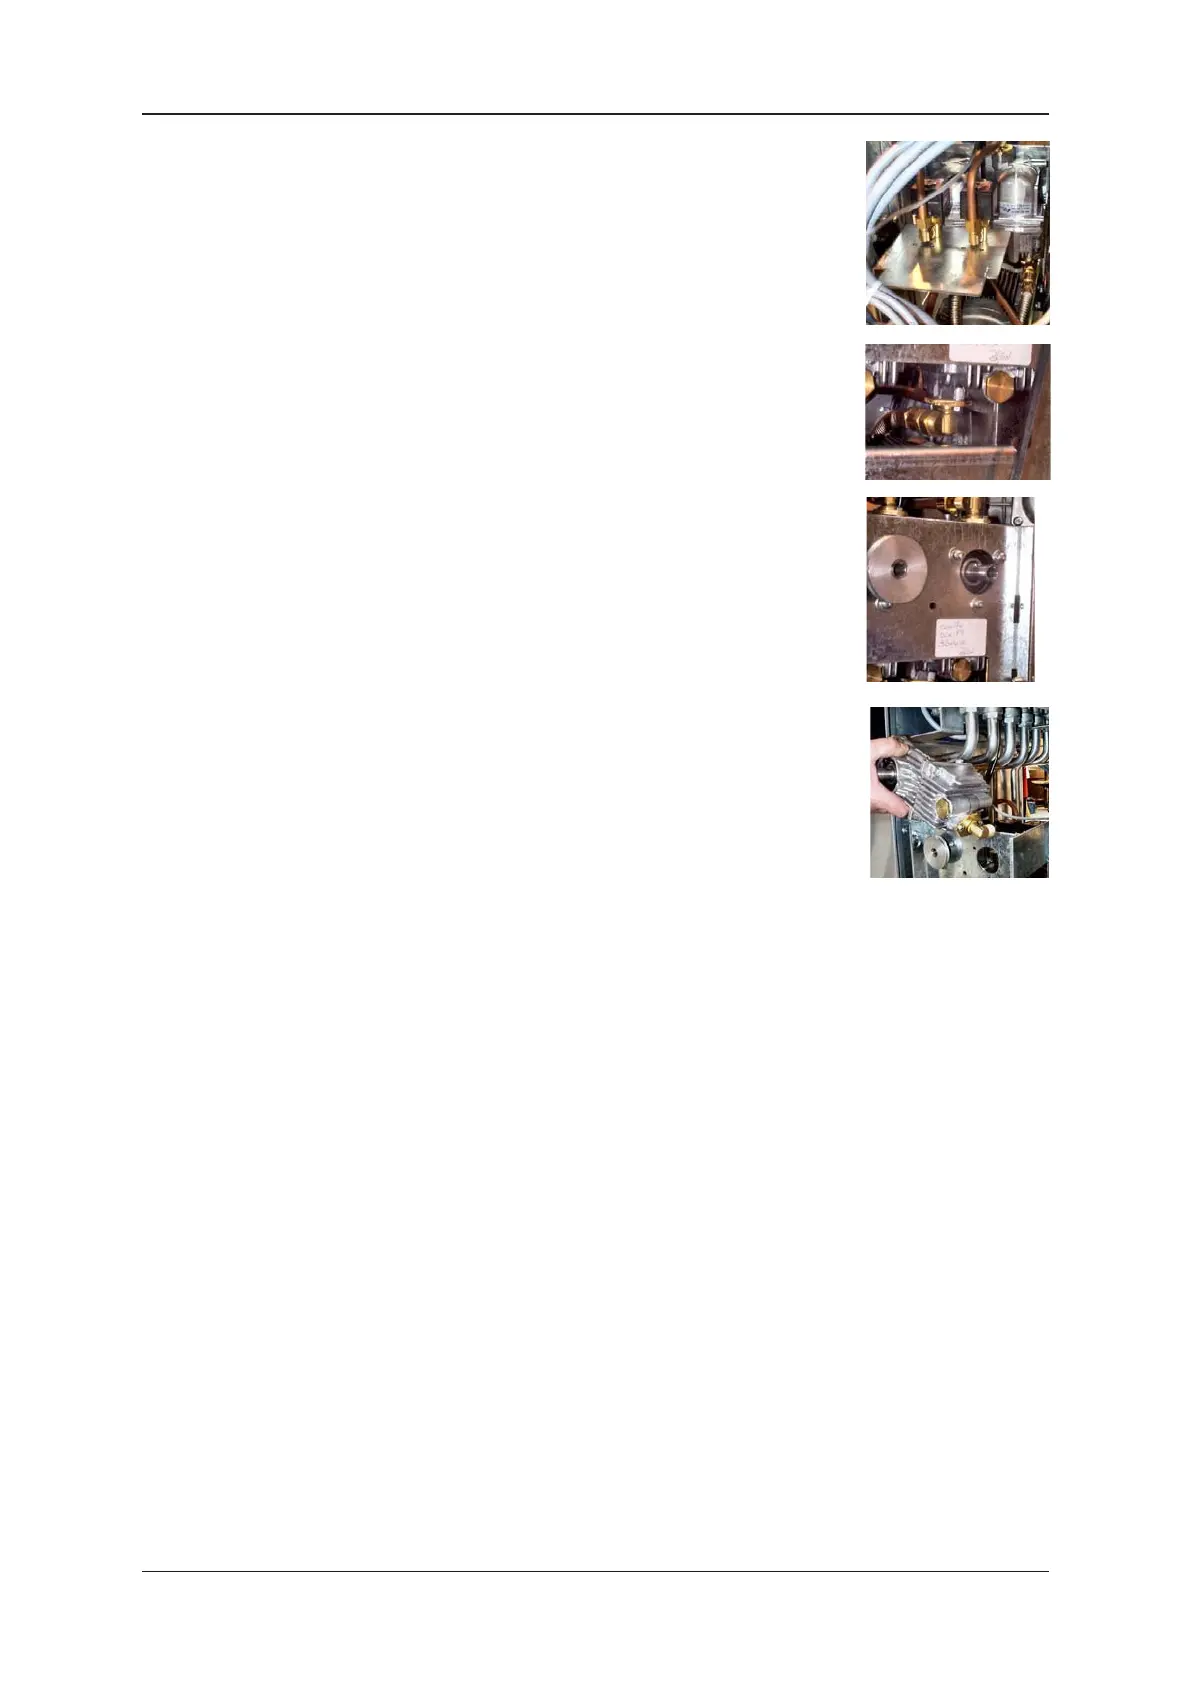
6) From side B of the dispenser, use a 22mm spanner to loosen the
nut at the opposite end of the copper pipe at the top of the pump.
7) Detach the copper pipe from the top elbow and remove completely.
Note : retain the copper pipe to re-fit to the new pump.
8) From side B of the dispenser, use a 22m spanner to loosen the
brass nut on the elbow at the bottom of the pump.
9) Loosen and detach the flexible pipe from the elbow at the bottom
of the pump.
10) From side A of the dispenser, use an 8mm nut runner to remove
the three screws behind the pump pulley.
11) Lift out the pump and elbow fittings through the top opening.
12) Position the new pump into the unit.
13) Using the 8mm nut runner, re-fit the three screws to secure the pump into position.
14) From side B of the dispenser, re-connect the flexible pipe to the elbow at the bottom of the
pump.
15) Using a 22mm spanner, tighten the brass nut on the elbow at the bottom of the pump.
16) Re-connect the copper pipe to both elbows at the top of the pump.
17) Using a 22mm spanner, tighten the brass nut on the elbow at the top of the pump.
18) From side A of the dispenser, use a 22mm spanner to tighten the brass nut on the elbow at
the top of the pump.
19) Using a 3mm allen key, re-fit the pump pulley to the new pump.
20) Lift up the motor into the raised position and re-fit and adjust the v-belt as described in
section 6.1.
Note : support the motor during this procedure.
21) Ensure that all tools and unused materials are removed.
22) Re-fit the hydraulic doors to the dispenser and lock.
23) Re-instate power to the dispenser.
24) Test the operation of the new pump.
25) Dispose of all waste accordingly.