EN-51
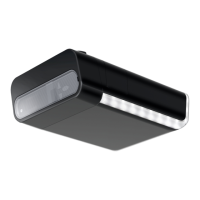
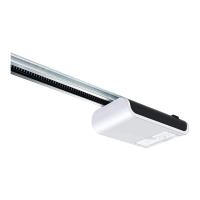
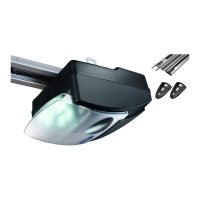
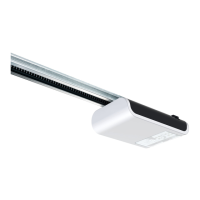
4.5 Mounting the garage door drive
Follow the instructions as shown on the A3Instruction poster.
Step Installation
1 Fold out the rail(3&8) to its full length. Push the rail connector(7) centrally over the joints.
The chain or the toothed belt may have to be re-tensioned. See illustration.
2 Mount the center suspension(13) to the guide rail. Mount the mounting brackets(18) on
the drive head(1).
3 Mount the connector attachment(11) to the garage door.
4 Mount the wall bracket(10).
5a
5c/d
Mount the guide rail(3&8) to the wall bracket(10).
Mount the ceiling mountings(16) to the center bracket(13) and to the drive head(1). Then,
mount the ceiling mountings(16) to the ceiling.
6 Connect the linking bar(12) between the carriage(4) and the garage door connector
attachment(11).
7 For programming, open the cover of the drive head with a screwdriver or a similar tool.
8 Attach the warning sticker(19) to the inside of the garage door so that it is easily visible.
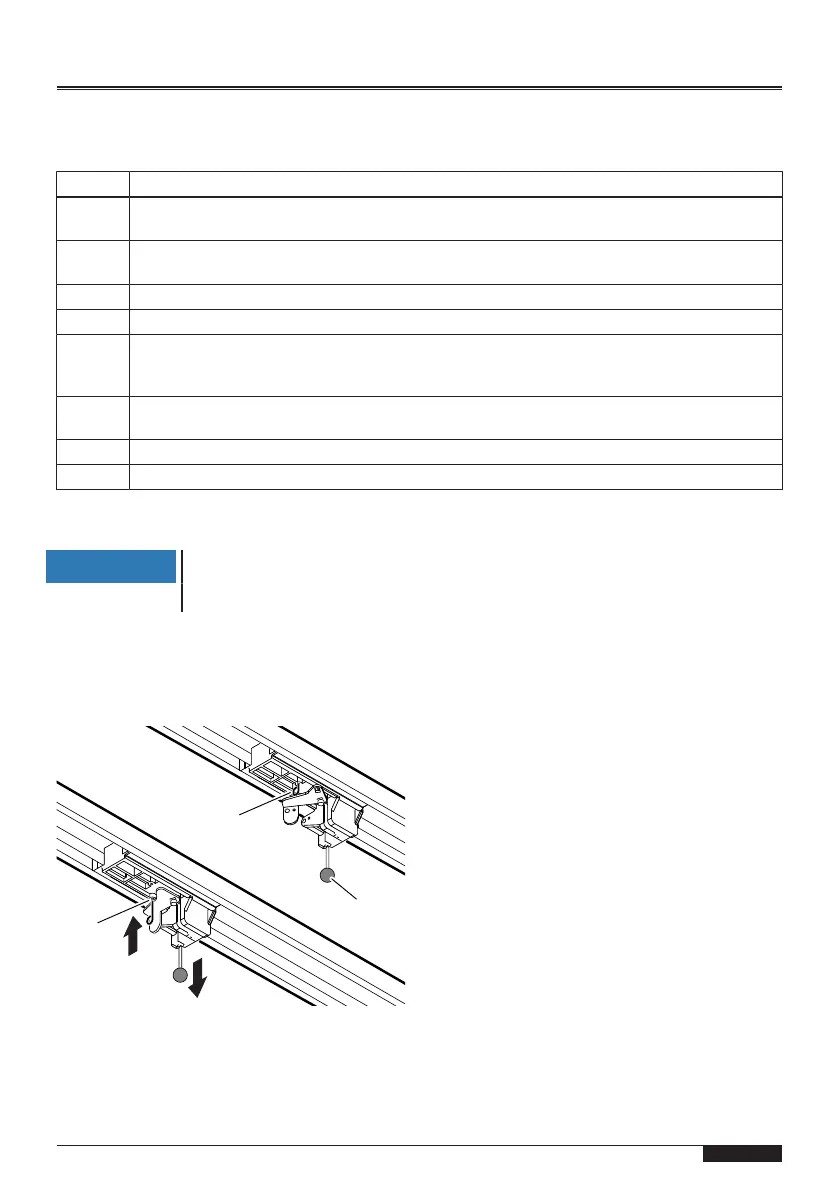
4.5.1 Disengage the carriage
NOTICE
The ball handle must be located 1.80m max. above the floor.
During assembly, it may be necessary to disengage the carriage from the con-
nector attachment. This can be done without the need to disconnect the linking
bar.
Fig.6: Disengaging and engaging the drive
1. To move the garage door, manually pull on the pull cord(I) on the carriage.
2. Disconnect the carriage from the toothed belt or the chain.