Important:Ensurethatthenegativebatterycable
isdisconnectedandthebatterychargerusedfor
chargingthebatteryhasanoutputof16voltsand
7ampsorlesstoavoiddamagingthebattery(see
chartforrecommendedchargersettings).
BatteryChargeTable
Voltage
Reading
Percent
Charge
Maximum
Charger
Settings
Charging
Interval
12.6or
greater
100%16volts/
7amps
NoCharging
Required
12.4–12.6
75–100%16volts/
7amps
30Minutes
12.2–12.4
50–75%16volts/
7amps
1Hour
12.0–12.2
25–50%14.4volts/
4amps
2Hours
11.7–12.0
0–25%14.4volts/
4amps
3Hours
11.7orless
0%14.4volts/
2amps
6Hoursor
More
5.Ifthepositivecableisalsodisconnected,connectthe
positive(red)cabletothepositive-batteryterminal
andslipterminalcoveroverthepositiveterminal
(Figure71).
6.Removethescrew ,washer,andgroundcablefromthe
engine.Securethebatterycabletothebatteryterminal
withthebolt,washer,andnutandtorquethenutand
boltto1978to2542N∙cm(175to225in-lb).
Note:Iftimedoesnotpermitchargingthebattery
orifchargingequipmentisnotavailable,connect
thenegative-batterycablesandrunthevehicle
continuouslyfor20to30minutestochargethebattery.
7.Alignthebatterycovertothebatteryboxandsecure
thecoverandboxtothebatterytraywiththebattery
strap(Figure71).
ChargingtheBattery
WARNING
Chargingthebatteryproducesgassesthatcan
explode.
Neversmokenearthebatteryandkeepsparksand
amesawayfrombattery.
Important:Alwayskeepthebatteryfullycharged
(1.265specicgravity)topreventbatterydamagewhen
thetemperatureisbelow32°F(0°C).
1.Removethebatteryfromthechassis;refertoRemoving
theBattery(page57).
2.Checktheelectrolytelevel.
3.Ensurethatthellercapsareinstalledonthebattery.
4.Chargethebatteryfor1hourat25to30ampsor6
hoursat4to6amps.
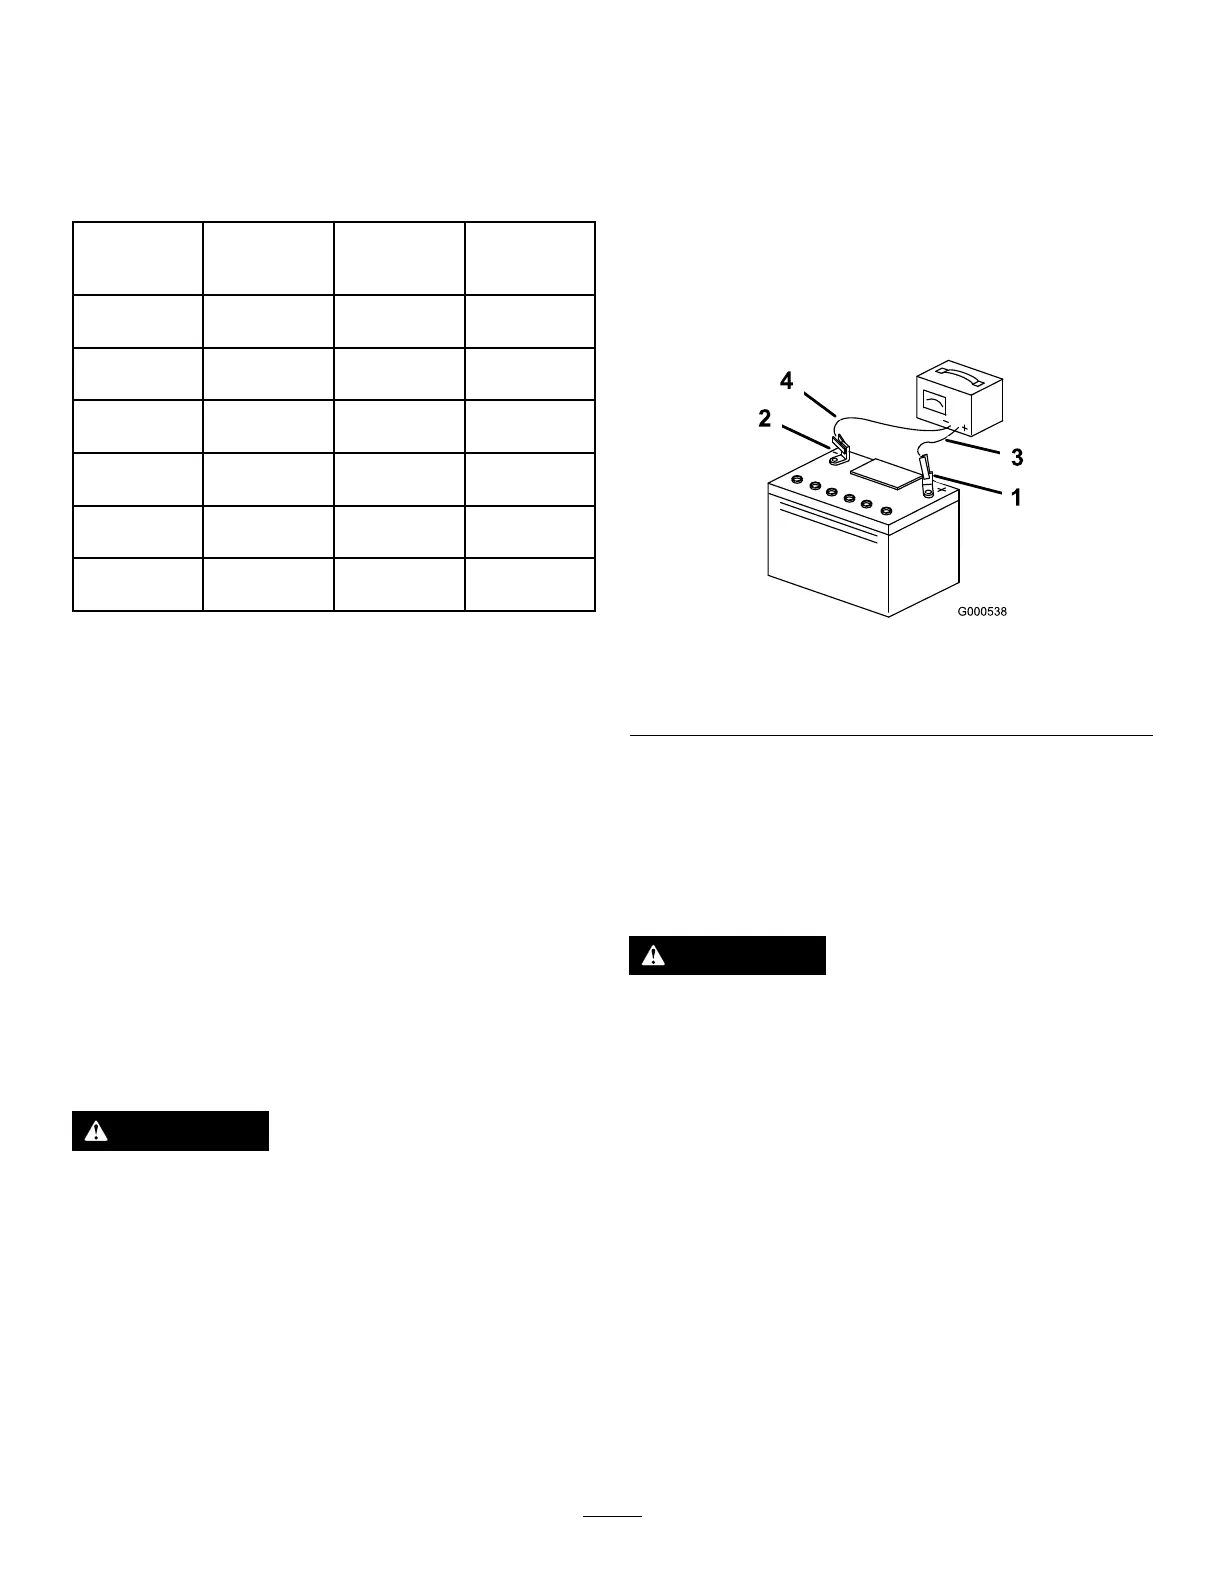
5.Whenthebatteryisfullycharged,unplugthecharger
fromtheelectricaloutlet,anddisconnectthecharger
leadsfromthebatteryposts(Figure72).
6.Installthebatteryontothemachineandconnectthe
batterycables;refertoInstallingtheBattery(page58).
Note:Donotrunthemachinewiththebattery
disconnected;electricaldamagemayoccur.
Figure72
1.Positivebatterypost
3.Red(+)chargerlead
2.Negativebatterypost
4.Black(-)chargerlead
RemovingandInstallingthe
Battery
RemovingtheBattery
WARNING
Batteryterminalsormetaltoolscouldshortagainst
metalmachinecomponentscausingsparks.Sparks
cancausethebatterygassestoexplode,resulting
inpersonalinjury.
•Whenremovingorinstallingthebattery,donot
allowthebatteryterminalstotouchanymetal
partsofthemachine.
•Donotallowmetaltoolstoshortbetween
thebatteryterminalsandmetalpartsofthe
machine.
57