CheckingtheSparkPlug
Important:Donotcleanthesparkplug(s).Always
replacethesparkplug(s)whenithasablackcoating,
wornelectrodes,anoilylm,orcracks.
Ifyouseelightbrownorgrayontheinsulator,theengineis
operatingproperly.Ablackcoatingontheinsulatorusually
meanstheaircleanerisdirty.
Setthegapto0.6to0.7mm(0.02to0.03inch).
Figure64
InstallingtheSparkPlug
Tightenthesparkplugasfollows:
•Newsparkplug—12to15N∙m(8.7to10.8ft-lb)
•In-servicesparkplug—23to27N∙m(16.6to19.5ft-lb)
Figure65
ServicingtheEngineFuel
System
CleaningtheFuelSedimentCup
ServiceInterval:Monthly
1.Movethefuel-shutoffvalvetotheOFFposition;refer
toFuel-Shut-OffValve(page16).
2.Alignadrainpanunderthebodyofthefuel-shutoff
valveforthecarburetor(Figure66).
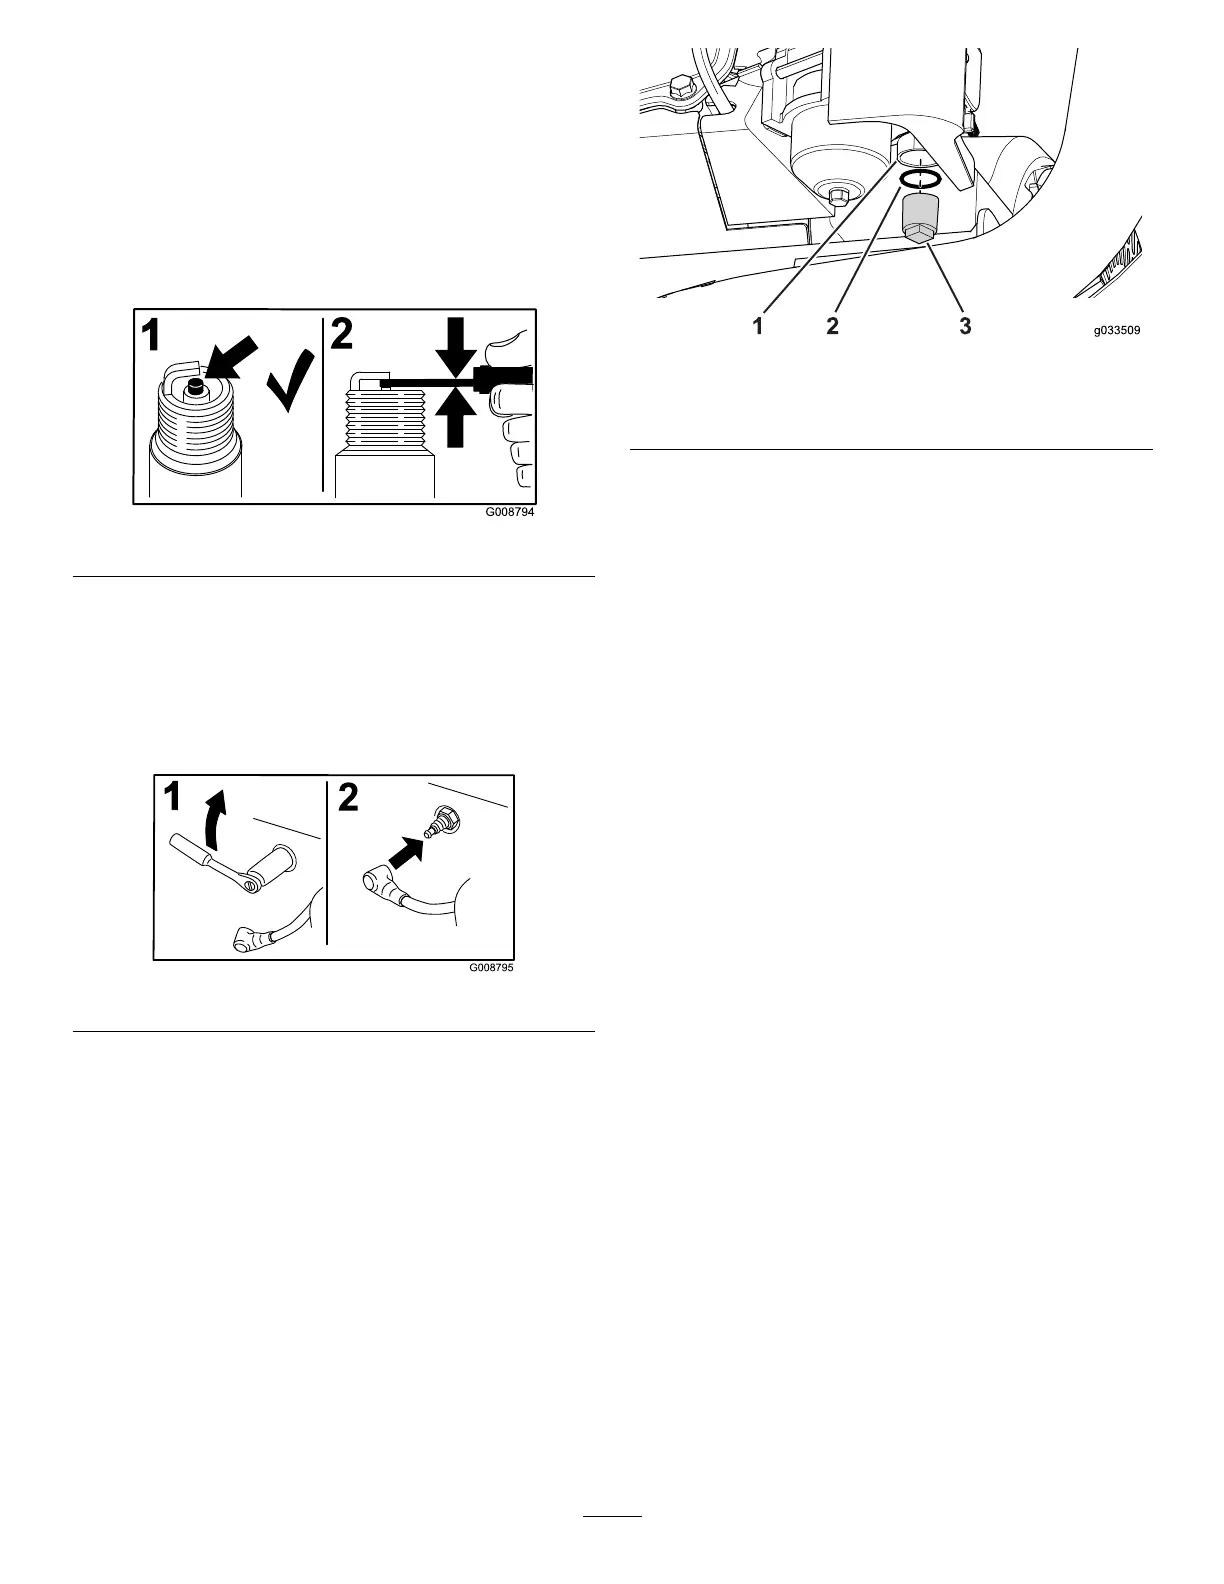
Figure66
1.Fuel-shutoffbody3.Sedimentcup
2.Seal
3.Rotatethesedimentcupcounterclockwiseandremove
thecupfromthecarburetor(Figure66).
Note:Checkthesealforthesedimentcupfordamage
orwear;replacethesealifitisdamagedorworn.
4.Cleanthesedimentcupinfreshgasolineorkerosene.
5.Handtightenthesedimentcupintothebodyofthe
fuel-shutoffvalve(Figure66).
6.Openthefuel-shutoffvalveandcheckforfuelleaks.
ServicingtheFuelStrainer
ServiceInterval:Monthly
RemovingtheFuelTank
1.Movethefuel-shut-offvalvetotheOFFposition;refer
toFuel-Shut-OffValve(page16).
2.Alignadrainpanwitha6.1L(1.6USgallons)capacity
withaunderthecarburetor.
3.Rotatethesedimentcupcounterclockwiseandremove
thecupfromthecarburetor.
Note:Checkthesealforthesedimentcupfordamage
orwear;replacethesealifitisdamagedorworn.
4.Movethefuel-shutoffvalvetotheONposition.
Note:Allowthefuelsystemtodraincompletely.
5.Removethe2bolts6x25mmand2nuts8mmthat
securethefueltanktothetanksupports(Figure67).
53