3 MANAGING COUNTERS (COUNTER MENU)
144 DEPARTMENT MANAGEMENT
5
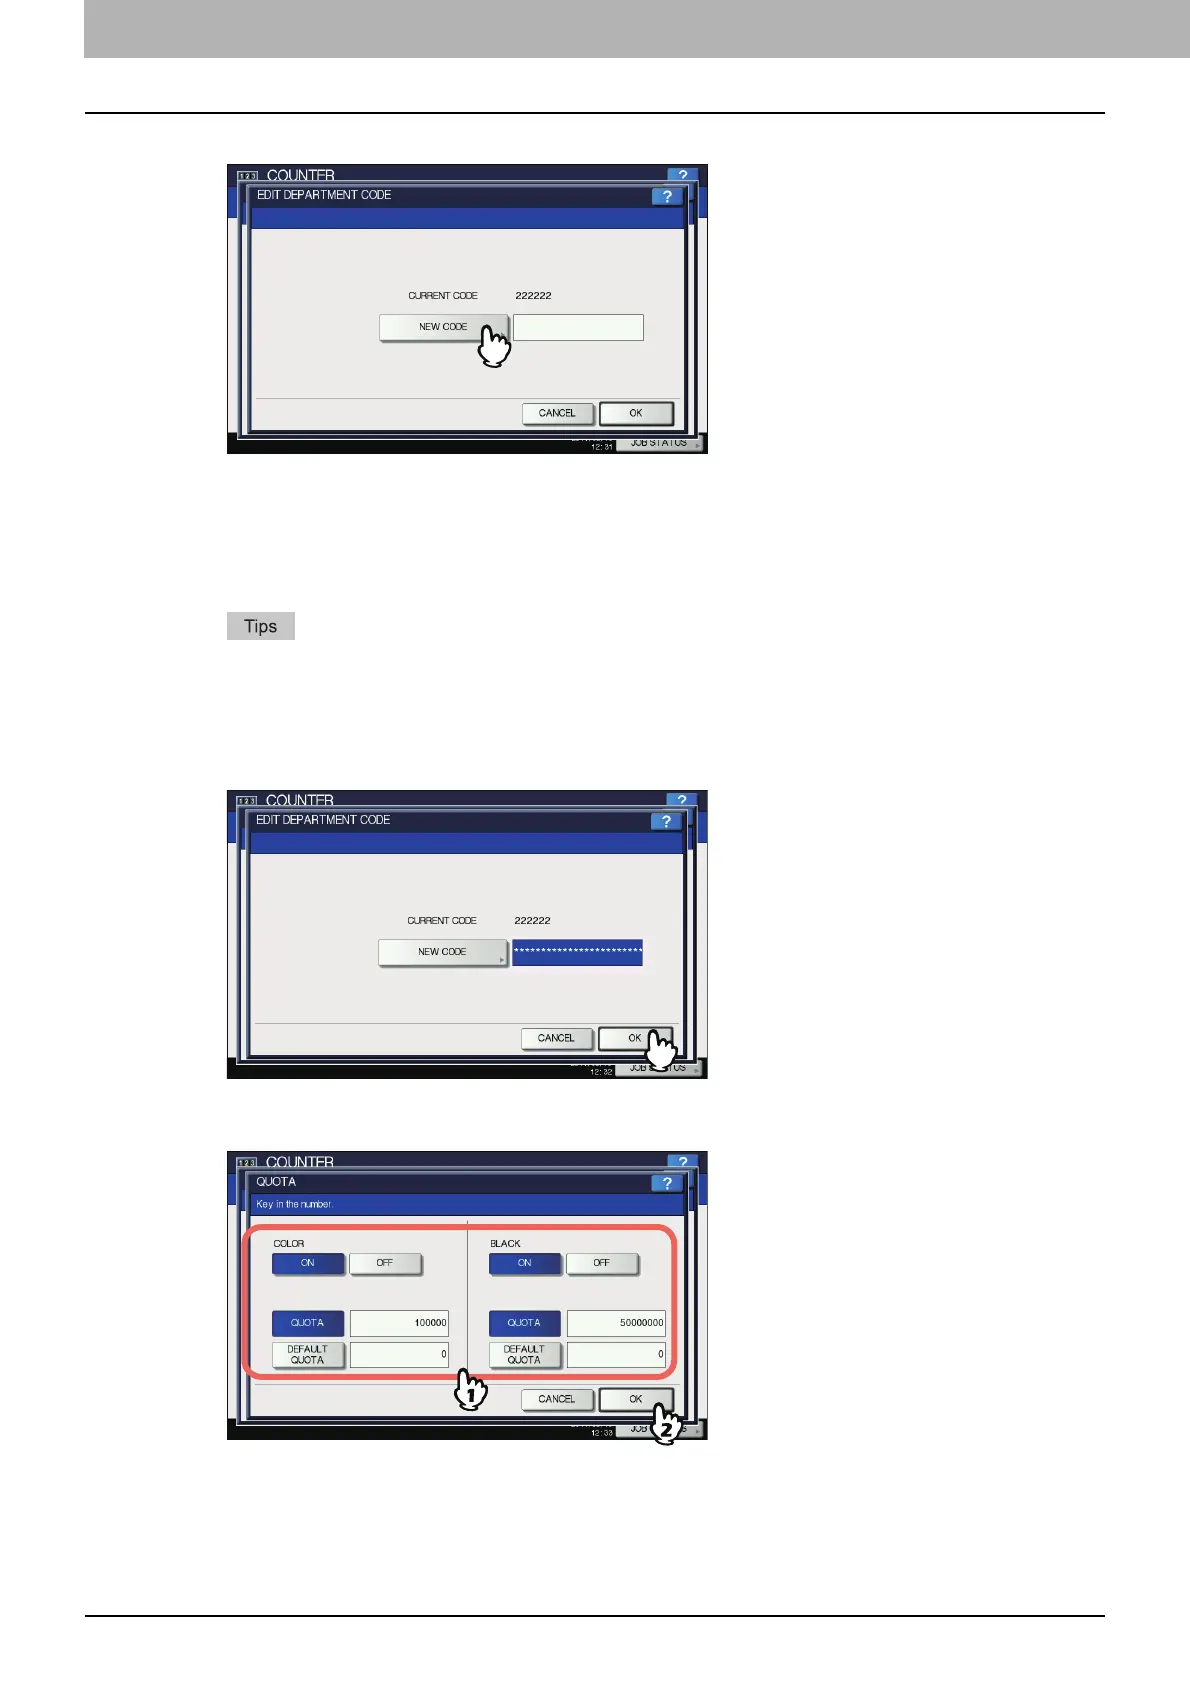
Press [NEW CODE].
The on-screen keyboard is displayed.
For details of the on-screen keyboard, see the following page:
P.154 “On-screen keyboard”
6
Enter the new department code and press [OK].
You will be returned to the EDIT DEPARTMENT CODE screen.
You can enter a department code of up to 63 characters. Characters you can enter are as follows:
- Alphanumerics, “-”, “_”, and “.”
If you want to clear the code to retype it, press [Clear] on the on-screen keyboard or the [CLEAR] button on
the control panel.
7
Press [OK].
The QUOTA screen is displayed.
8
Set the quota of this department code as required, and press [OK].
For the description of each item, see step 7 in the following operation:
P.141 “Registering a new department code”
 Loading...


