4.APPENDIX
Setting Letters 155
4 APPENDIX
USB keyboard
Connecting a commercially available USB keyboard to the USB port on the equipment allows you to enter character
strings and fax numbers (except [Caps Lock]) from the USB keyboard instead of the on-screen keyboard.
When using a USB keyboard, be sure the “keyboard layout” setting in the ADMIN menu is suitable with the connected
keyboard.
P.76 “Changing the keyboard layout”
The supported keyboards are as follows:
101 keyboard (QWERTY layout)
102/105 keyboard (QWERTZ layout)
102/105 keyboard (AZERTY layout)
There is no guarantee that all keyboards will function properly.
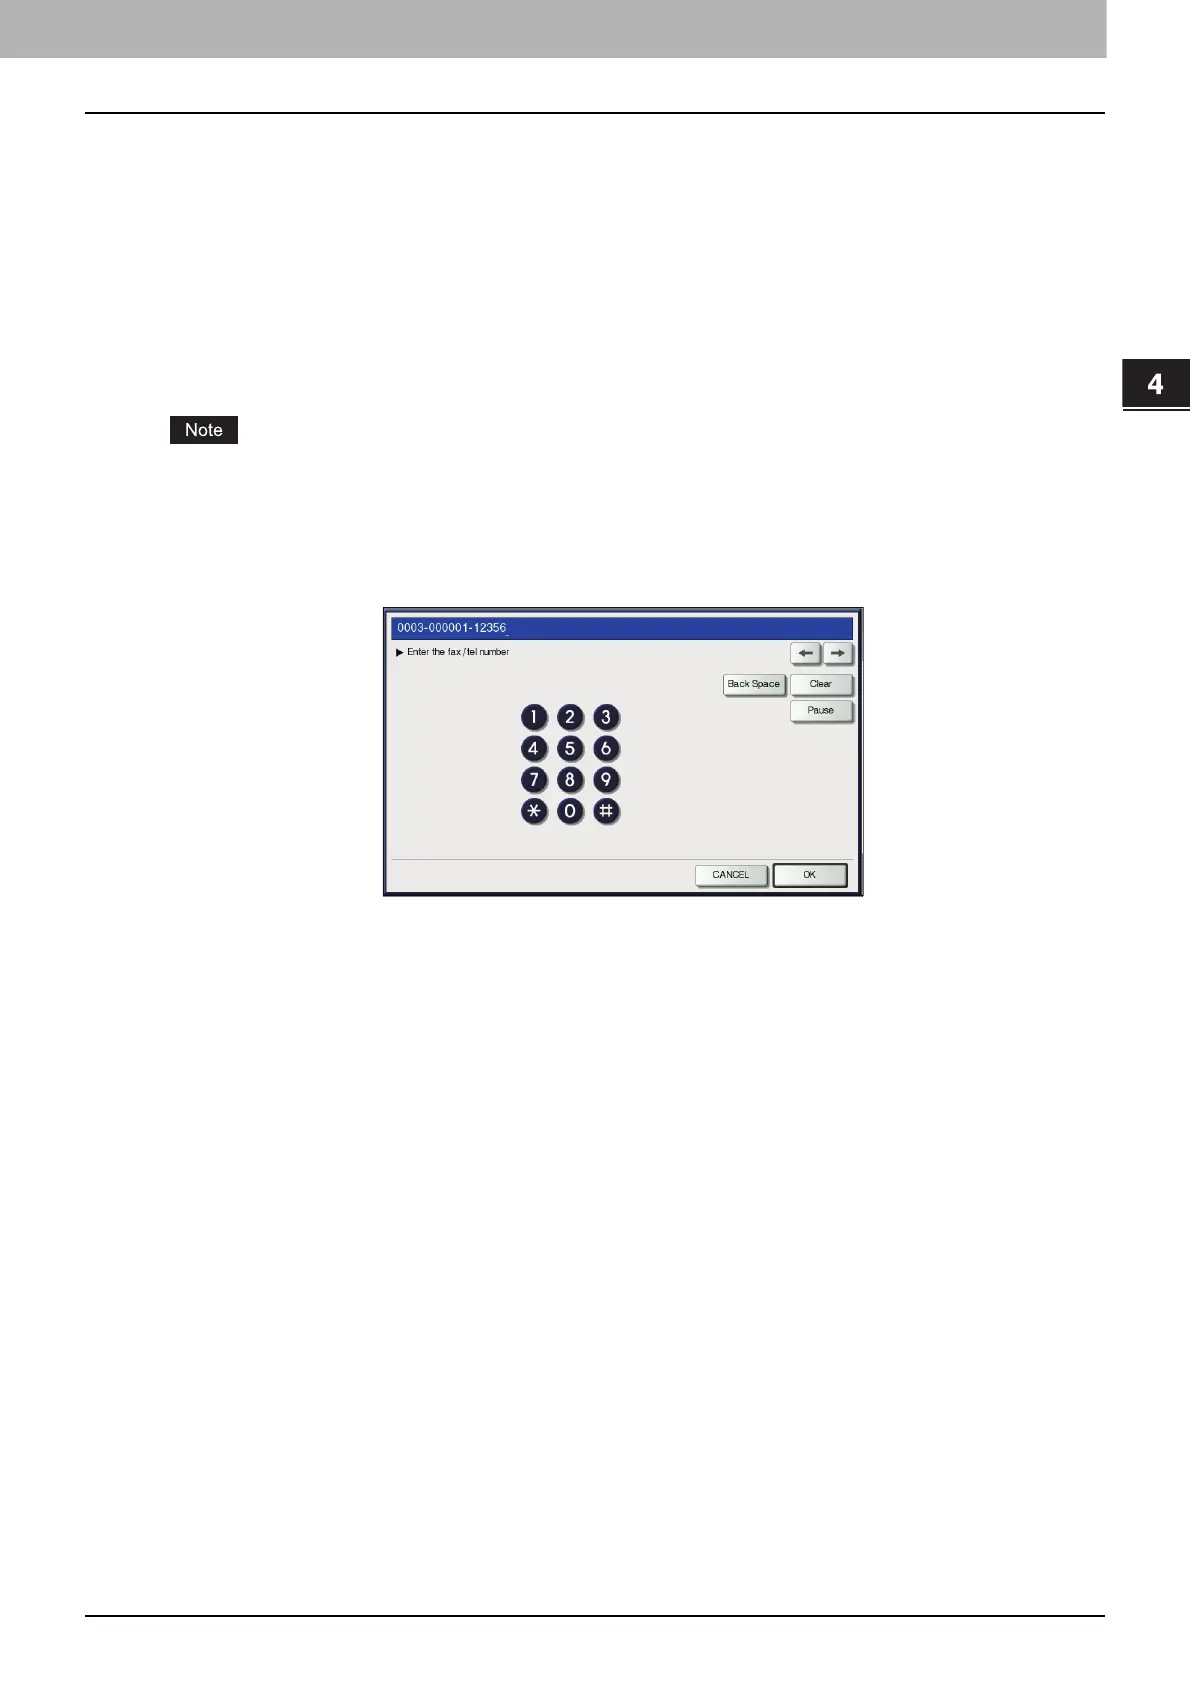
On-screen numeric keypad
Whenever a fax number needs to be entered, the following screen is displayed.
Press [Pause] to enter “-”. One “-” in a fax number, adds a three-second pause to the dialing of the number.
You can also use the digital keys on the control panel to enter fax numbers.
 Loading...


