2.SETTING ITEMS (ADMIN)
GENERAL 69
2 SETTING ITEMS (ADMIN)
Creating or installing clone files
You can create clone files of the setting data and user data by using the cloning function. These files can also be installed
on other equipment of the same multifunctional digital system series. This function is convenient when you want to apply
the same settings to multiple equipment.
P.69 “Installing the clone data”
P.72 “Creating clone files”
The clone files are compatible with models of the same MFP series but not with those of others.
When installing the clone data, store the corresponding files in the root directory of your USB storage device in
advance.
For details of the cloning function, contact your service representative.
Installing the clone data
1
On the CLONING screen, press [INSTALL CLONE DATA].
The CLONE DATA INSTALLATION screen is displayed.
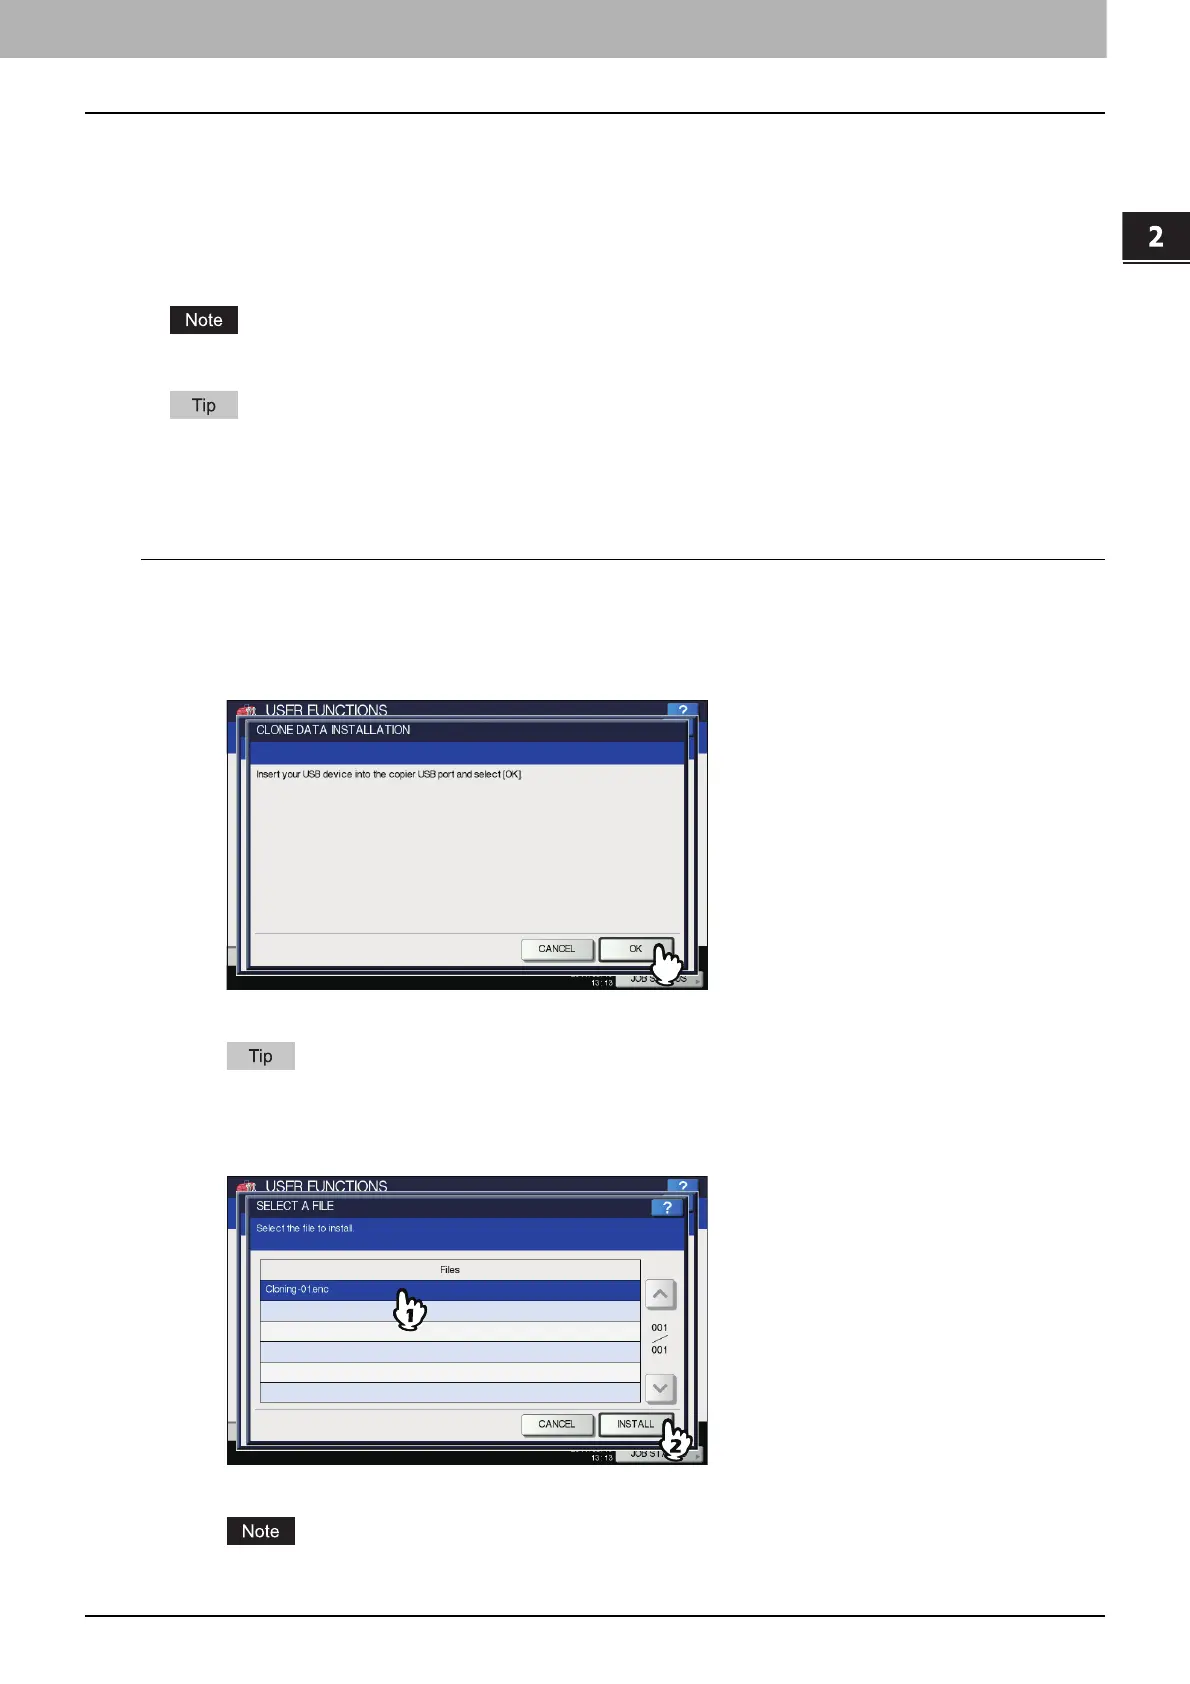
2
Connect your USB storage device in which the clone files are stored to the USB port on
the equipment, and press [OK].
The SELECT A FILE screen is displayed.
For the location of the USB port on the equipment, refer to the Quick Start Guide “Chapter 1:
PREPARATIONS”.
3
Select the file that you want to install, and press [INSTALL].
The OPEN CLONE FILE screen is displayed.
You can select only one file per operation.
 Loading...


