1 SETTING ITEMS (USER)
24 Setting Fax Functions
Setting Fax Functions
You can change the initial settings (defaults) for fax and Internet Fax jobs.
If the FAX Unit (optional) is not installed, only three options are available: “RESOLUTION”, “ORIGINAL MODE” and
“EXPOSURE”. For details on other fax options, refer to the GD-1250/GD-1260/GD-1270 Operator’s Manual for FAX
Unit.
y If the FAX Unit (optional) is not installed, the setting items in this menu are applied to Internet Fax transmission
jobs.
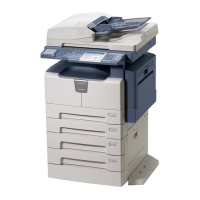
y For the e-STUDIO455 Series or e-STUDIO855 Series, [FAX] in the USER menu is available only when the
Scanner Kit (optional) or Printer/Scanner Kit (optional) is installed.
1
Press [FAX] in the USER menu.
The FAX screen is displayed.
To display the USER menu, see the following page:
P.8 “Entering User Menu”
2
Specify the following items as you require and press [OK].
RESOLUTION — Press the desired mode button.
ORIGINAL MODE — Press the desired mode button.
EXPOSURE — Press the or button to specify the default exposure manually, or press [AUTO] to select
auto mode for the default exposure mode.
The default settings are changed as specified.
 Loading...