2.SETTING ITEMS (ADMIN)
Setting Network Functions 101
2 SETTING ITEMS (ADMIN)
Setting the IPv6 protocol
You can set the IPv6 protocol on this equipment.
This IPv6 menu allows you to enable or disable the IPv6 protocol used on this equipment. In this menu, you can also set
IPv6 configurations, such as the IPv6 address, by selecting the address mode.
How the IPv6 address is obtained depends on the address mode you select.
y When you select the manual mode:
You assign the IPv6 address, prefix and default gateway manually. In this mode, you can assign one IPv6 address to
this equipment.
P.101 “Setting the IPv6 protocol manually”
y When you select the stateless mode:
This equipment can obtain multiple IPv6 addresses from the DHCPv6 server and routers automatically. In this mode,
up to 9 IPv6 addresses can be registered on this equipment.
P.104 “Setting the IPv6 protocol automatically (in a stateless network environment)”
Up to 7 IPv6 addresses can be obtained from routers. One IPv6 address can be obtained from the DHCPv6 server.
One link local address is also generated automatically.
y When you select the stateful mode:
You can automatically obtain the IPv6 address from the DHCPv6 server. In this mode, you can register one IPv6
address to this equipment.
P.106 “Setting the IPv6 protocol automatically (in a stateful network environment)”
If you change “IPv6 PROTOCOL” from [ENABLE] to [DISABLE] when the “INTERNET PROTOCOL VERSION” option
for SMB is “IPv6”, it is necessary to reboot this equipment to apply the change. When the message “Reboot the
machine” is displayed on the touch panel, power OFF the equipment then power it back ON by using the [POWER]
button on the control panel.
Setting the IPv6 protocol manually
1
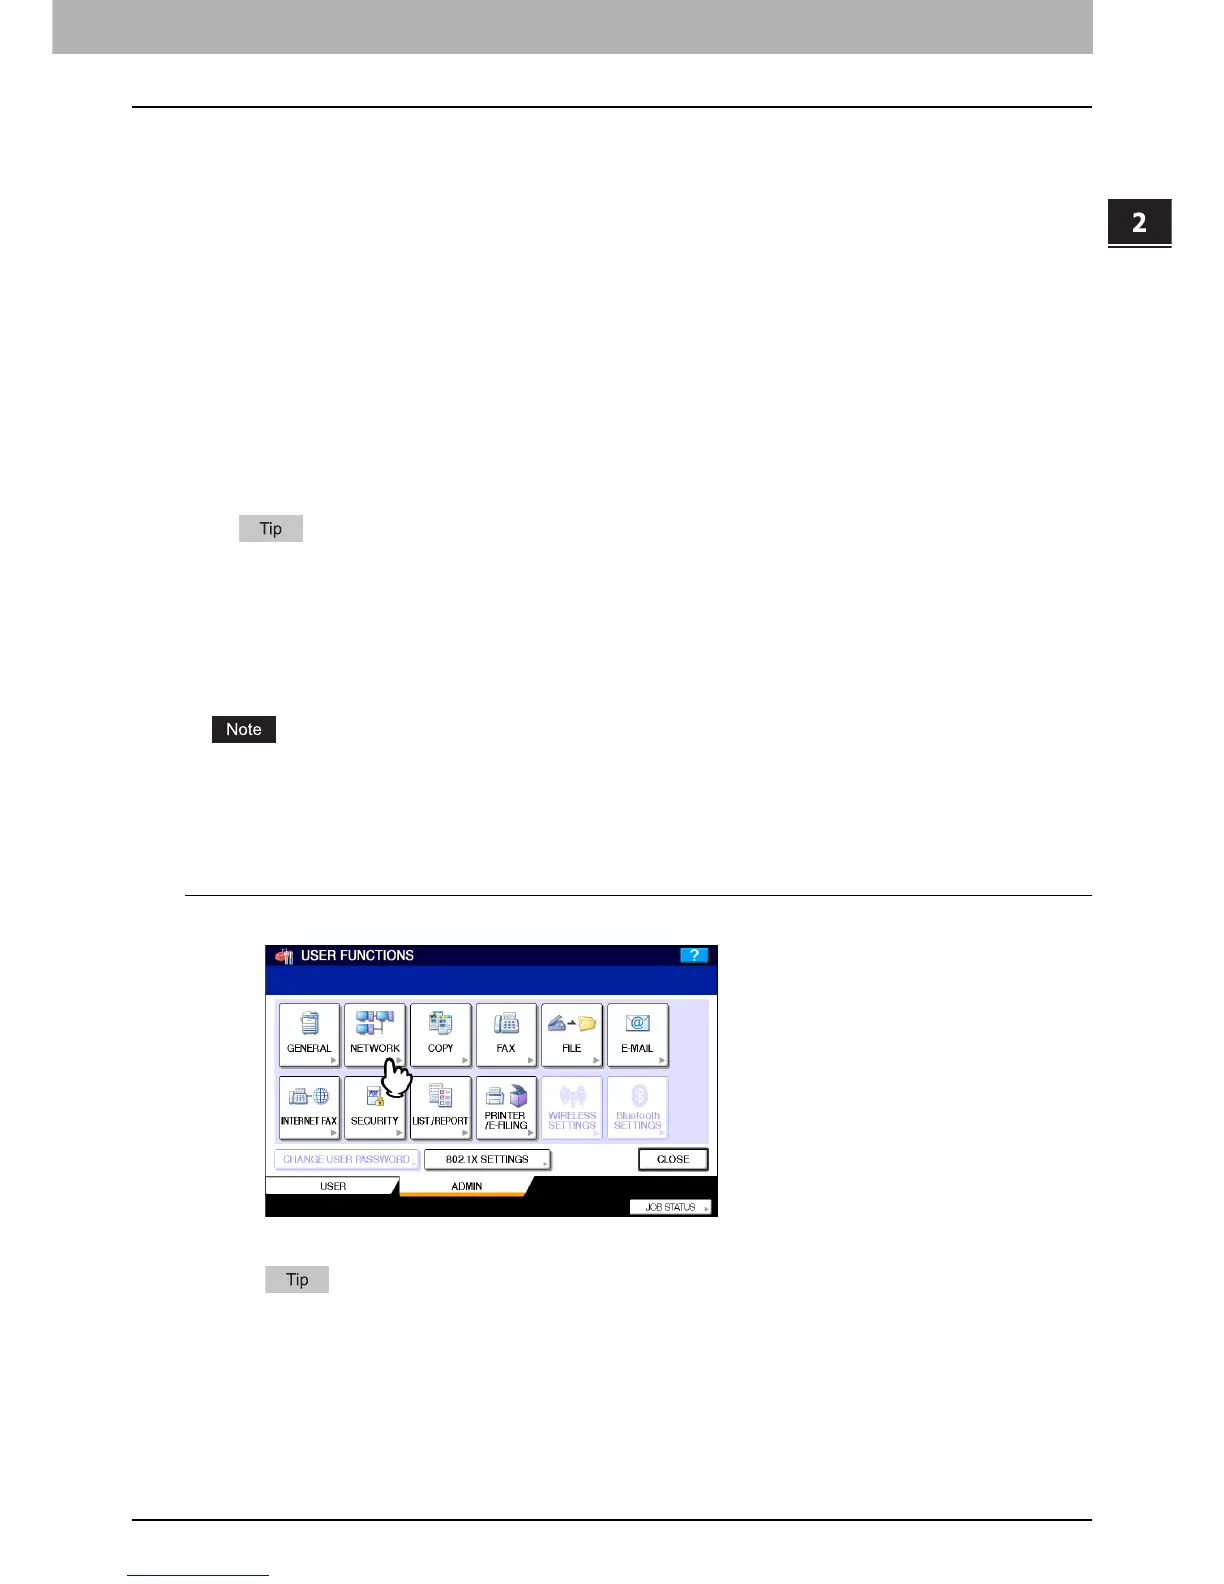
Press [NETWORK] in the ADMIN menu.
The NETWORK menu is displayed.
To display the ADMIN menu, see the following page:
P.69 “Entering Admin Menu”
 Loading...