16 Installation (for qualified installers only)
© Travis Industries 3/13/18 - 1474 42 & 54PB GSB2 Aust.
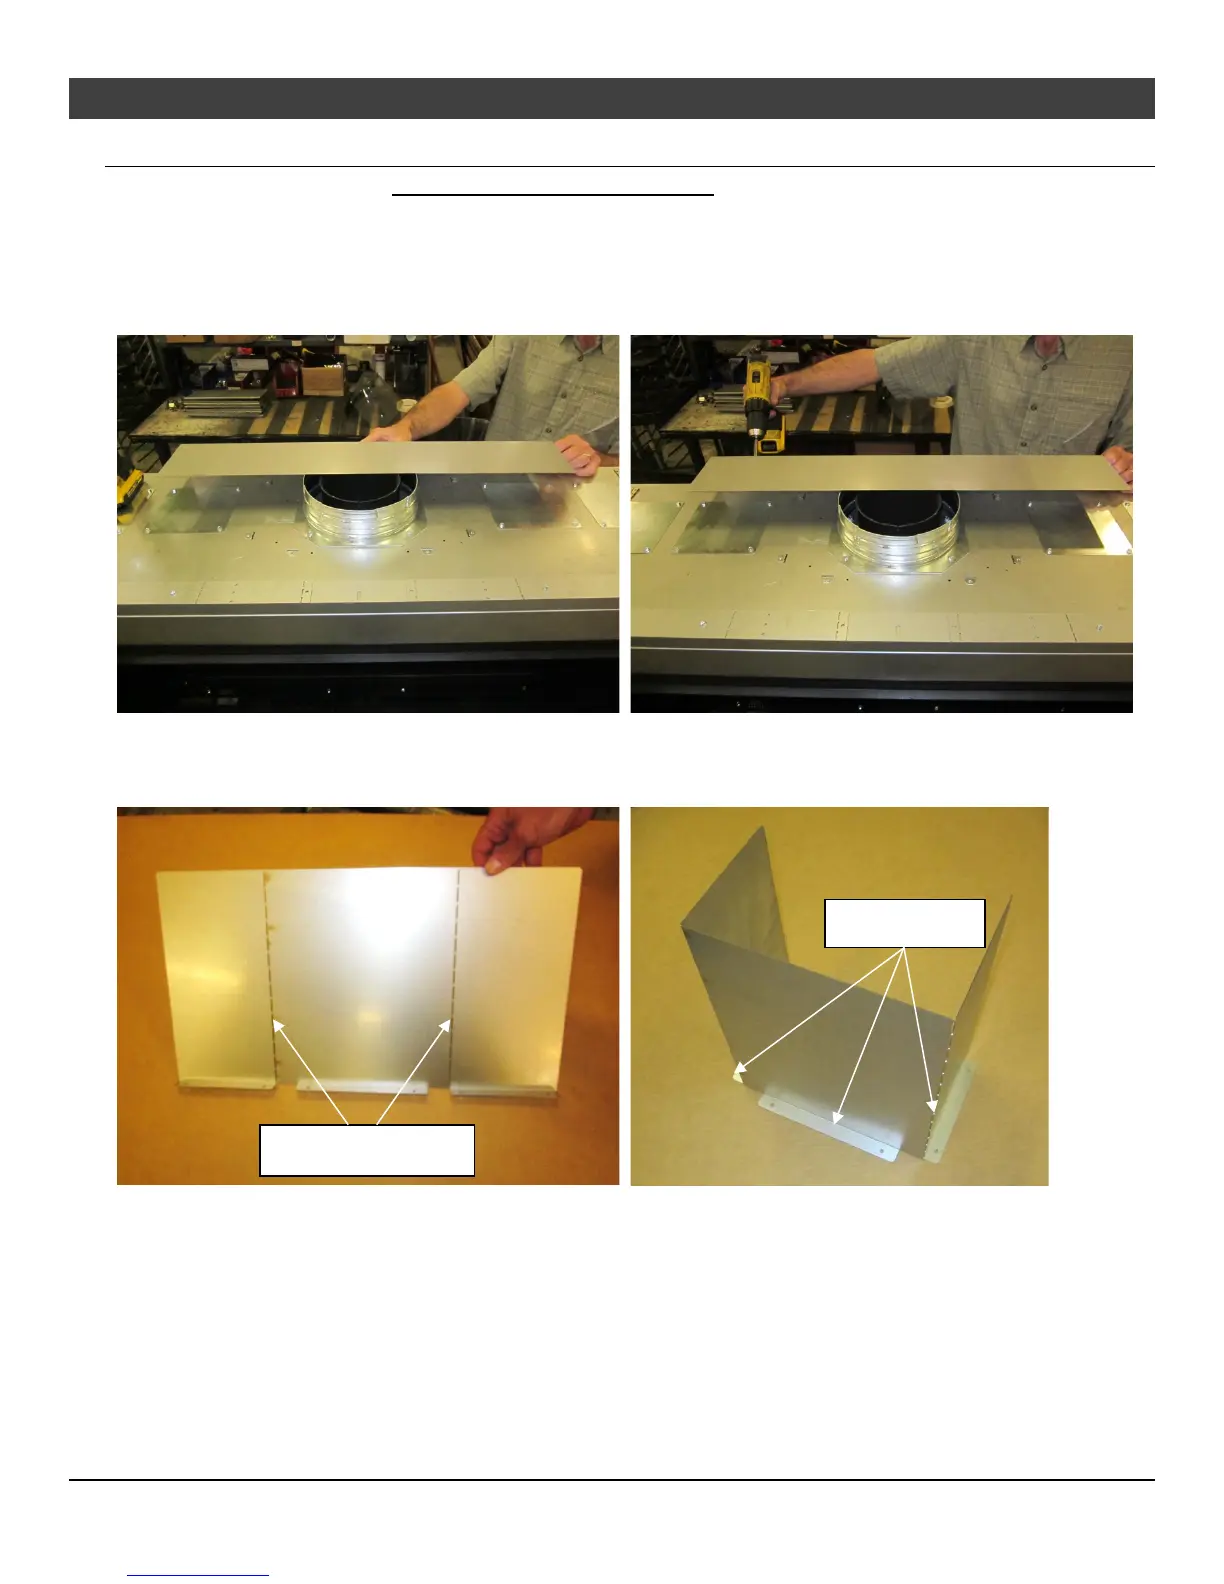
Header and Pipe Shield Installation
The header and pipe shield must be installed as shown below.
NOTE: The header and pipe shields may be installed after the fireplace is in place and vent attached (this allows
for the fireplace to fit into the framing underneath the header and for the vent to be installed more easily).
1 Remove the header shield from its shipping location by removing the (2) - ¼” screws attaching it to the
back of the fireplace (Keep the screws for reinstallation).
2 At each of the perforations, bend the sides of the pipe shield backwards 90° as shown below.
NOTE: The bottom flanges should be facing outward
Bend at perforations