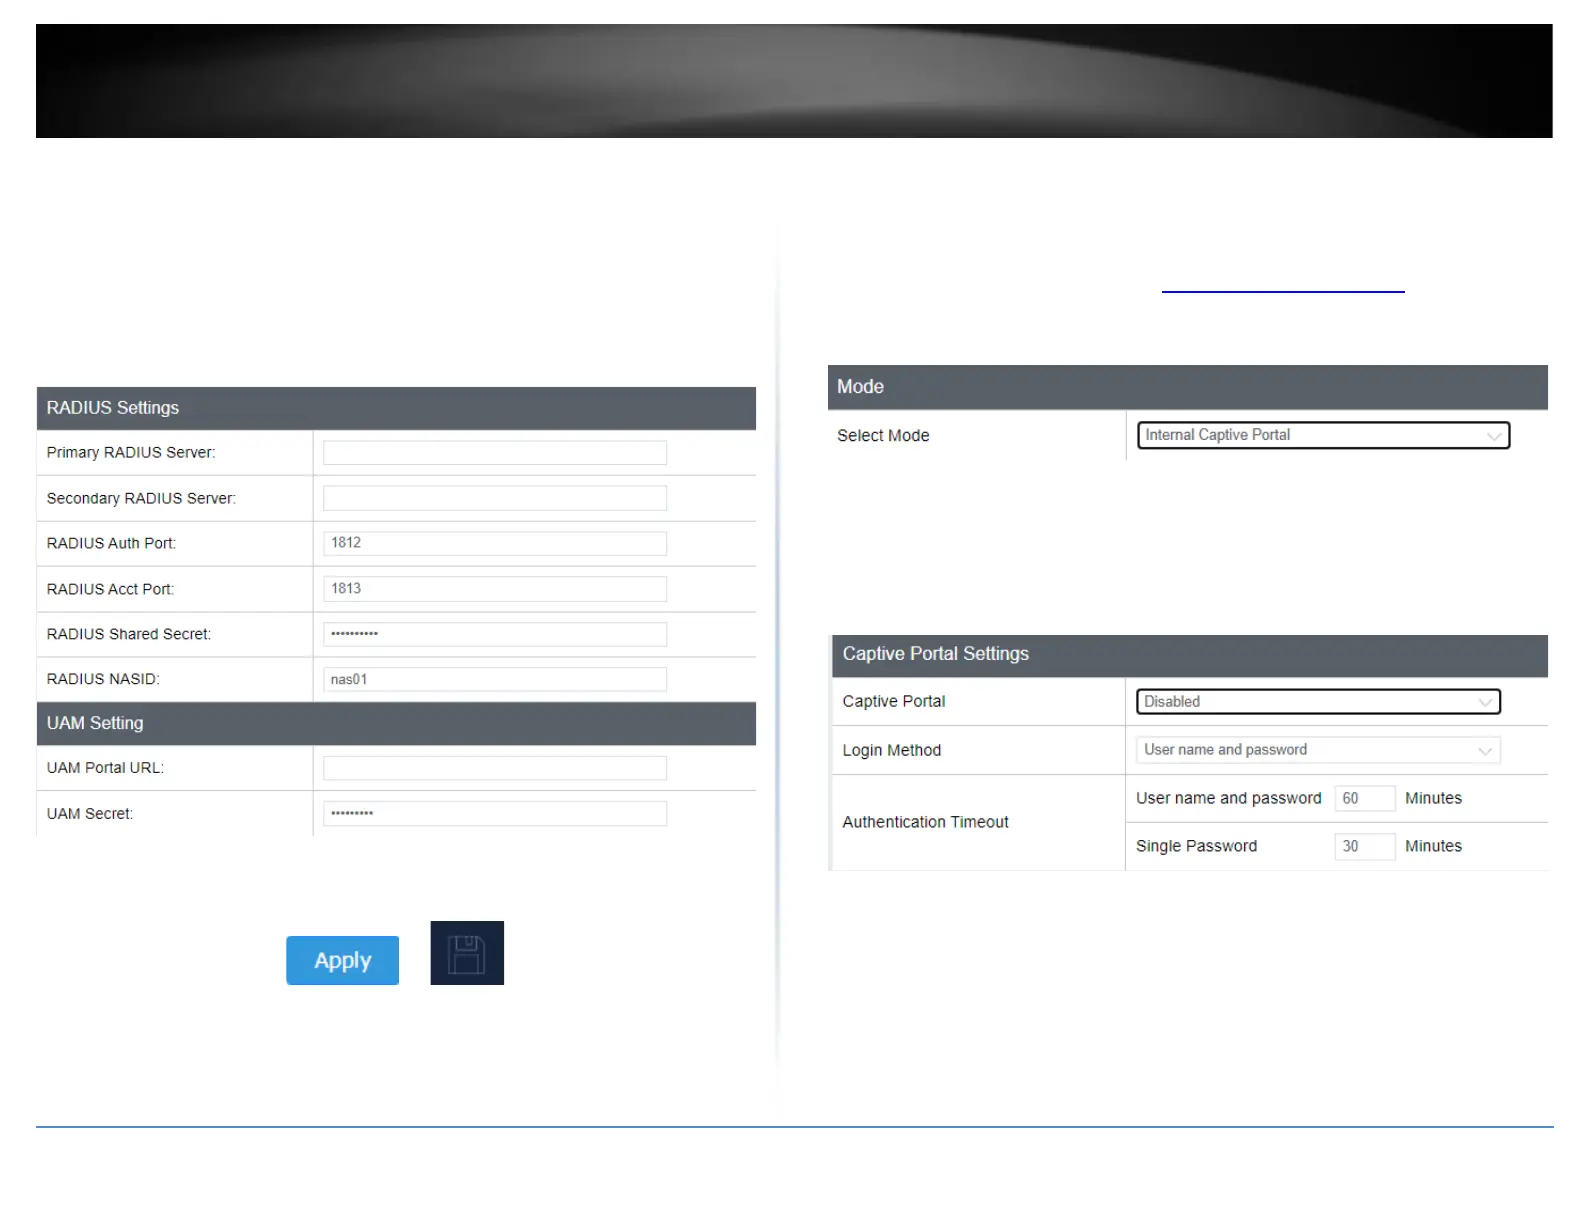
• RADIUS Shared Secret – Enter the shared secret used to allow the CoovaChilli
server to allow the access point to authentication RADIUS authentication
requests.
• RADIUS NAS ID: Enter the NAS ID required by the CoovaChilli server to allow
the access point to authentication RADIUS authentication requests.
• UAM Portal URL – Enter the UAM portal web URL address of the login
authentication page provided by the CoovaChilli server.
• UAM Secret – Enter the UAM secret required to allow access to this portal
page.
6. Click on Apply button to apply the settings and then click on the Save button located
on the top right section to save the settings.
Internal Captive Portal
Note: The internal captive portal function works on HTTP web port 80. Once enabled, in
order to log back in to the access point management page, when prompted for credentials
in the captive portal page, enter the access point administrator user name and password
(default: admin / admin). After you have logged into the captive portal page with the
access point administrative account, you will be redirected to the main access point
management page for device configuration.
1. Log into your management page (see “Access the management page” on page 13).
2. Click on the System tab and click Captive Portal.
3. Choose the Captive Portal mode Internal Captive Portal.
First, enable Captive Portal, enter user name and password accounts for users to
authenticate and set an authentication timeout value. Then click Apply at the bottom of
the page to save the settings.
Select the Login Method for connecting to your captive portal WiFi network. At the
Login Method drop-down list, select one of the following.
• User name and password – Requires users to enter a user name and
password for authentication to connect to your captive portal WiFi
network which must be defined in the Users List.
Note: Multiple users can use the same user account to log into your captive
portal WiFi network.
 Loading...