54
9.6 Replacing the Pressure Gauge
Caution!
Before starting, disconnect the instrument from the power source
and ensure that there is no pressure in the autoclave’s chamber
and jacket.
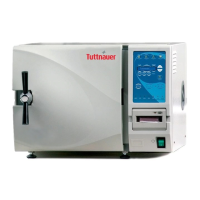
9.6.1 Model 2540
1. Take off the door cover (see para. 9.18 Replacement of
the Door Cover).
2. Remove the pressure gauge from the door by unscrewing
it from the door
3. Install the new pressure gauge using Teflon tape to seal
the threads. Verify that the gauge’s tube does not
protrude from the doors inner surface.
4. Operate the autoclave and verify that there are no leaks.
5. Reinstall the door cover.
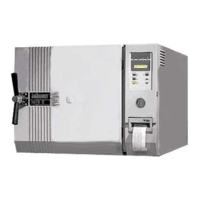
9.6.2 Model 3870
The gauge is located in the plastic housing adjacent to the door
and directly in front of the electronic box.
1. Take off the autoclave cover (see para. 9.2 “Removing
the Autoclave’s Outer Covers”).
2. Disconnect the copper tube at the back of the gauge.
3. Remove the pressure gauge.
4. Install the new pressure gauge.
5. Reconnect the copper tube. (The copper tube uses a
compression fitting so no Teflon tape is needed).
6. Operate the autoclave and verify that there are no leaks
7. Reassemble the autoclave’s cover