9-29
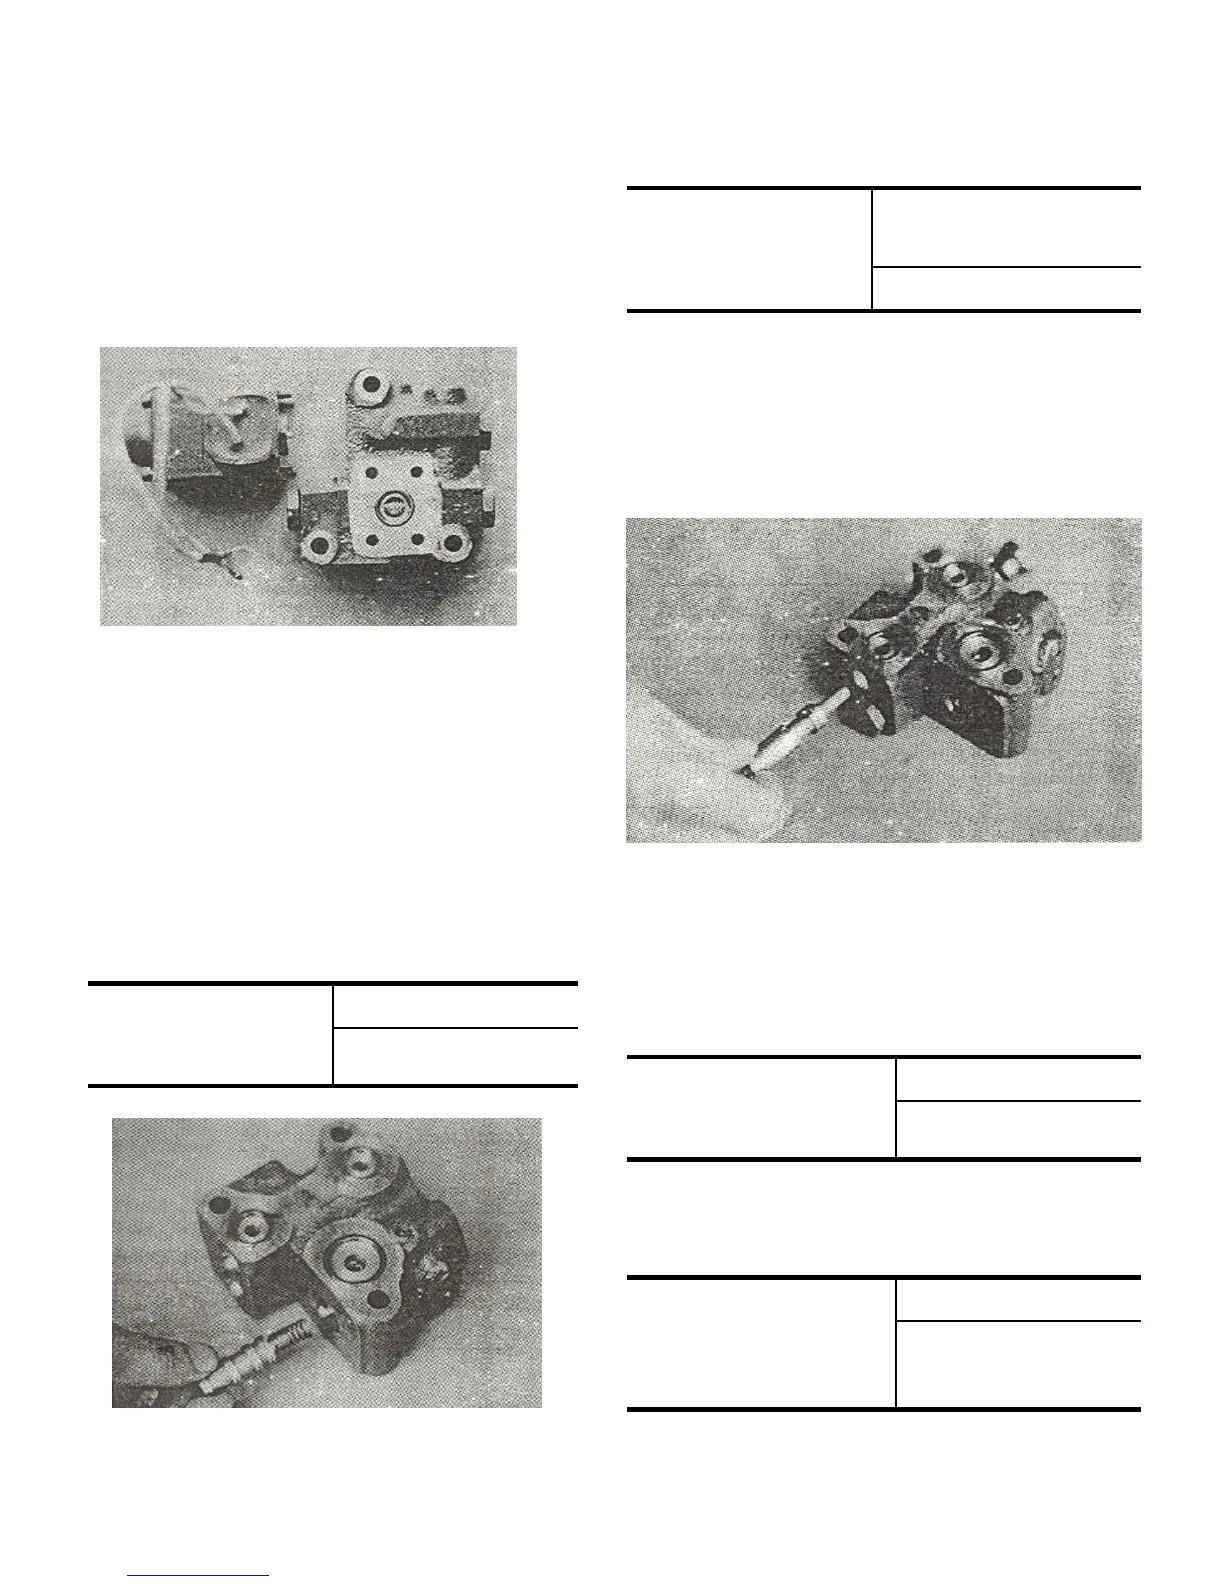
1) Remove the solenoid clamping bolts with an
setscrew wrench and separate the assembly
into the solenoid and the valve.
· Inspect the solenoid for open wiring with
tester or by drawing current.
· The solenoid which has any open wiring
should be replaced.
2) The changeover valve spool can be removed
easily by removing the plug in advance.
· A spool which is damaged on the friction
surface should be replaced
· Minor damage to the surface can be corrected
with an oil stone.
Fig.9-37
0.025(0.0010)
Usable limitClearance between
spool and casing
mm(in )
Fig.9-38
· A changeover valve spring whose free length
is less than the specified or which is distorted
should be replaced.
Usable limit:15(0.59)
Specified value:
15.5(0.610)
Specified free length
of changeover valve
spring mm(in )
3) Remove the plugs and extract the pressure
reducing valve spool,spring,and piston.
· parts which are seriously damaged on the surface
should be replaced.
Fig.9-39
· Minor damage to the surface can be corrected
with an oil stone.
· There should be no clogged passages In the spool
0.021(0.0008)
Usable limitClearance between
pressure reducing valve
spool and
casing:mm(in)
· A piston which is seriously damaged on the friction
surface should be replaced.But minor damage can be
corrected with an oil stone
0.035(0.0014)
Usable limitClearance between
piston and pressure
reducing valve spool
mm(in)
 Loading...