12
UltiMaker S8 Installation and user manual
3. Set up for first use
In this chapter, you will learn how to unbox your new printer and set it up for first use. This includes
installing some hardware components, completing the welcome setup, and ensuring that you have the
necessary software and accounts to start printing.
3.1 Location
Before unboxing, choose a suitable location to install the UltiMaker S8. Take the following into consideration:
• Install the product on a flat, level, and stable surface that is capable of carrying the printer’s weight (~ 35 kg /
77 lbs). Take proper measures to prevent the printer from falling.
In combination with the Material Station, the total weight is up to 57 kg / 126 lbs).
• The UltiMaker S8 must be positioned out of direct sunlight when in use.
• Ensure there is at least 10 cm of space behind the UltiMaker S8 for unrestricted airflow.
• The ambient conditions must be well controlled and never exceed the maximum recommended operating
temperature. When the printer is used in ambient temperatures outside of the recommended range, optimal
performance cannot be guaranteed.
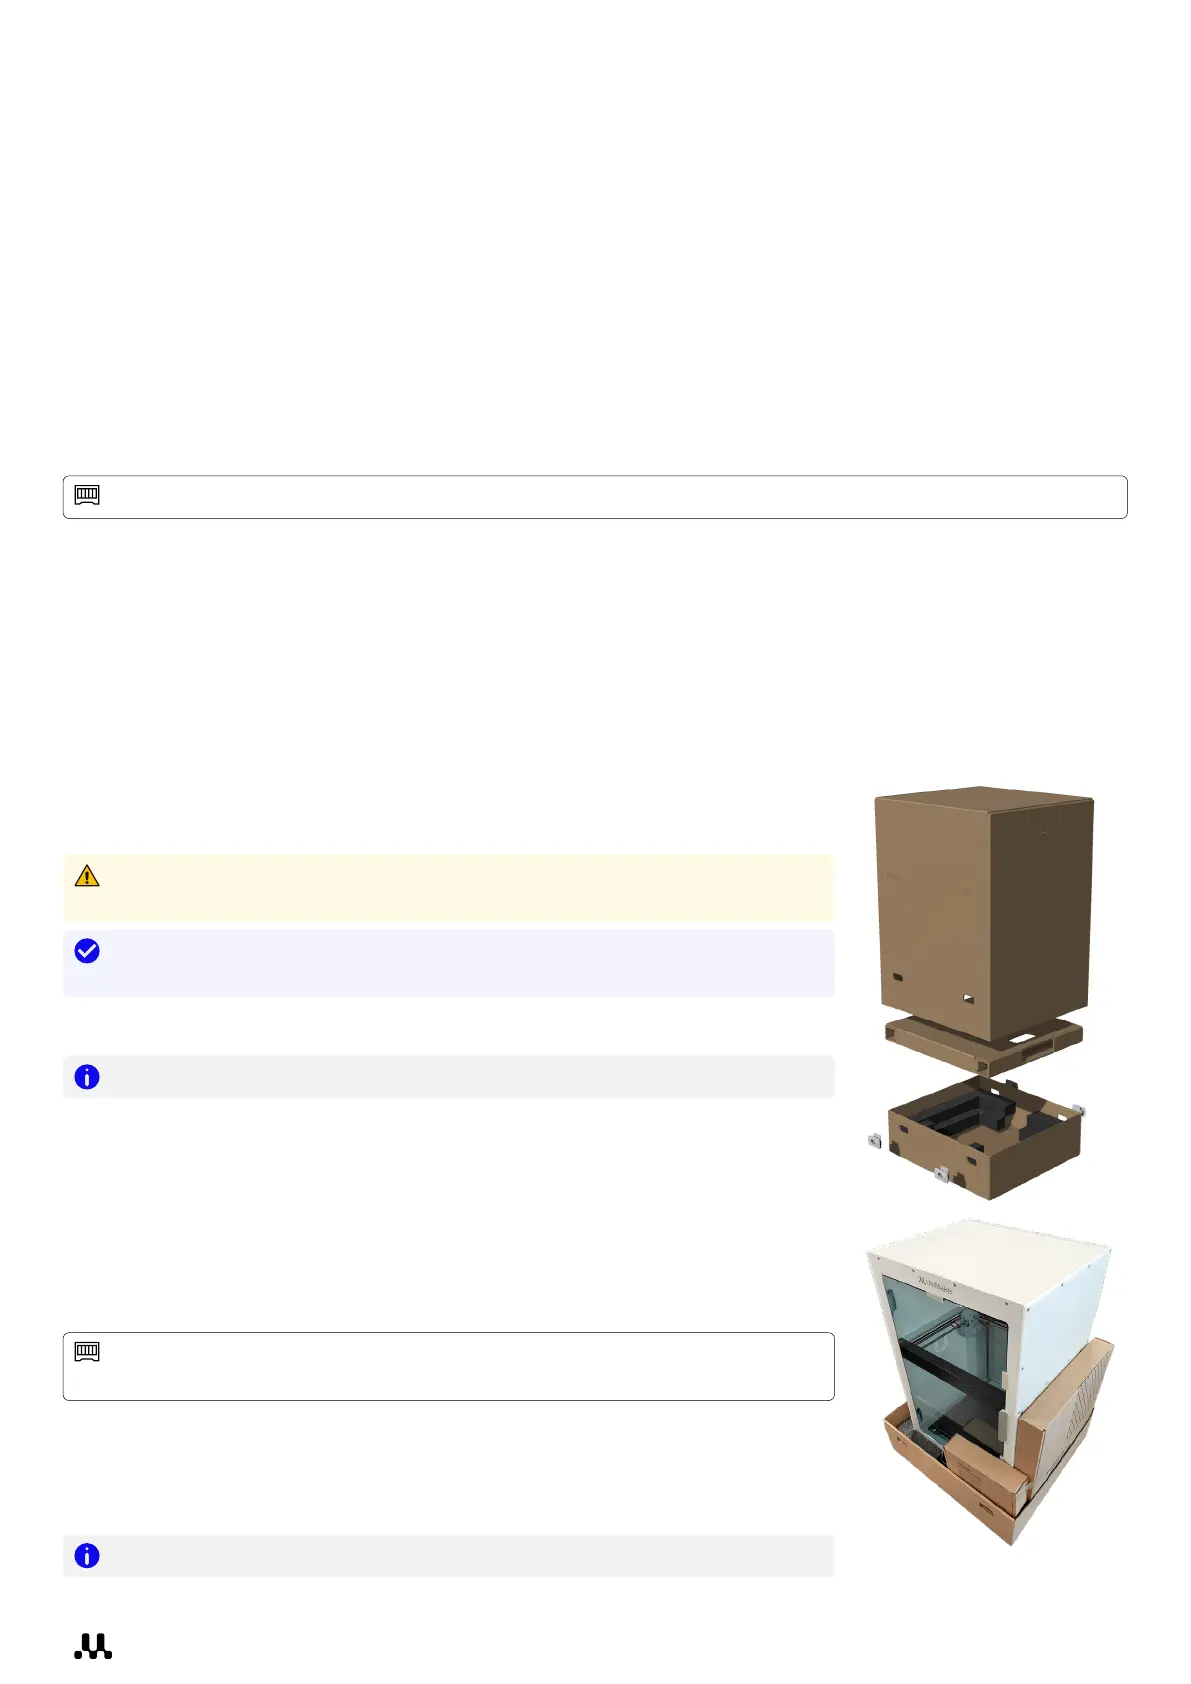
3.2 Unboxing
The UltiMaker S8 is delivered in durable packaging, specifically designed
to protect your 3D printer. Follow the steps below to properly unpack your
new UltiMaker printer.
Warning: The UltiMaker S8 must be lifted by at least two people during
unboxing and installation.
Tip: It is recommended to remove the packaging materials with the box
placed on the floor.
1. Remove the four plastic locking clips at the bottom of the box.
Note: Do not cut open the box at the top.
2. Slide the outer box straight upward off the printer.
3. Take out the accessory box (right) and Air Manager filter (front)
and place them aside.
4. Lift the printer out of the bottom tray. This must be done by at least two
people. Each person places one hand in the handle in the side panel, and
another on the back panel for stabilization.
5. Place the printer on the floor, or onto a flat, level, and stable
surface (see section 3.1).
For the Pro Bundle: You can install the S8 directly on the Material Station, or
temporarily place it on a desk first to remove the other packaging materials.
6. Remove the rubber door seals and open the glass door.
7. Use wire cutters to remove the two cable ties that secure the print head in
the back left corner.
8. Remove the black lens cap from the camera in the front right corner.
Note: Please retain all packaging materials for warranty purposes.