20
UltiMaker S8 Installation and user manual
Build material support
Removing non-soluble supports can be more work than removing PVA, depending on the materials, settings, and
chosen support structure type. In UltiMaker Cura, you can select Normal or Tree support.
Warning: Support structures may have sharp edges. To prevent injury, wear protective gloves, especially when
handling larger models. Additionally, use safety glasses, as small fragments can break off unexpectedly and
pose a risk to your eyes.
Normal support
This structure type support places a straight block under the areas that need support. This is very sturdy, but can
use a lot of material and may be very difficult to remove.
Use pliers to snap off larger sections of the support structure. Cutting pliers can help break the support into smaller
pieces for easier removal. If an interface layer was used, grip it firmly and pull it away from the model. Continue
removing smaller sections until all support material is gone. If needed, use a file or sandpaper to smooth any surface
marks left by the support structures.
Tree support
Tree support structures will start out small on the build plate, and will grow branches towards the parts of the print
that need supporting. This uses a lot less material and often leaves a better surface quality. However, this structure
type might not be optimal for all materials or models.
Because of the small contact areas and the (by default) hollow structures, the supports can usually easily be
snapped off. If necessary, use pliers and/or cutting pliers, and use a file or sandpaper to smooth any surface marks
left by the support structures.
4.8 Change configuration
The UltiMaker S8 is compatible with several print core types and a wide variety of materials. Changing the
configuration to print different applications is quick and simple, and no tools are necessary. Select the “Change”
option in the Configuration menu and the printer will guide you through the steps.
Tip: If you want to change both the print core and the material for one of the extruders, change the print core
first. Some configurations are not allowed; changing the material first might block the process. This only applies
if the UltiMaker S8 is used without a Material Station.
Change print cores
Print cores can be easily changed on the UltiMaker S8 by using the procedure from the
menu. You can also choose to only load or unload a print core. The printer will guide
you through the steps.
1. In the Configuration menu, select the print core you want to change and select Change.
2. The UltiMaker S8 (without a Material Station) will first slightly pull back the material
so that the print core can be removed. Wait for the print head to stop moving before
opening the glass door of the build chamber.
3. Gently open the print head bracket. Select Confirm when completed.
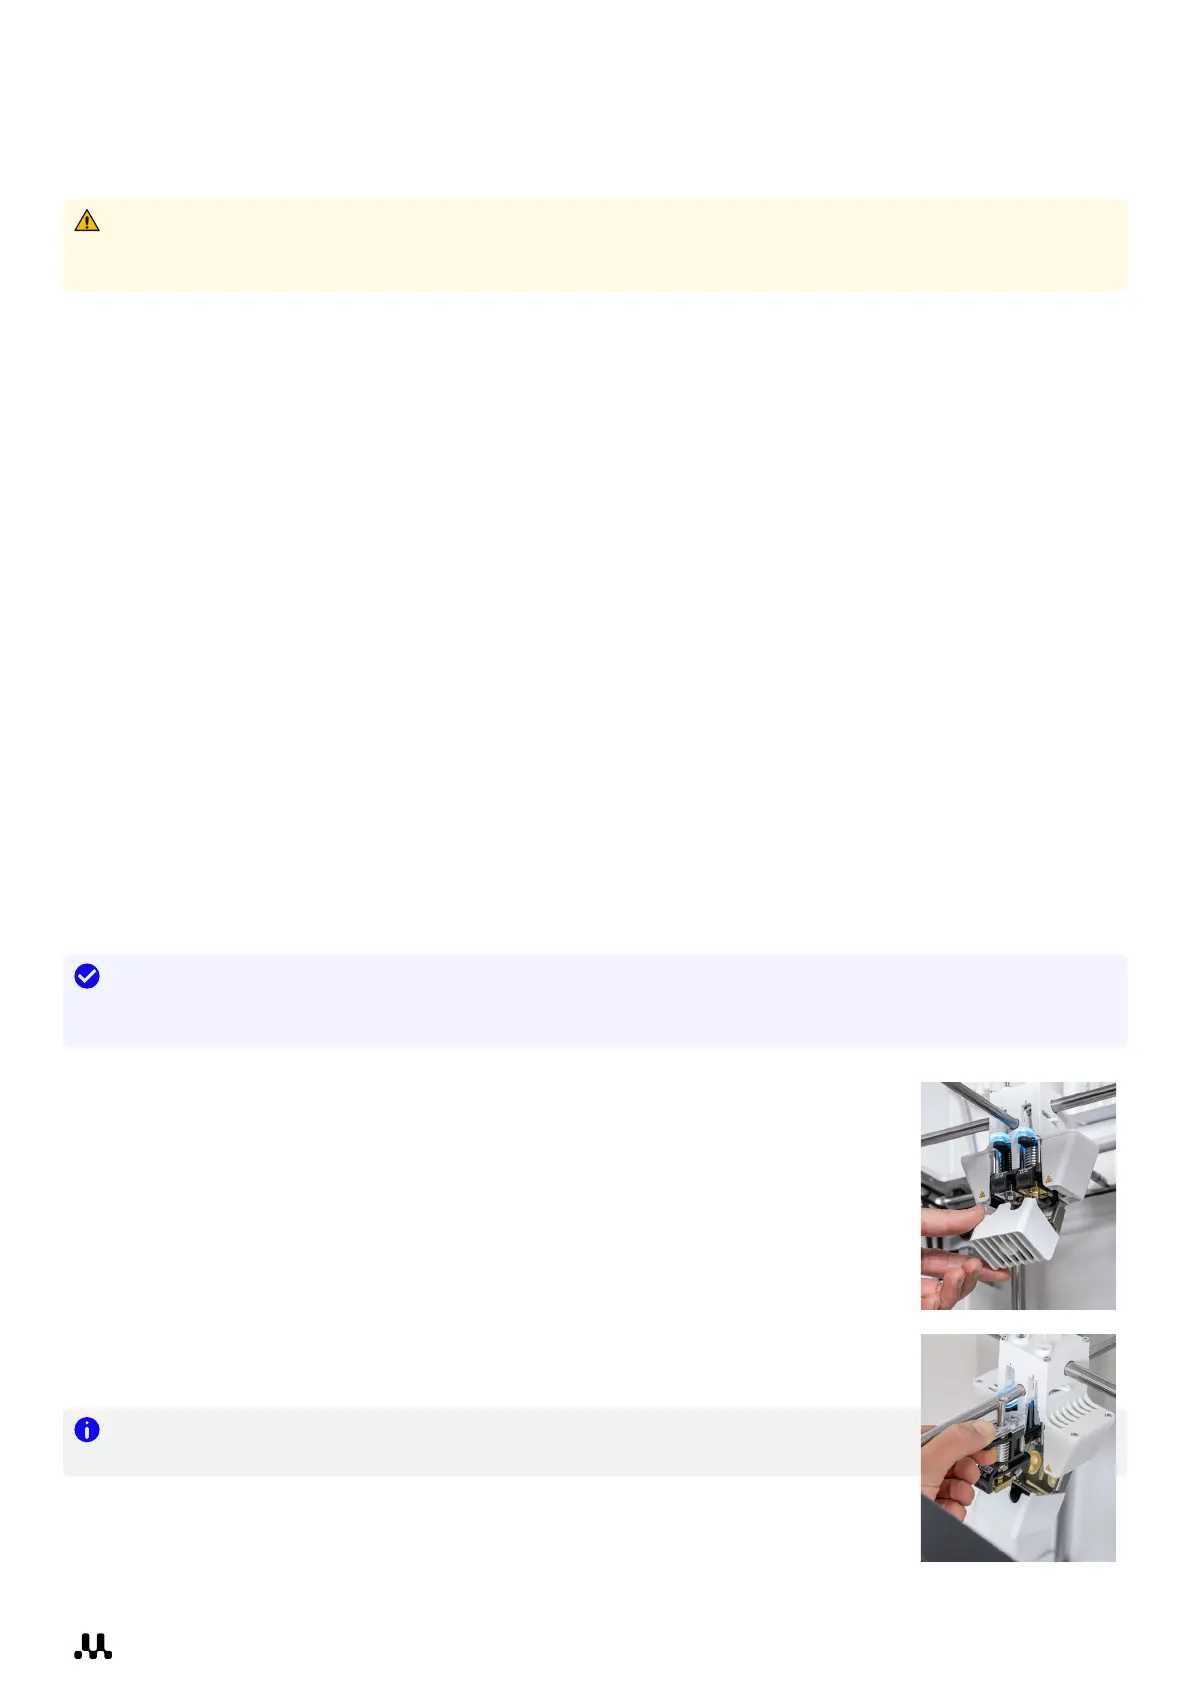
4. Squeeze the black clip upward and slide the print core out of the print head.
Note: Do not touch the contact points on the back side of the print core with your
fingers. Always only hold the print core at the front grips.
5. Insert a different print core by squeezing the black clip upward and sliding the core
into the print head slot until you hear a click.
6. Close the bracket and select Confirm when completed.