19
UltiMaker S8 Installation and user manual
4.6 Remove the print
Once your 3D print is finished, it must be removed from the build plate. The
UltiMaker S8 has a convenient flexible build plate, which makes removing
prints quick and simple.
1. Wait for the build plate to cool down before opening the door. The display will
indicate when it is safe to remove the build plate.
Hot surface warning: Never remove the build plate when it is still hot to prevent
burning your hands. The build plate can reach temperatures of over 100 °C.
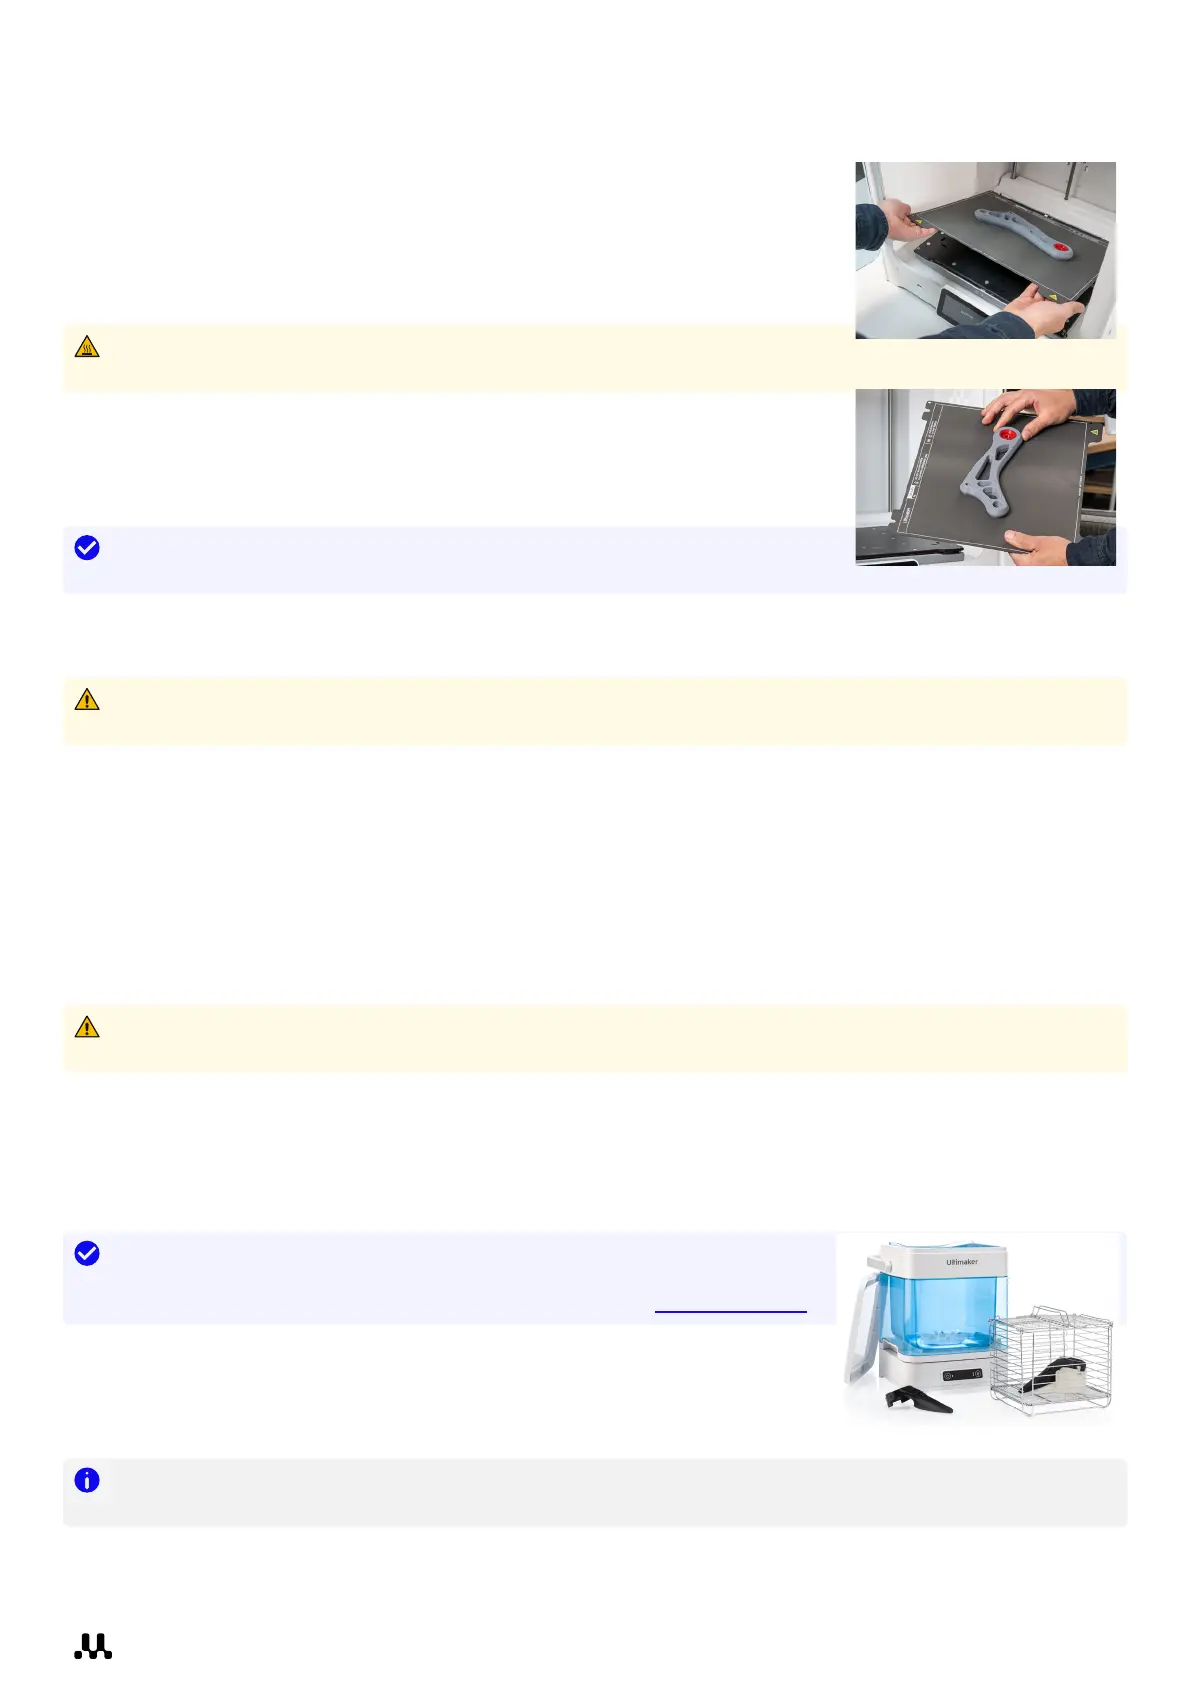
2. Hold the flexible build plate at the tabs at the front, lift it up, and slide
it out of the printer.
3. Carefully bend the plate underneath the printed object until it detaches
from the build plate.
Tip: Take measures to prevent the printed object from falling and getting
damaged when removing it from the flexible build plate.
If the object does not detach by bending the plate, you can use a spatula or scraper. Carefully insert the spatula or
scraper under the print, parallel to the build plate, and apply some force to remove the print.
Warning: Only use plastic tools with round edges. Metal tools may damage the surface of the flexible build
plate. The edges of the model or brim can be sharp. Wear protective gloves to prevent injury.
Once the print has been removed and the build plate is placed back in the printer, select Confirm removal on the
display or via Digital Factory.
4.7 Remove support material
If your object was printed using support materials, these need to be removed. How to remove support structures
depends on the material used. Also remove any brims with a deburring tool.
Warning: Always be careful when working with sharp tools and also note that the edges of the model can be
sharp. Wear protective gloves to prevent injury.
PVA support material
PVA support structures can be removed easily by dissolving the PVA in water and leave no trace afterward.
Dissolving PVA can take up to several hours.
Tip: Experience quicker and easier post-processing when using PVA support
material with the UltiMaker PVA Removal Station. The PVA Removal Station
removes PVA up to 4x faster compared to motionless water. Learn more here.
1. Submerge the print in water to let the PVA dissolve.
2. Rinse the print with clean water to remove any excess PVA.
3. Let the print dry completely.
4. Dispose of the wastewater.
Note: PVA is a biodegradable material. However, please check local regulations for more comprehensive
guidance on wastewater disposal.
It is possible to use the water for more than one print, but this might extend the dissolving time. Through repeated
use, water becomes saturated with PVA. For the quickest result, fresh water is recommended.