Document Box
7-4
Storing Documents (Store File)
The procedure for storing documents in a custom box is explained below.
1 Press the Document Box key.
2 Place the originals in the document processor or on
the platen.
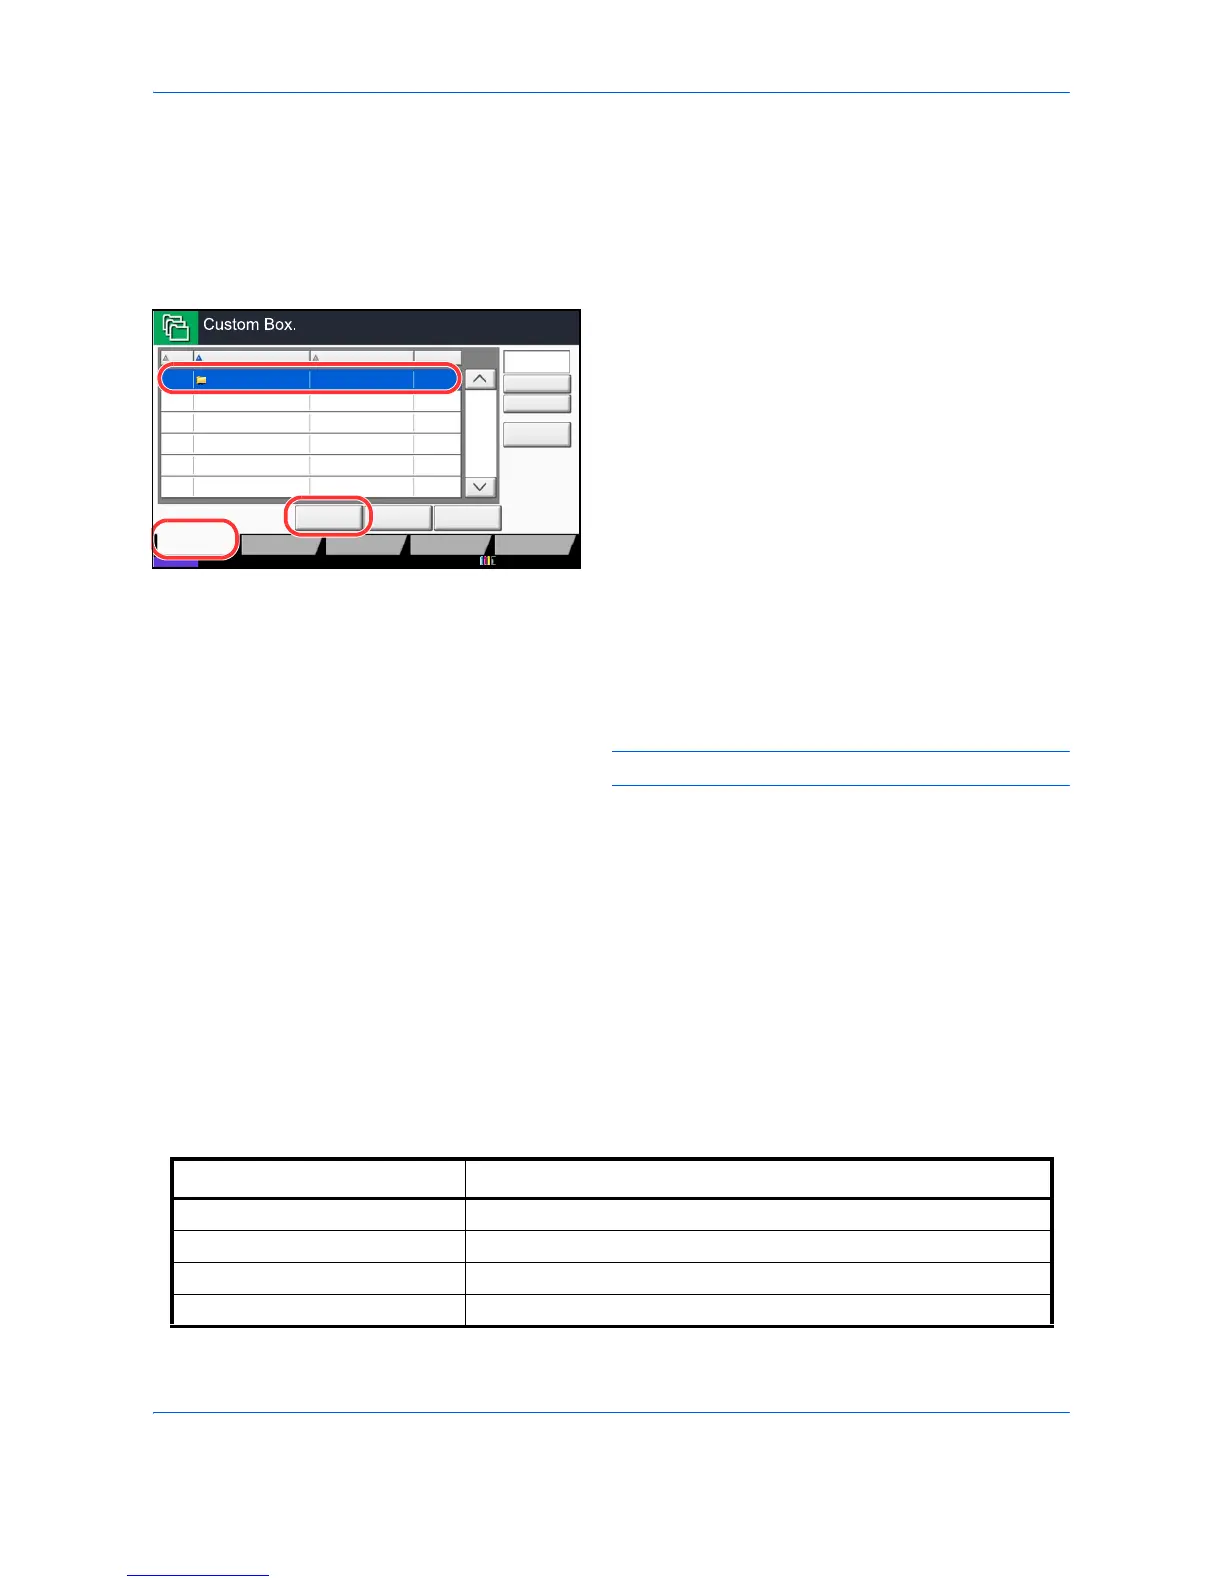
3 Press [Custom Box], select the box where the
document will be stored and then press [Store File].
4 Select the type of originals, scanning density, etc.,
as necessary.
For the features that can be selected, refer to
Document Store features on page 7-4.
5 Press the Start key. The original is scanned and the
data is stored in the specified Custom Box.
NOTE: Enter up to 64 characters as the file name.
Document Store features
The features below can be selected when saving a document.
Storing Size
Select size of image to be stored.
• Original Size (page 6-2) • Density (page 6-19) • Zoom (page 6-6)
• Mixed Size Originals (page 6-8) • Original Image (page 6-18) • Centering (page 6-7)
• 2-sided/Book Original (page 6-11)
• Scan Resolution (page 6-20) • Border Erase (page 6-26)
• Original Orientation (page 6-12) • Color Selection (page 6-23) • Continuous Scan (page 6-24)
• Storing Size (page 7-4) • Sharpness (page 6-21) • Job Finish Notice (page 6-36)
• Prevent Bleed-thru (page 6-25) • Background Density Adj.
(page 6-22)
• File Name Entry (page 6-28)
Item Description
Same as Original Size Store an image the same size as the original.
Metric Select from A3, A4, A5, A6, B4, B5, B6, Folio or 216 × 340 mm.
inch Select from Ledger, Letter, Legal, Statement, 11 × 15" or Oficio II.
Others Select from 8K, 16K, Hagaki or Oufuku hagaki.